Applicable Products
- All QNAP NAS models running QTS or QuTS hero that support QuMagie
- QuMagie version 2.6.0 or later
Scenario
Many users want to share photo albums with others via a browser-accessible link, such as for school reunions or family events. Standard file sharing or myQNAPcloud links may not display photo thumbnails or effectively allow uploads. QuMagie enables you to easily share albums with thumbnail previews and optional upload access. This FAQ explains how to configure sharing settings and enable thumbnail display.
Sharing Albums
Step 1: Install and set up QuMagie
- Log in to your NAS as an administrator.
- Open App Center and install QuMagie.
- Ensure your Multimedia Console has indexed the correct photo folder.
Step 2: Create and share an album in QuMagie
- Open QuMagie.
- Go to Albums and create a new album or select an existing one.
- Right-click the album and select Share Album.
- In the share settings dialog, enable Allow uploads to let others upload photos to the album.
Step 3: Share the album link
- Copy the smart share link generated for the album.
- Send this link to the intended recipients.
- When accessed via a browser:
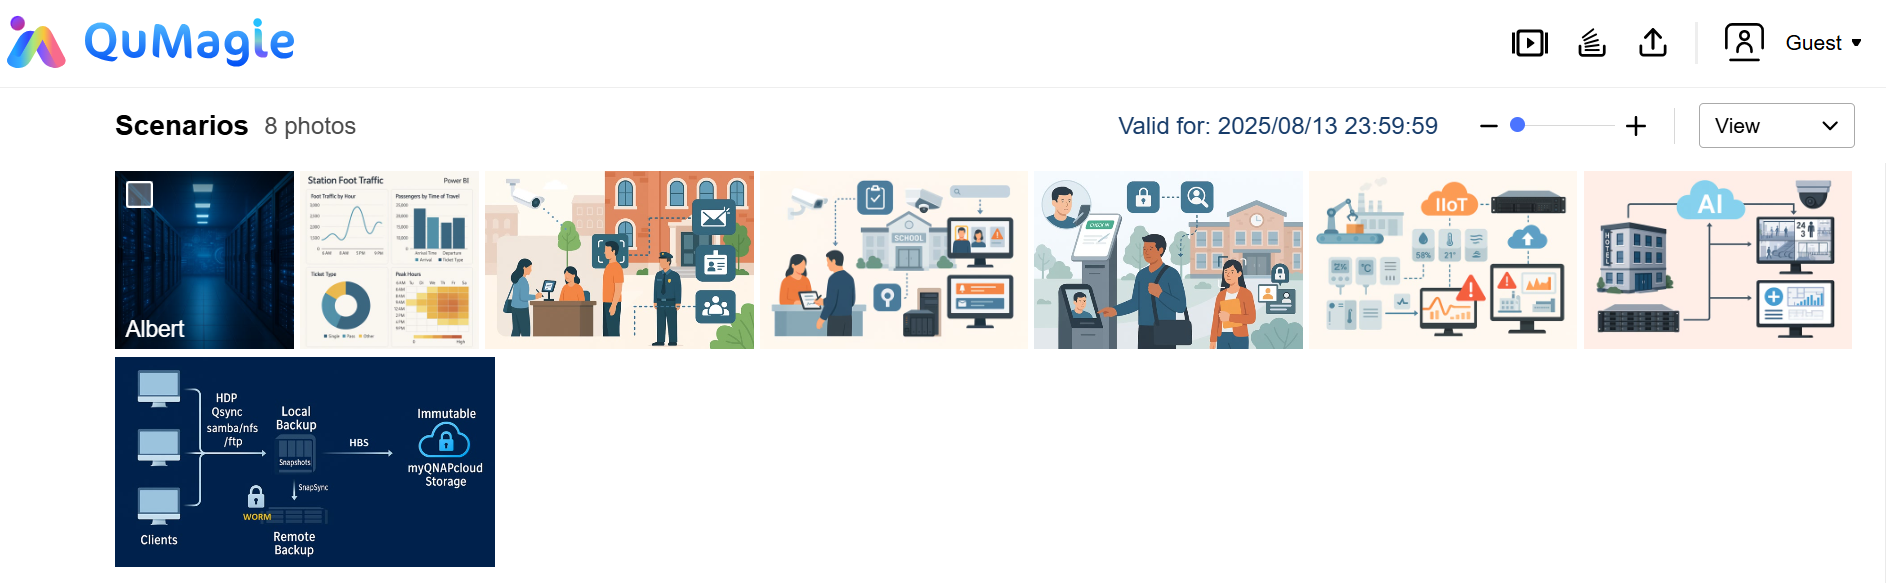
- Users can view photo thumbnails in the shared album.
- Users can upload new photos (if uploads are enabled).
- Uploaders will appear as “Guest” or under a custom name, if specified during upload.
Note
Anyone with the link can view and upload photos (if allowed). You should only share the links with trusted individuals.
Enabling Thumbnails
If you have not yet enabled thumbnail display for QuMagie, users may not be able to see photo or video thumbnails. You can follow these steps to enable thumbnails.
Step 1: Configure thumbnail generation in Multimedia Console
- Open Multimedia Console on your NAS.
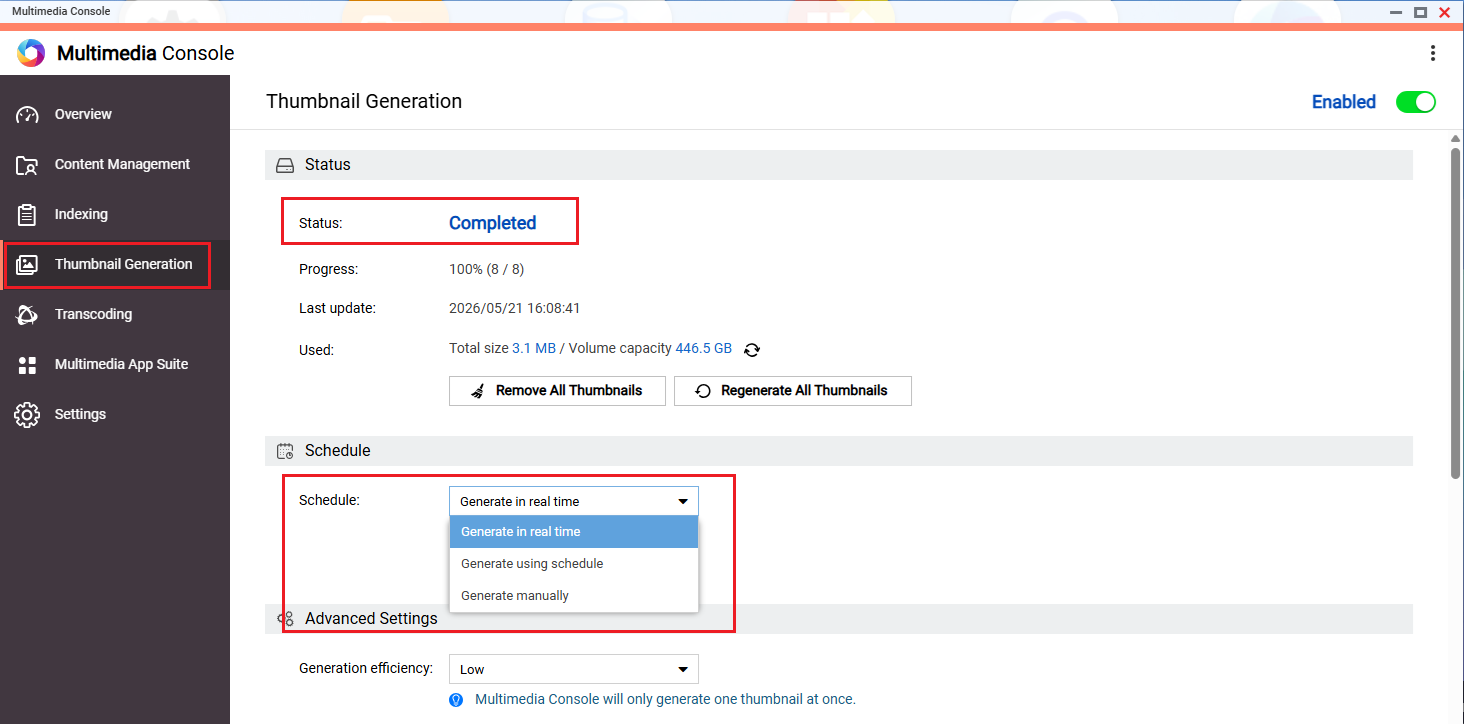
- Go to Thumbnail Generation.
- Check the thumbnail generation status and ensure that you have configured a schedule.
Note
Thumbnails will not appear in QuMagie until Multimedia Console has completed the thumbnail generation process. This may take some time depending on the number of files on your NAS.
Step 2: Enable Indexing in Multimedia Console
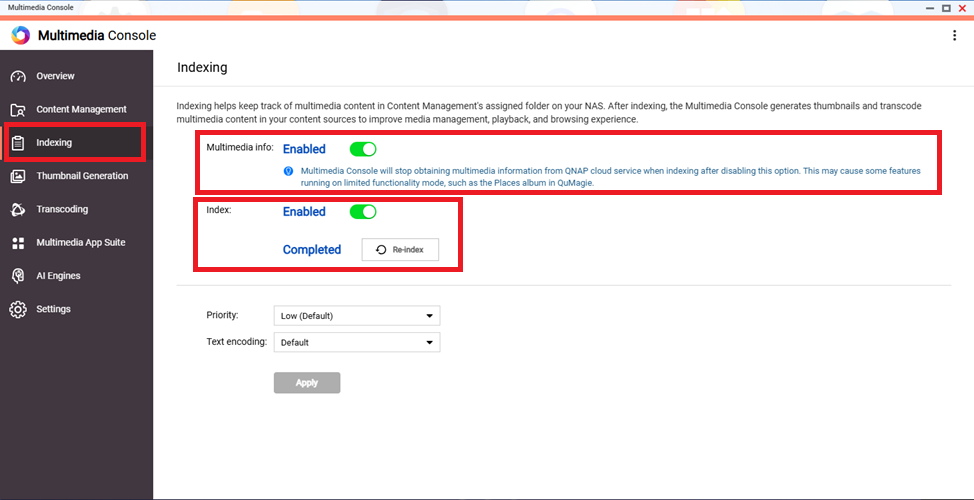
- Go to Multimedia Console > Indexing.
- Ensure that both Multimedia Info and Index are both enabled.
Note
Multimedia Info indexes the GPS location metadata embedded in your photos, allowing QuMagie to categorize and display photos by shooting location in the Places view. If this is disabled, location-based browsing and related smart features in QuMagie will not function correctly
You can also access Multimedia Console or trigger re-indexing directly from inside the QuMagie app.
- In QuMagie, click your account avatar or the profile icon to open the account menu.
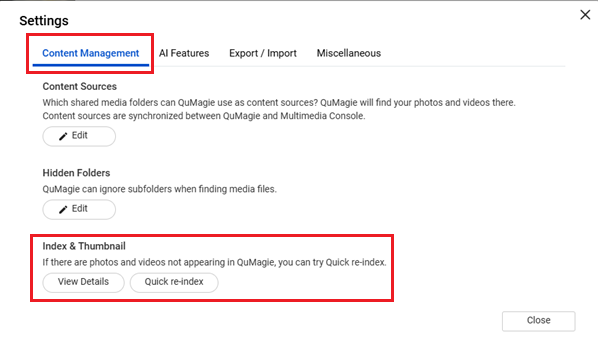
- Click Settings.
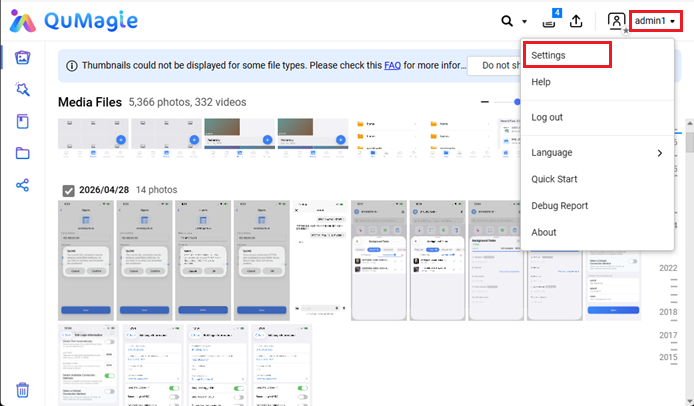
- In Settings, you can launch Multimedia Console directly, or click Re-index to manually trigger the indexing process.
After completing the steps above, reopen QuMagie. Photos and video thumbnails stored on your NAS should now display correctly.
Further Reading
适用产品
- All QNAP NAS models running QTS or QuTS hero that support QuMagie
- QuMagie version 2.6.0 or later
场景
许多用户希望通过浏览器可访问的链接与他人分享相册,例如学校聚会或家庭活动。标准文件共享或 myQNAPcloud Link 可能无法显示照片缩略图或有效地允许上传。QuMagie 使您能够轻松分享带有缩略图预览和可选上传权限的相册。本常见问题解答说明如何配置共享设置并启用缩略图显示。
分享相册
步骤 1:安装并设置 QuMagie
- 以管理员身份登录您的 NAS。
- 打开App Center并安装QuMagie。
- 确保您的 Multimedia Console 已索引正确的照片文件夹。
步骤 2:在 QuMagie 中创建并分享相册
- 打开QuMagie。
- 进入相册并创建新相册或选择现有相册。
- 右键点击相册并选择分享相册。
- 在分享设置对话框中,启用允许上传以允许他人上传照片到相册。
步骤 3:分享相册链接
- 复制为相册生成的智能分享链接。
- 将此链接发送给预期的接收者。
- 通过浏览器访问时:
- 用户可以查看共享相册中的照片缩略图。
- 用户可以上传新照片(如果启用了上传)。
- 上传者将显示为“访客”或在上传时指定的自定义名称。
注意
任何拥有链接的人都可以查看和上传照片(如果允许)。您应该只与可信赖的人分享链接。
启用缩略图
如果您尚未为 QuMagie 启用缩略图显示,用户可能无法看到照片或视频的缩略图。您可以按照以下步骤启用缩略图。
步骤 1:在 Multimedia Console 中配置缩略图生成
- 在您的 NAS 上打开 Multimedia Console。
- 转到缩略图生成。
- 检查缩略图生成状态并确保您已配置了计划。
注意
在 Multimedia Console 完成缩略图生成过程之前,缩略图不会出现在 QuMagie 中。根据您 NAS 上文件的数量,这可能需要一些时间。
步骤 2:在 Multimedia Console 中启用索引
- 转到 Multimedia Console > 索引。
- 确保多媒体信息和索引都已启用。
注意
多媒体信息会索引嵌入在您照片中的 GPS 位置元数据,使 QuMagie 能够在地点视图中按拍摄位置分类和显示照片。如果此功能被禁用,QuMagie 中基于位置的浏览和相关智能功能将无法正常工作。
您还可以直接从 QuMagie 应用程序中访问 Multimedia Console 或触发重新索引。
- 在 QuMagie 中,点击您的账户头像或个人资料图标以打开账户菜单。
- 点击设置。
- 在设置中,您可以直接启动 Multimedia Console,或点击重新索引以手动触发索引过程。
完成上述步骤后,重新打开 QuMagie。存储在您 NAS 上的照片和视频缩略图现在应该可以正确显示。
进一步阅读


