How to transfer a seat license from one NAS to the other in License Manager webpage
Applicable Products
License Manager webpage (https://license.qnap.com)
Solution
First, please ensure that both of your original NAS and target NAS are connected to the Internet and both of them are logged in with the same QNAP ID account in the myQNAPcloud app.
Note: If the original NAS device has failed, this method is not applicable. Please contact us directly through the Customer Center on the QNAP customer service website.
Now, please refer to the steps below to complete the seat license transfer operations.
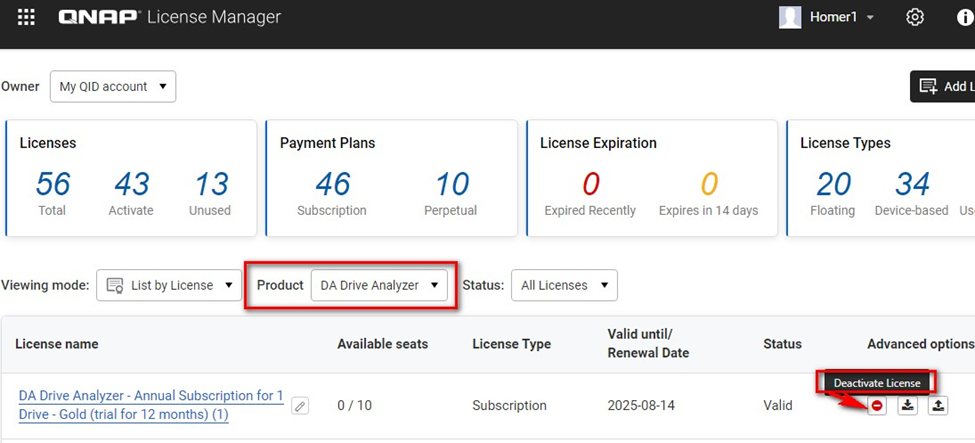
1. In the License Manager webpage, open the [Product] dropdown and select the specified license name. Then, click the [Deactivate License] button on the right.
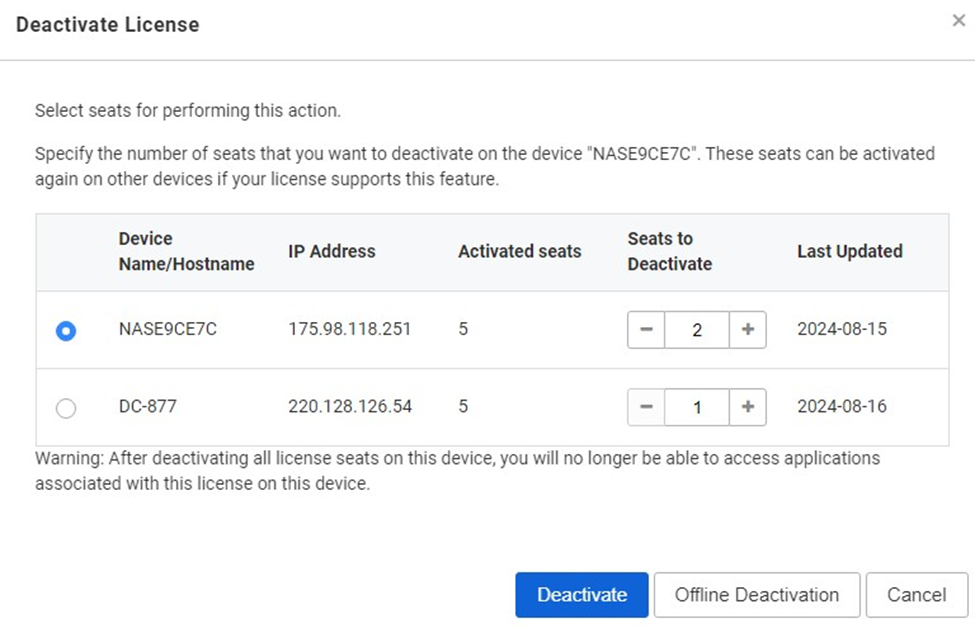
2. Select the original NAS name and adjust the specified number of seats that you want to deactivate, then click the [Deactivate] button to proceed to the next step.
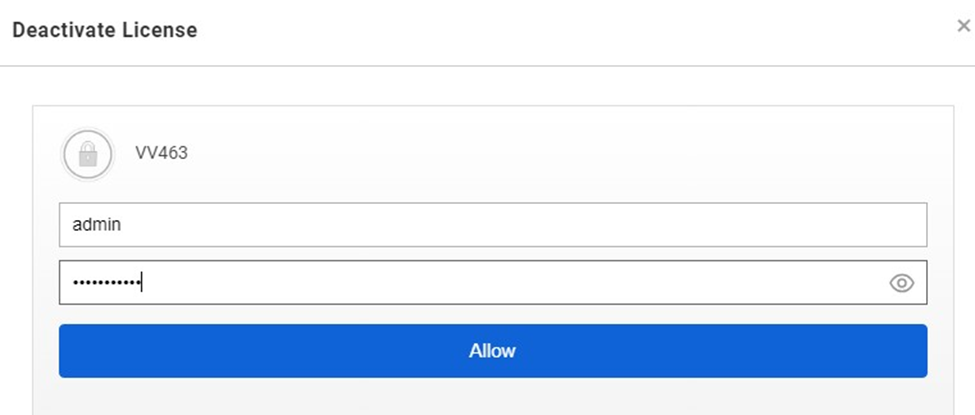
3. Enter the NAS login username and password.
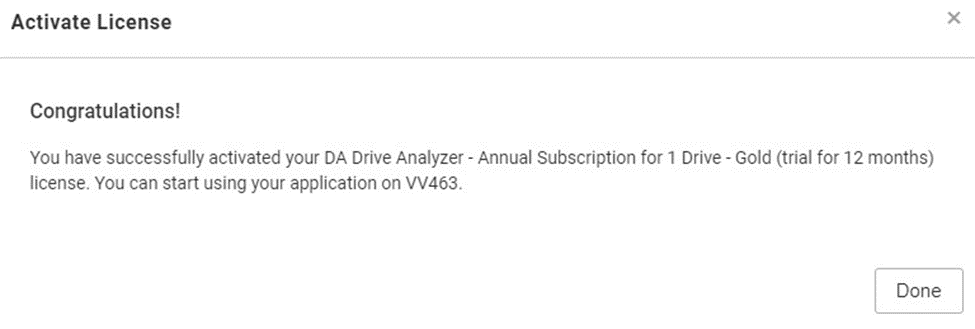
4. After the deactivation process is completed, you will see a success message.
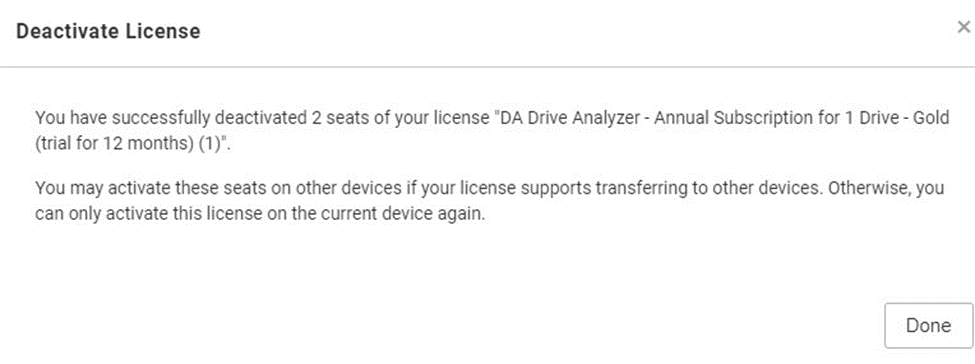
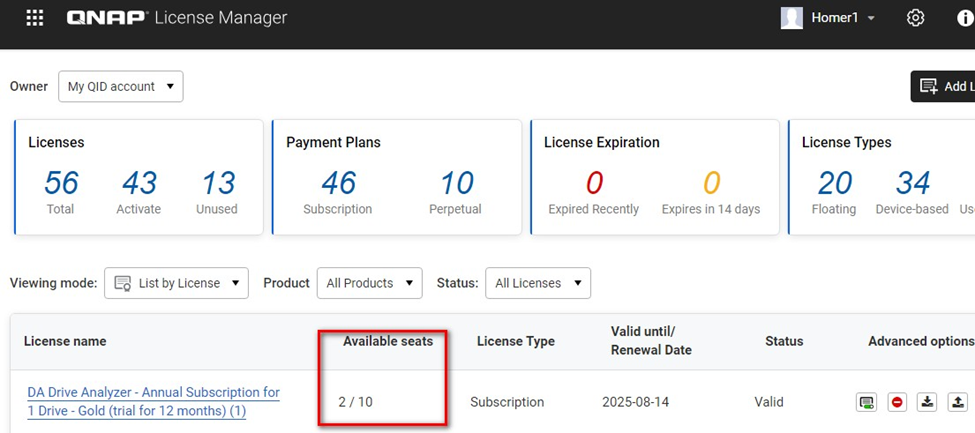
5. After clicking the [Done] button, you will find that the available seats have been released.
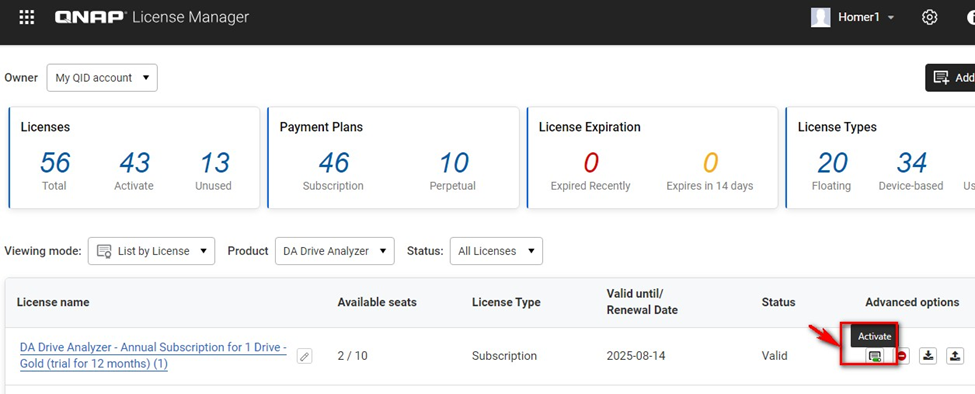
6. For the same seat license item, click the [Activate] button on the right.
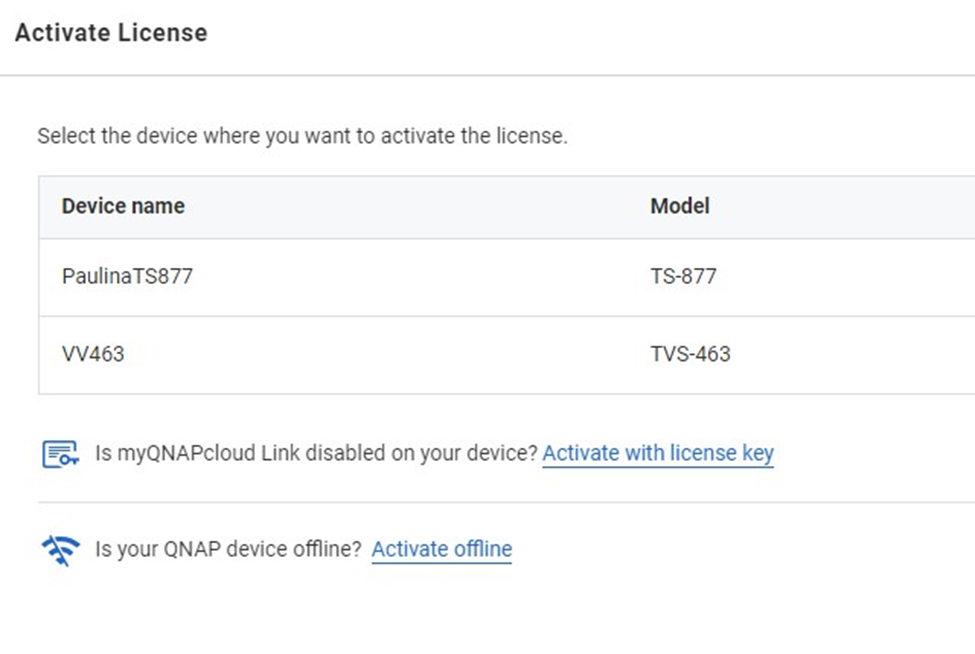
7. Select the target NAS where you want to activate the seat license.
8. Adjust the specified number of seats that you want to activate.
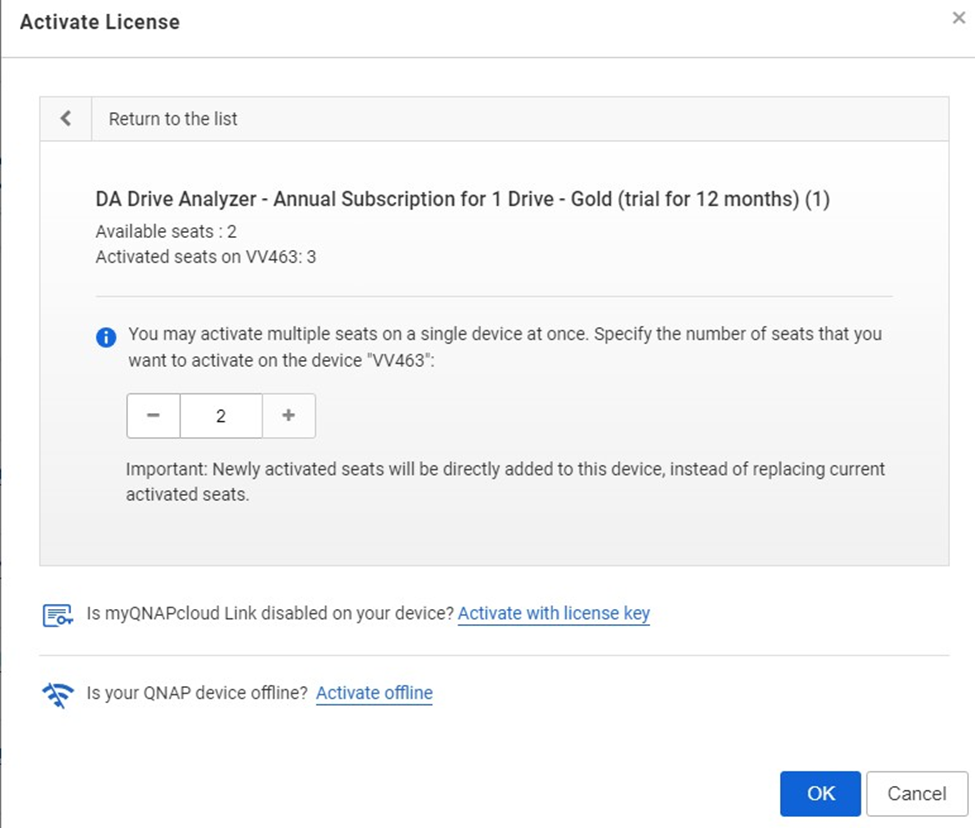
9. Click the [OK] button to proceed to the next step in the activation process.
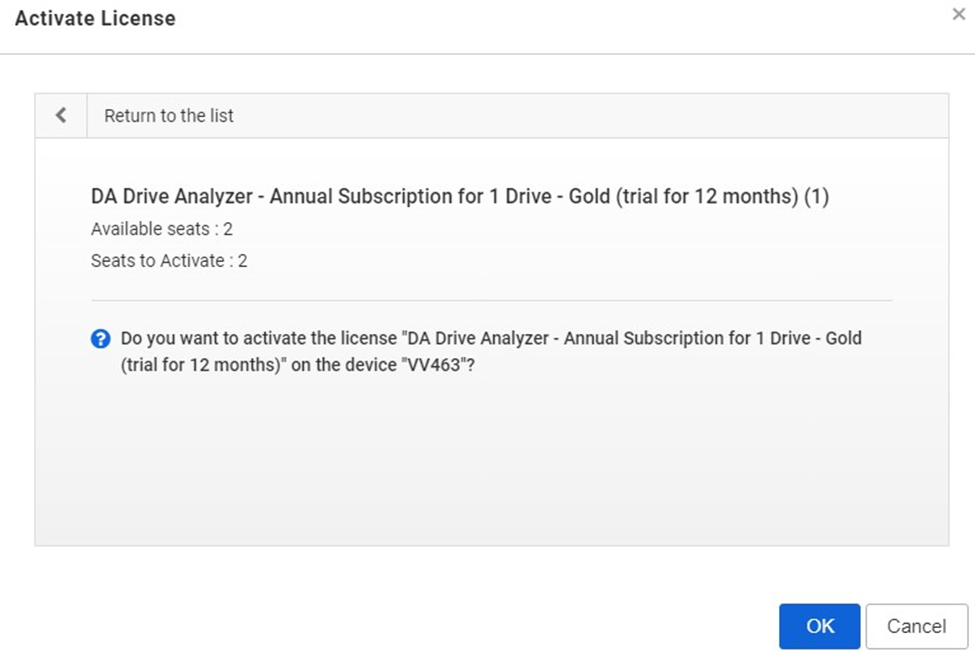
10. After the activation process is completed, you will see a success message.