How to update NAS BIOS through the console port
Applicable Products
NAS which has built-in console port
Introduction
Here, we'll guide you through the process of updating the BIOS on your NAS device through the console port. For those NAS which has built-in HDMI port, you can refer to this FAQ for more details.
Prerequisites
The procedure only applies on Microsoft Windows.
Before you begin, ensure you have:
The following hardware and software are required.
Hardware
- A Windows-based computer
- D-SUB 9P female to 3.5mm stereo plug cable
- A USB-to-RS232 cable (Optional, if there is no RS-232 serial port on your PC/laptop)
- A USB keyborard
- A USB flash drive (formatted to FAT32)
- BIOS update file
Software
- Putty (Terminal software, Click here to download)
Execution
Follow these steps carefully to update the BIOS on your NAS device:
Create a bootable USB flash drive.
- Connect the USB flash drive to the Windows-based computer.
- Open File Explorer.
- Locate and right-click the USB flash drive.
- Click Format ...
A screen for formatting the flash drive appears
- Select FAT32 under File system.
- Click Start to initiate drive formatting.
A warning message appears.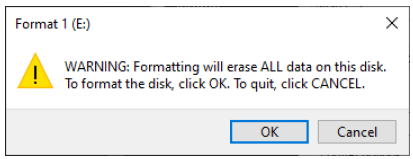
- Click OK.
Another message appears when the formatting is complete. - Click OK
Download the latest BIOS file.
Go to download.qnap.com, and download the compressed NAS BIOS file.
Extract the compressed file contents.
Copy the extracted files to the root or a folder on the USB flash drive.
e.g.: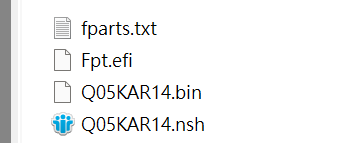
Warning:
Only install BIOS updates from QNAP. Installing the BIOS file incorrectly can prevent the NAS from starting or being recovered.
Important:
QNAP recommends backing up all your files before initiating the BIOS update.
Do not shut down or remove the external power from your device during the process .
Ensure power stability during the update process
Prepare the NAS for updating the BIOS.
Power off the NAS.
Remove all the drives from the NAS.
Find the console port on the back of the NAS.
e.g.: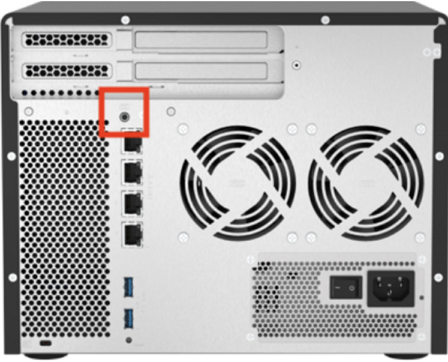
Connect the cable between the NAS console port and your PC.
- D-SUB 9P female to 3.5mm stereo plug cable.
- A USB-to-RS232 cable
Connect the USB keyboard to a USB port on the NAS.
Connect the USB flash drive to a different USB port on the NAS.
Update the BIOS from the command-line interface.
Power on the NAS.
Repeatedly press F7 in quick succession until the boot options screen appears.
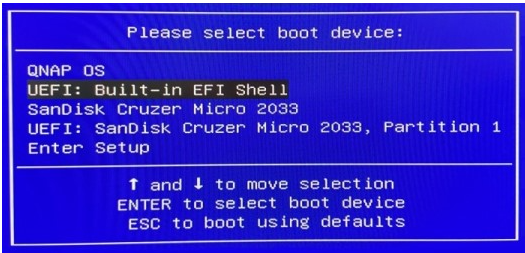
Select UEFI: Built-in EFI Shell with the up or down arrow key and then press ENTER.
The command-line interface appears.Enter fs0: to locate the flash drive.
Enter dir to verify the contents belong to the flash drive.
Optional: Repeat the previous two steps by increasing the digit in the command fs0: until you locate the flash drive.
e.g.: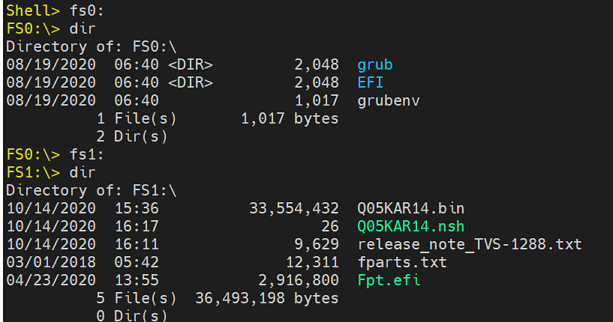
Enter the full name of the .nsh file to start the BIOS update.
For example, Q05KAR14.nsh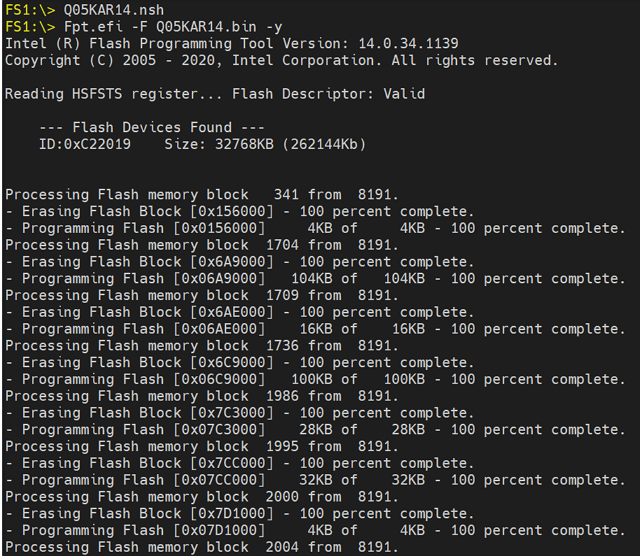
Power off the NAS when the update is complete.
Remove all the external peripherals, including the monitor, USB flash drive, and USB keyboard, from the NAS.
Disconnect the power cable.
Wait 30 seconds.
Reconnect the power cable to the electrical outlet.
Insert all the disks back into the NAS in their original disk order.
Power on the NAS.


