VDI Deployment with VMware Horizon View on QNAP Enterprise Storage
Overview
QNAP ES1640dc is an enterprise storage system, it provides redundancy not only on the power supply module but also on the dual controller system modules. Also with storage features like Read Cache, Compression and Deduplication that extremely improve the performance and capacity for desktop virtualization (VDI).
This document is a step-by step guide for multiple VDIs deployment on QNAP ES1640dc storage system with VMware Horizon View.
Architecture
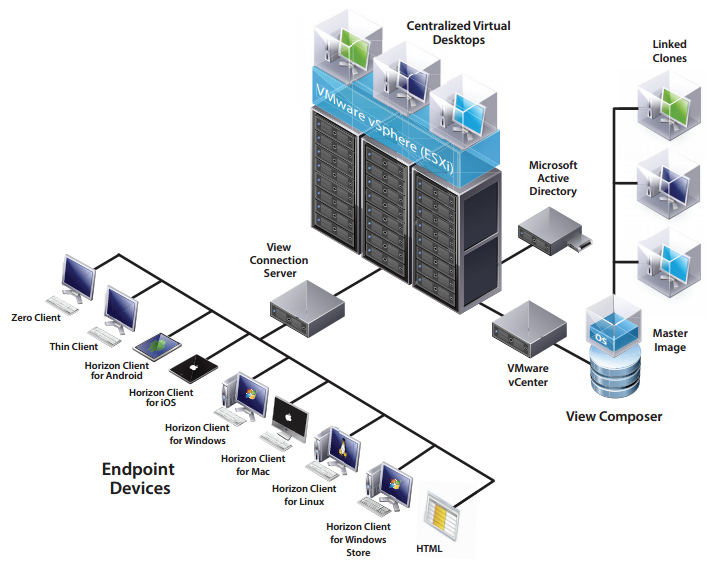
In the architecture diagram, there are three major components to work around with, View Connection Server, View Composer and Master Image. We will build this environment by going through the installation of them.
System configuration
| Server Network Settings | ||
|---|---|---|
| Setting | Value | Description |
| AD server IP | 10.4.19.19 | Active Directory server (adc.esapp.local) |
| vCenter server IP | 10.4.19.21 | vCenter server(+view Composer) |
| View Connection server IP | 10.4.19.23 | Horizon View Connection server |
| Esxi1 server | 10.4.19.25 | ESXi Server in cluster1 |
| Esxi2 server | 10.4.19.26 | ESXi Server in cluster1 |
| Storage Network Settings (Site A) | ||
|---|---|---|
| Setting | Value | Description |
| SCA Management IP | 10.4.19.41 | Management IP of controller A |
| SCA Ethernet1 IP | 10.10.100.105 | Data port 1 IP of controller A |
| SCA Ethernet2 IP | 10.10.200.105 | Data port 2 IP of controller A |
| SCB Management IP | 10.4.19.42 | Management IP of controller B |
| SCB Ethernet1 IP | 10.10.100.106 | Data port 1 IP of controller B |
| SCB Ethernet2 IP | 10.10.200.106 | Data port 2 IP of controller B |
| Pool at SCA | Pool1 | RAID6 pool at controller A |
| iSCSI LUN | vdi1_0 | iSCSI lun on Pool1 |
Configuring your storage
Before starting to setup the VDI Infrastructure, you need to set up the initial configuration on the ES storage. For the detailed configuration about how to create storage pool and iSCSI LUN, you can refer to the ES1640dc user manual.
Note: You can found the latest version of the ES1640dc user manual in the QNAP webpage.
Create the storage pool and iSCSI LUN
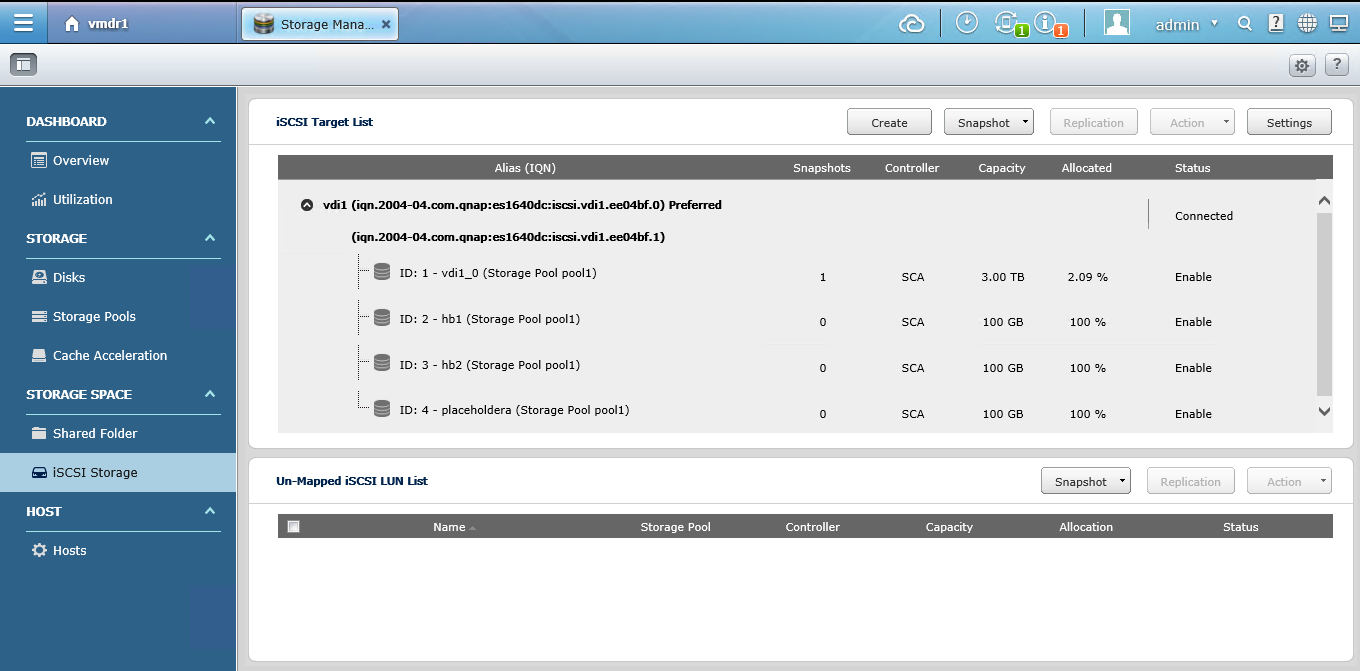
A storage pool, Pool1 is created on controller SCA with RAID6 type as below.
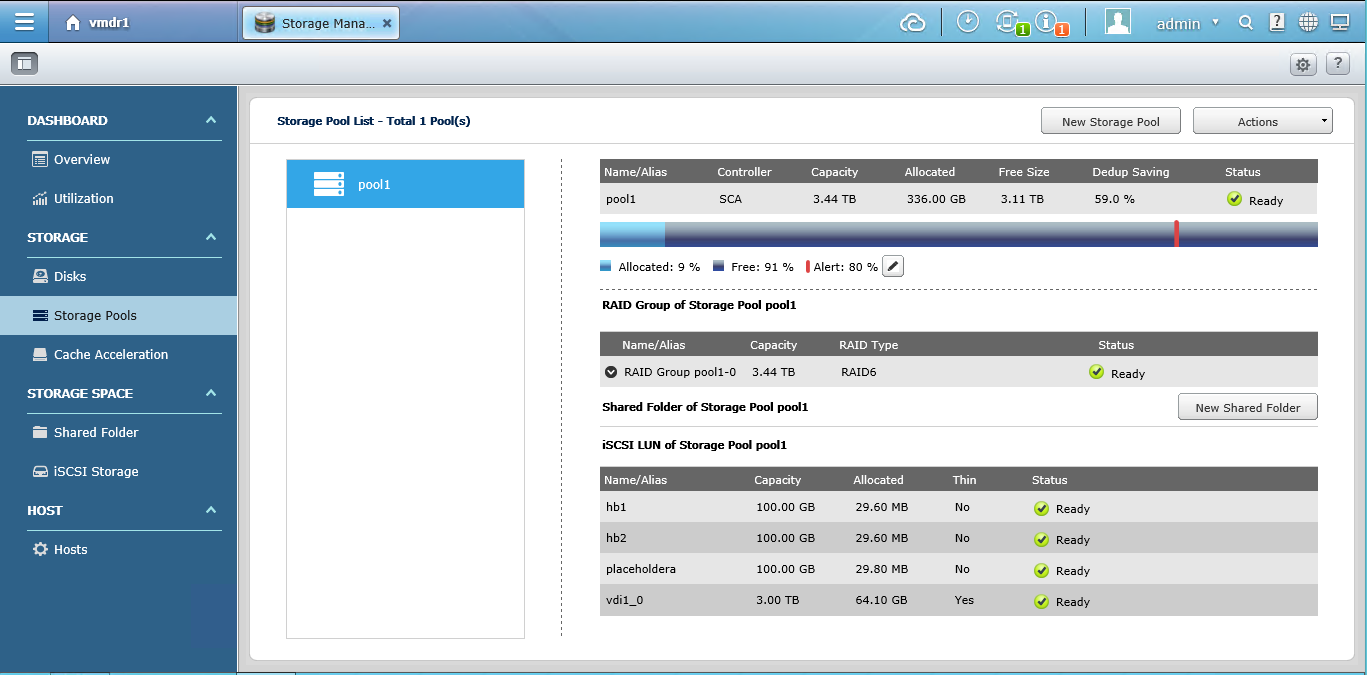
There are four LUNs created and attached to the iSCSI target.
- vid1_0 is used for storing your virtual machines (VMs).
- hb1 and hb2 are used for the heartbeat LUNs of ESXi cluster servers.
Connecting storage from the servers
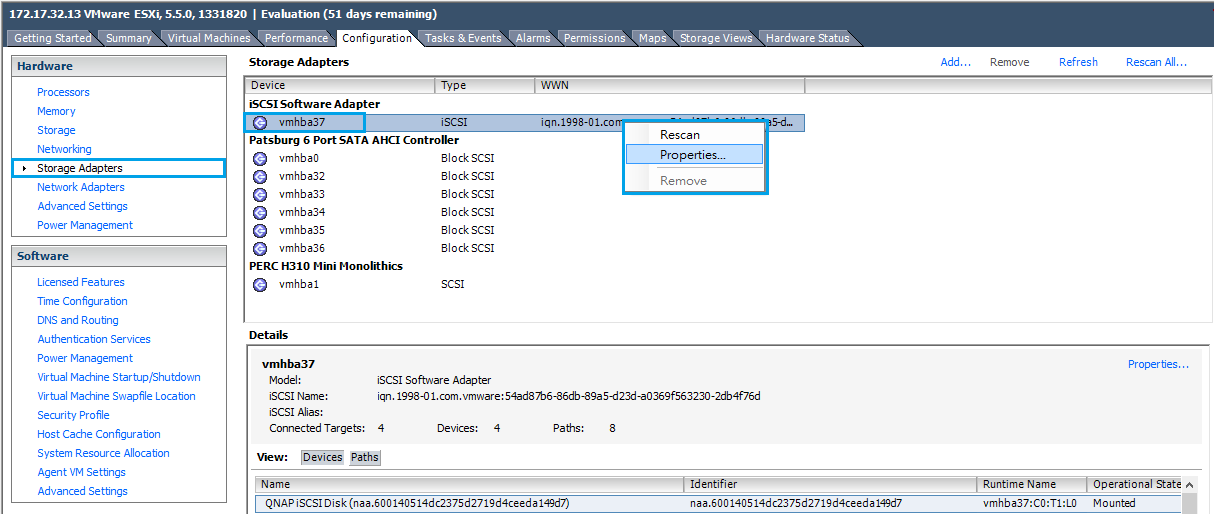
The recommended connection from the server to the storage is to use Multipath I/O (MPIO). Please follow below steps to complete it.
Choose [Configuration] tab à Storage Adapters à Right click on iSCSI Software Adapter to select Properties.
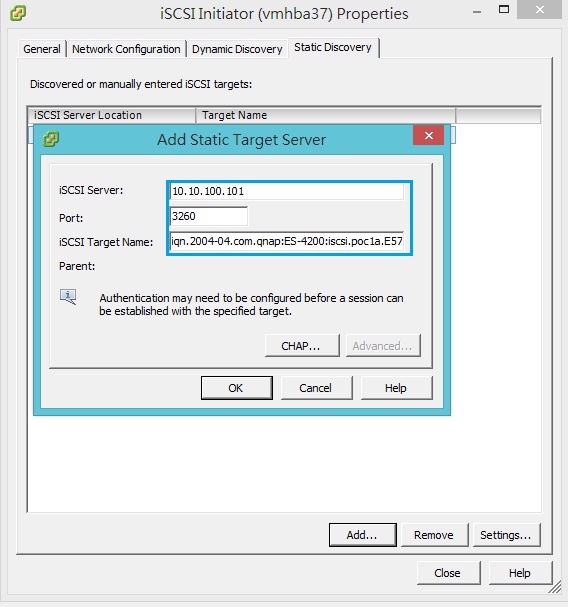
Choose [Static Discovery] tab and then enter iSCSI server IP and its corresponding iSCSI Target Name.
(The storage iSCSI target name IQN can be found at below web page of the storage.)
Storage Manager → iSCSI storage → Action → Modify
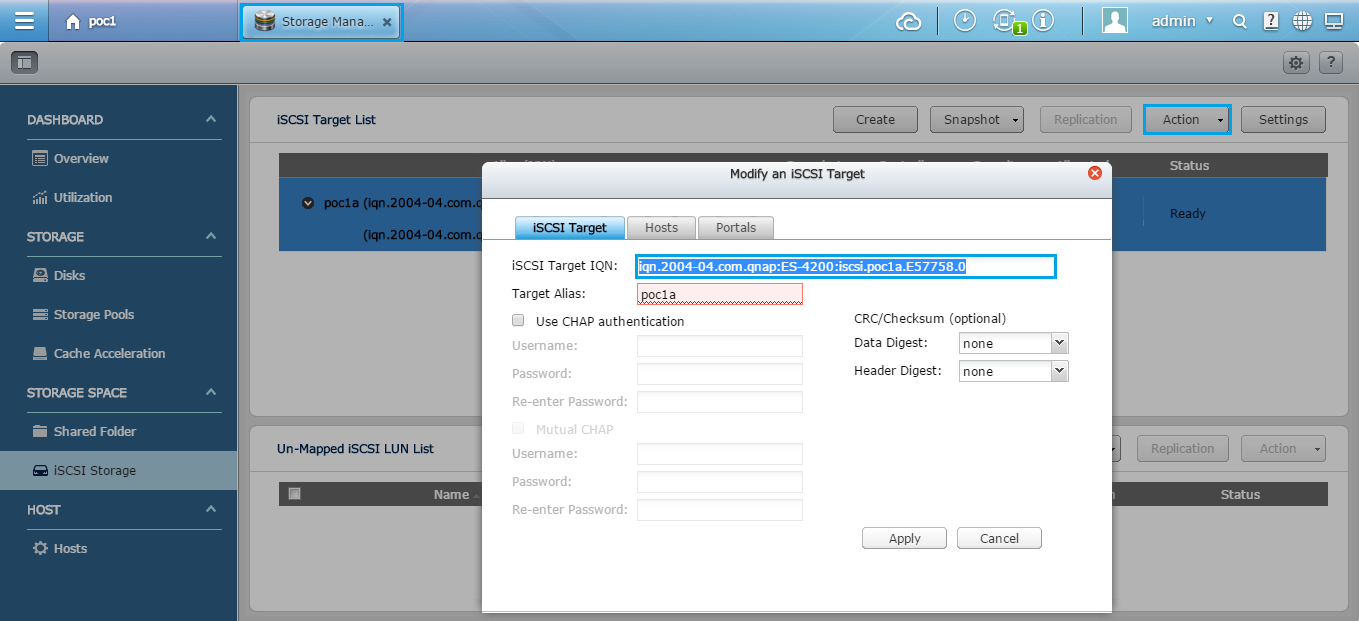
EX: iqn.2004-04.com.qnap:ES-4200:iscsi.poc1a.E57758.0
Repeat above steps to add all data paths into the Static Discovery of the iSCSI initiator properties.
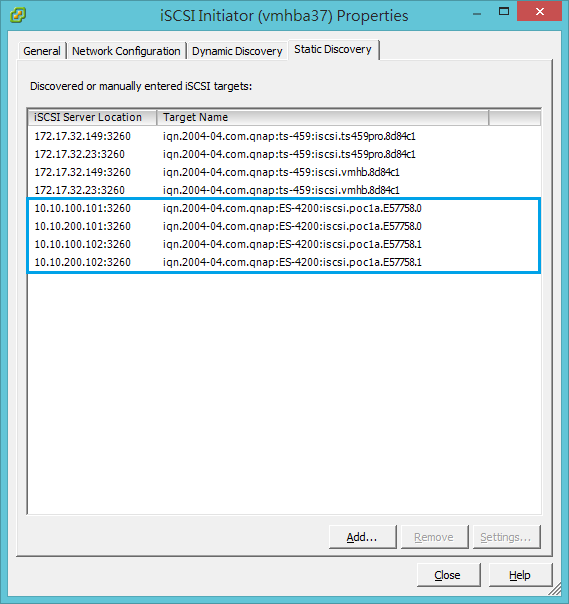
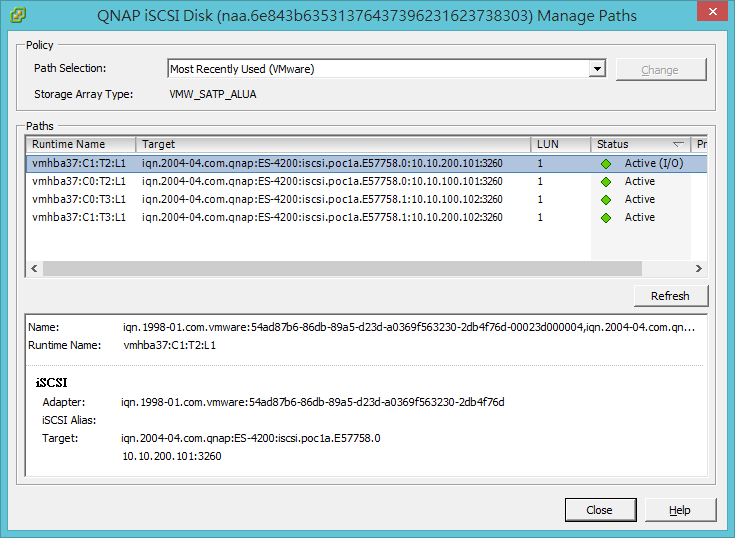
Click Close button and the server will rescan the storage. At last, you can find all paths listed in datastore manage paths.
Software Installation
Prior to the installation of VMware Horizon View software, two ESXi servers and vCenter server must be installed.
Install Horizon View Connection Server
Download VMware Horizon View Connection Server software from VMware website and install it to the machine.
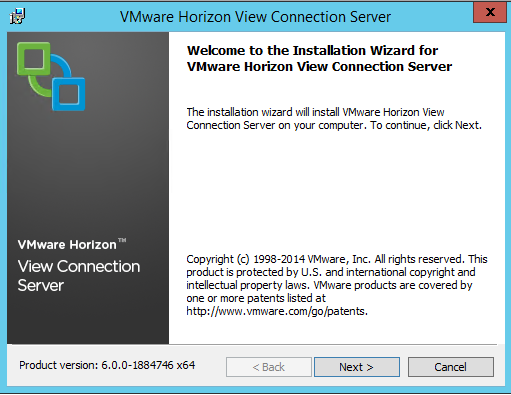
Click Next.
Accept the EULA and click Next.
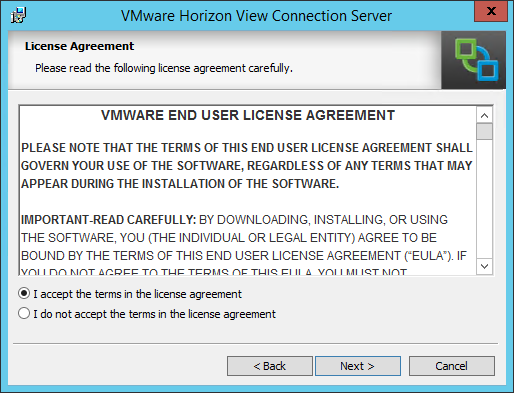
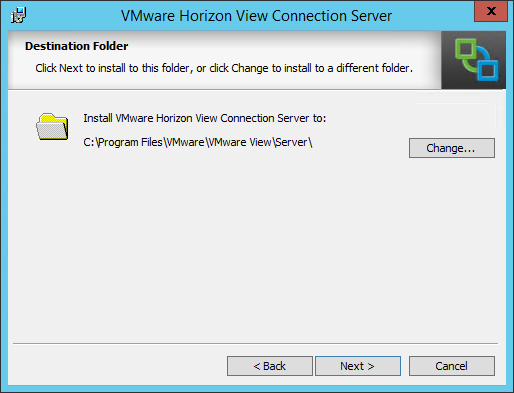
Select the destination folder to install and click Next.
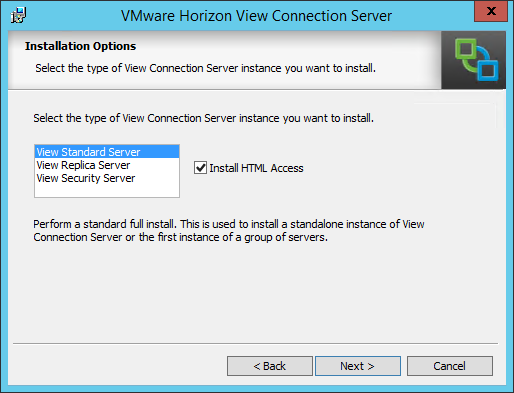
Select the View Standard Server and Install HTML Access. Click Next.
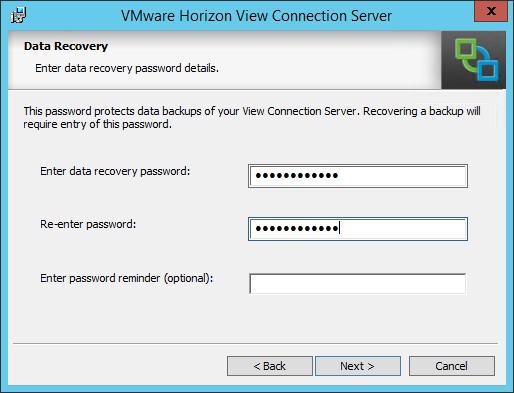
Enter password for data recovery and click Next.
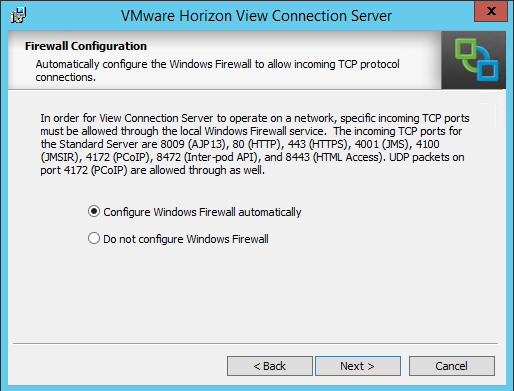
Select Configure Windows Firewall automatically and click Next.
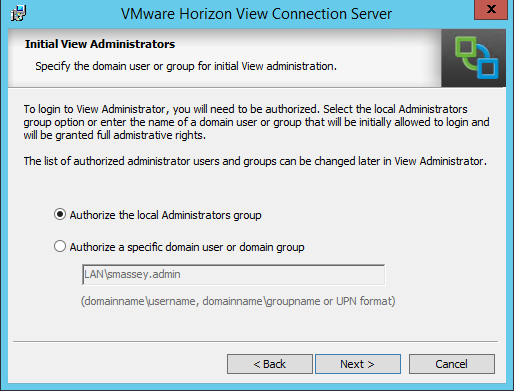
Select Authorize the local Administrator group and click Next.
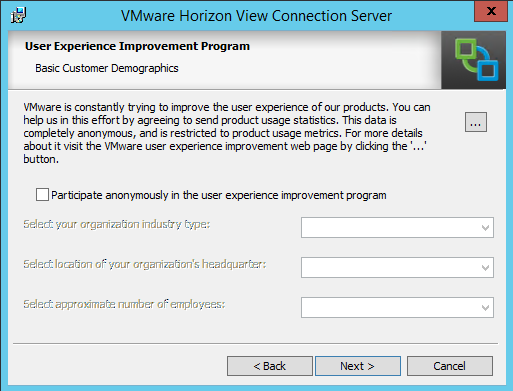
Choose whether you want to participate in the User Experience Improvement program. If you do not wish to participate, just click Next to continue.
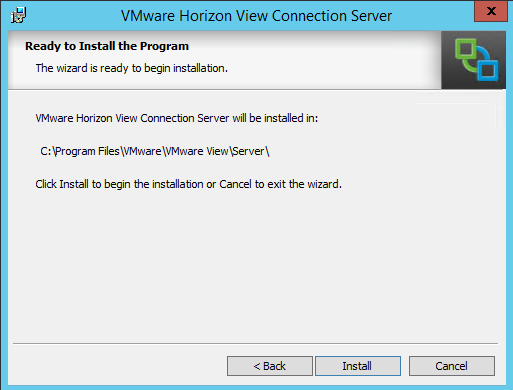
Click Install to start the installation.
Once the install completes, click Finish. You may be prompted to reboot the server after the installation completes.
Install View Composer Database
Composer requires its own database. We will use SQL Server Management Studio to create a composer database and assign the authentication. Install and configure SQL Server in advance.
Open SQL Server Management Studio and Log in as a user with administrator rights on SQL Server.
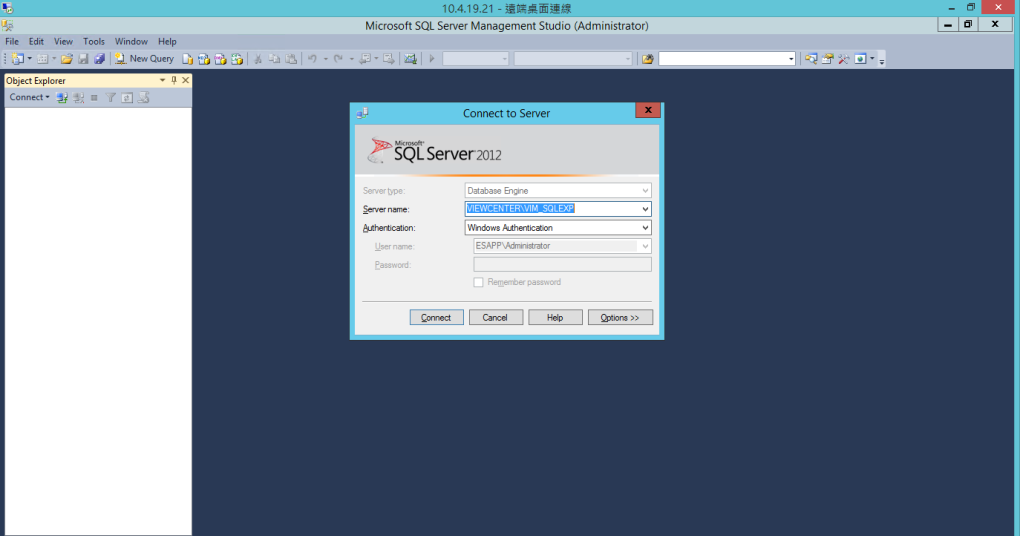
Create a new SQL Login at Security → Logins. Right click on Logins and select New Login.
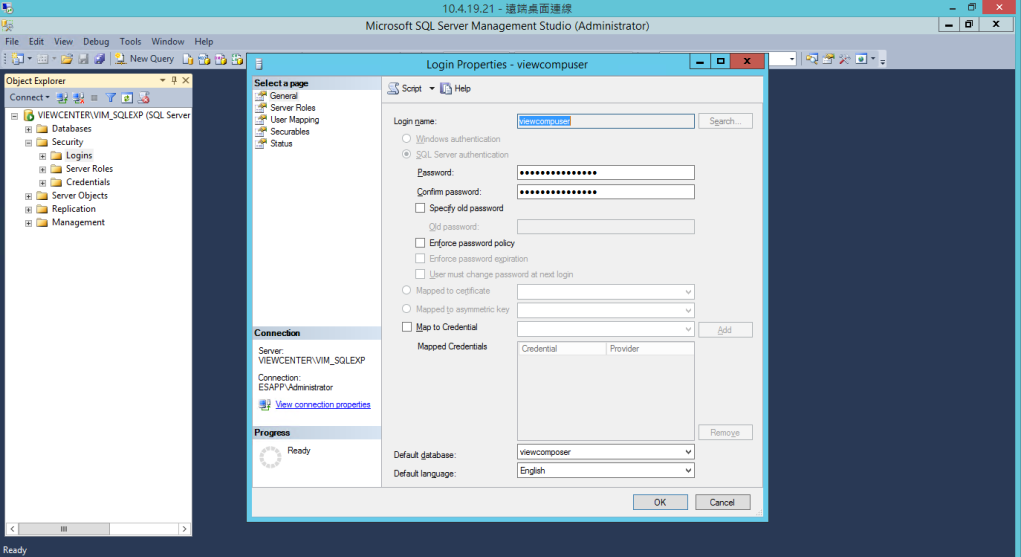
Enter a login name such as viewcomposer and select SQL Server Authentication and enter password. Disable Enforce password policy.
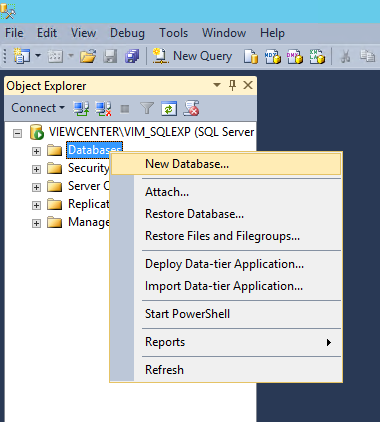
After the SQL login is created, you need to create an empty database. To create the database, right click on the database folder and select New Database.
In the database name field, enter a name such as viewcomposer. To select an owner for the database, click on the … button and search for the database user account you created above. Click OK to create the database.
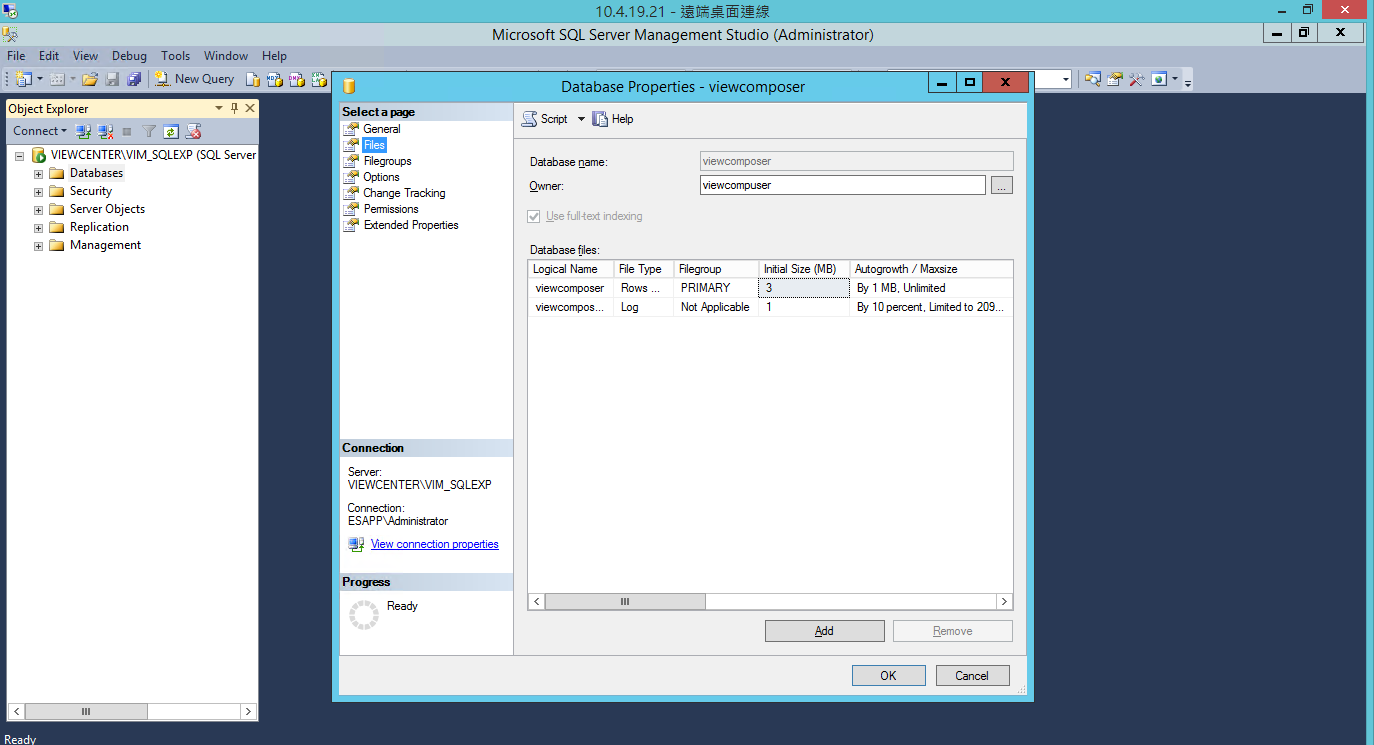
Now we need to create an ODBC Data Source to connect to the Composer database.
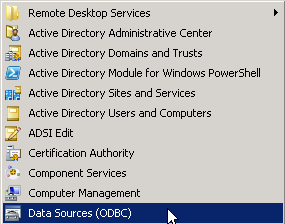
Go to Start –> Administrative Tools –> Data Sources (ODBC)
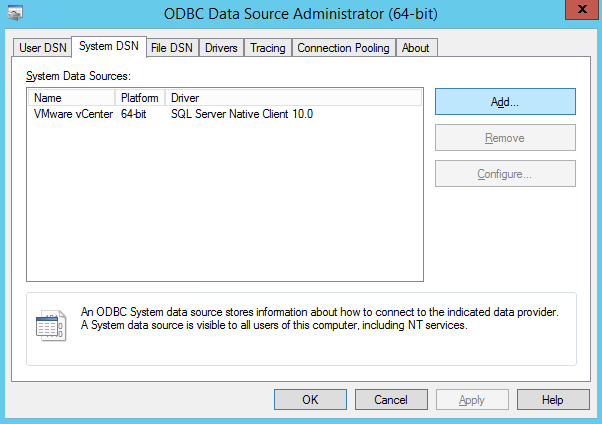
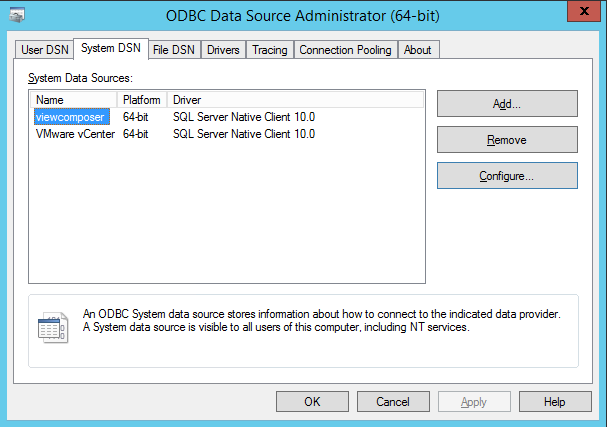
Click on System DSN tab and then click Add.
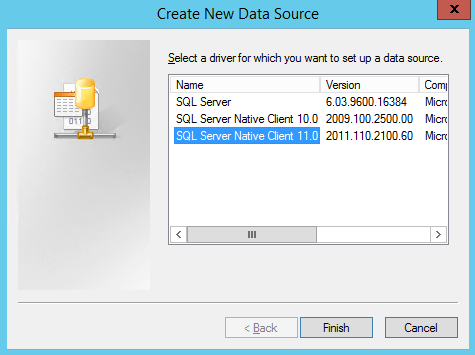
Select SQL Server Native Client 11.0 and click Finish. Then it will launch the wizard for setting up the data source.
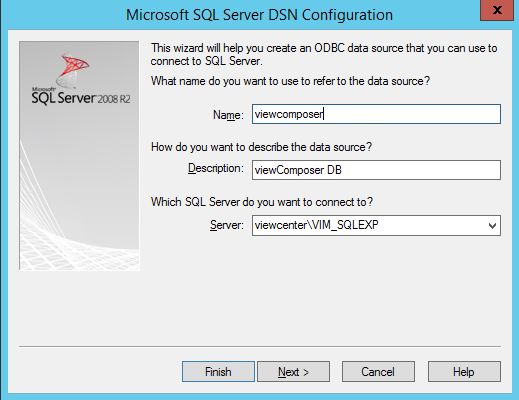
Enter DSN Name, Description and SQL server information and click Next.
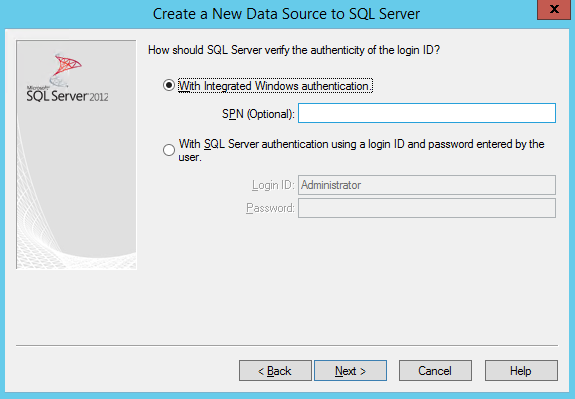
Select Windows authentication and click Next.
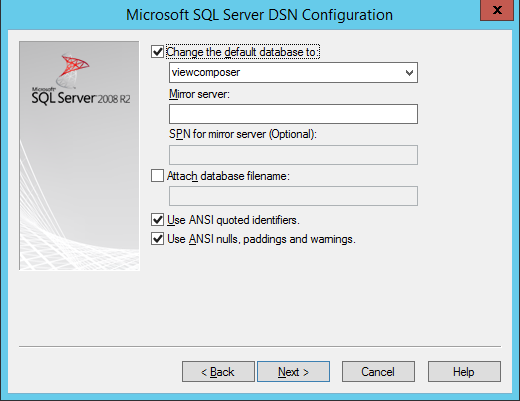
Select Change the default database to and choose viewcomposer and Click Next.
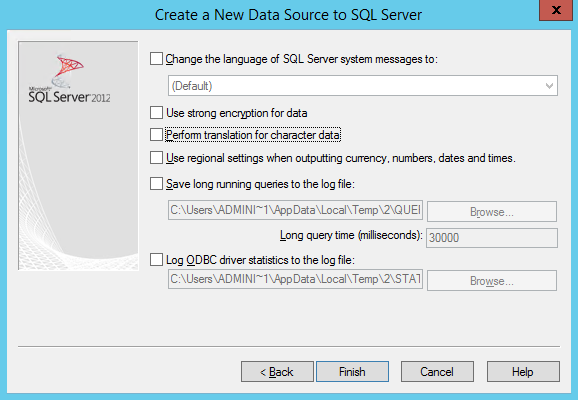
Click on Finish button.
DSN creation completed. You can click on Test Data Source… button to test it.
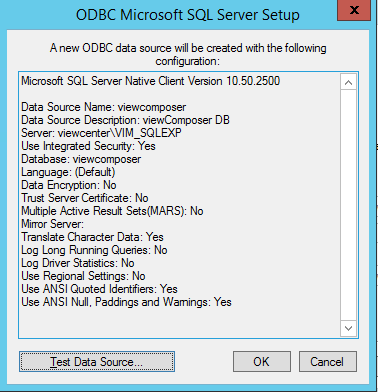
Click OK to close it.
Install Horizon View Composer
Download VMware Horizon View Composer Server software from VMware website.
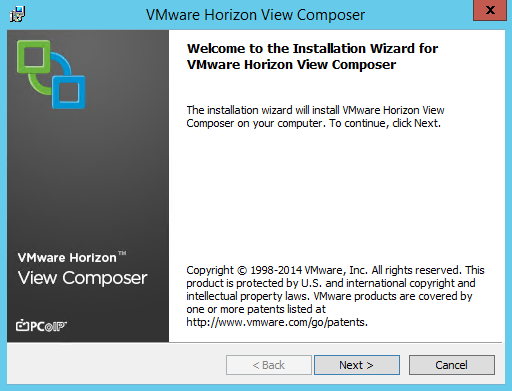
Run the View Composer Installer. Click Next.
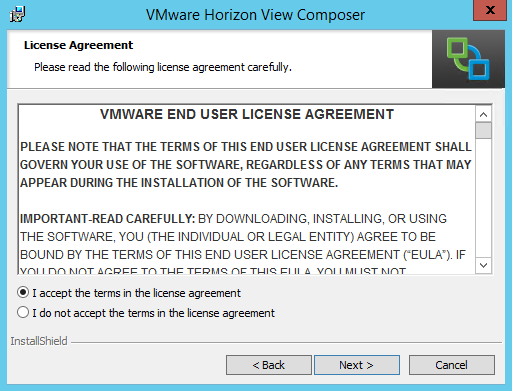
Accept the license agreement and click Next
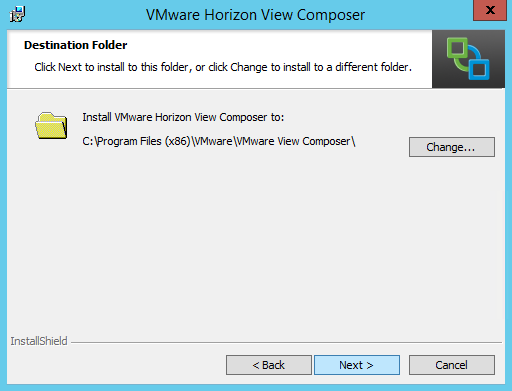
Select the destination folder where Composer will be installed.
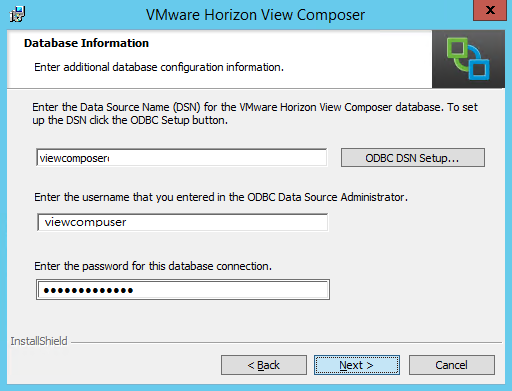
Enter database information here and click Next.
Click Next.
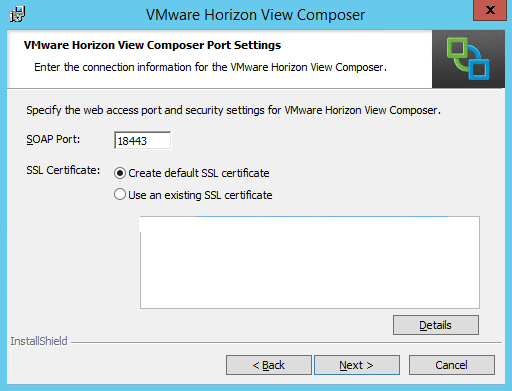
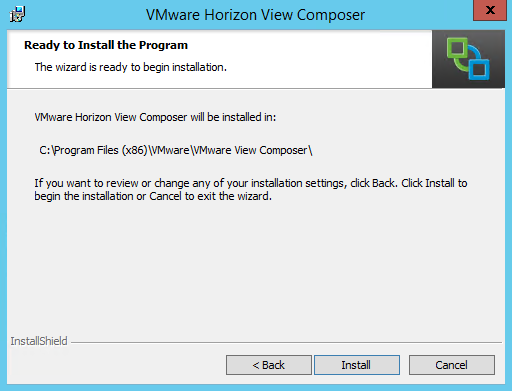
Click Install to start the installation.
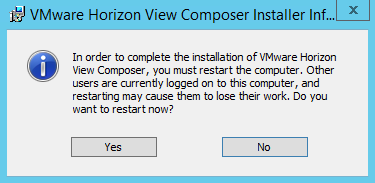
Once the installation is finished, you will be prompted to restart your computer.
Build Master Image of Your Desktop
Create a new VM and install client operation system
Here we install Microsoft Windows 8.1 as the client VM.
Install VMware Tools
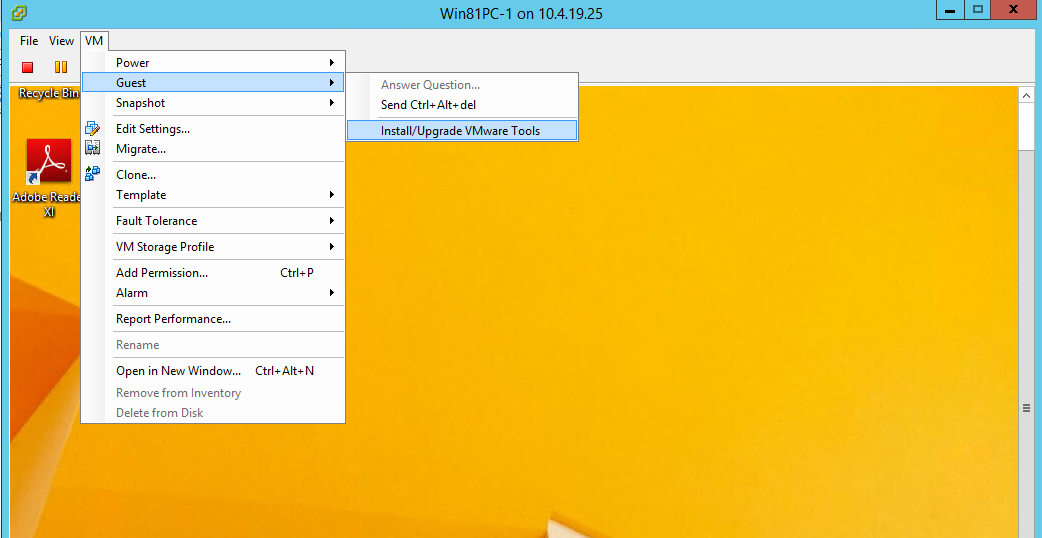
Open the VM console screen and select VMàGuestàInstall/Upgrade VMware Tools from the pull-down menu bar.
Join the template VM to a domain and Configure remote settings
Join the template VM to the domain first.
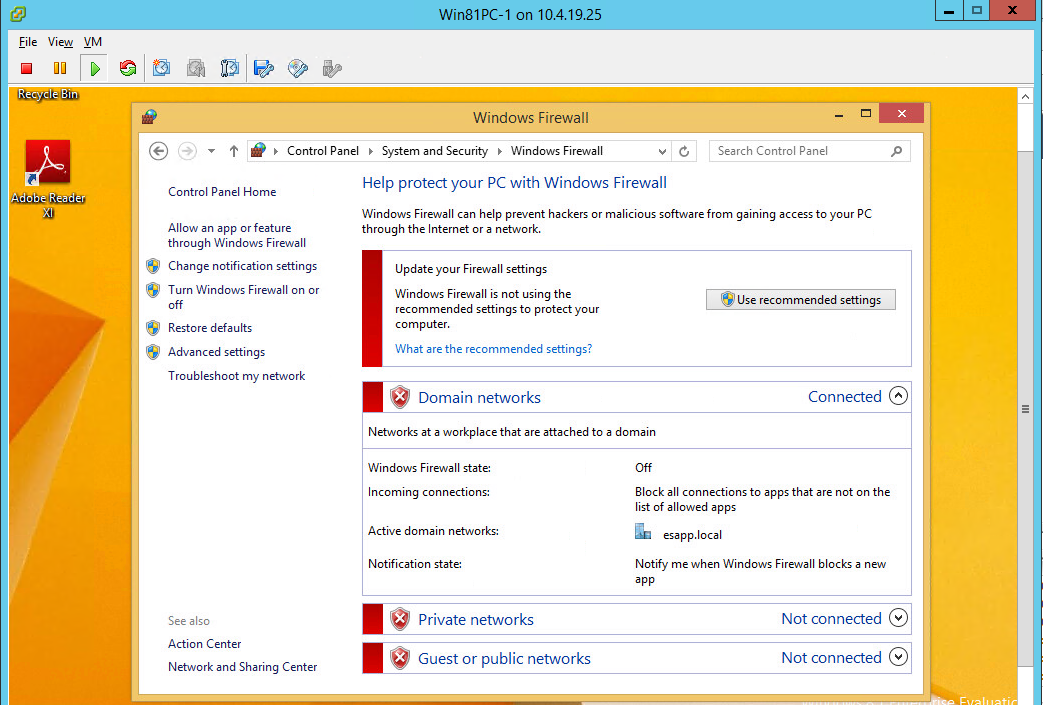
Disable Windows firewall.
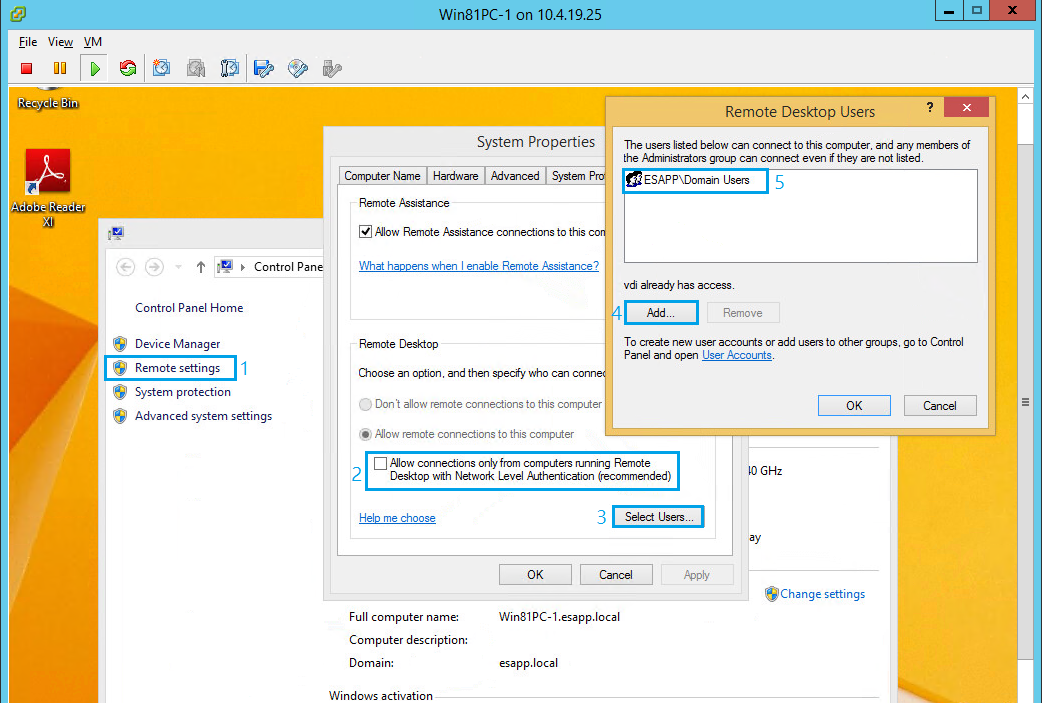
Configure the remote settings to allow domain users to access through the remote desktop.
Install Horizon View Agent software
Download VMware Horizon View Agent software from VMware website.
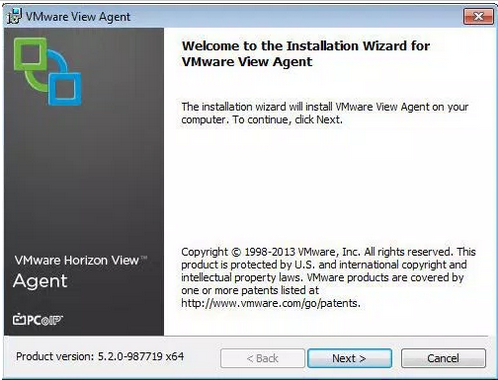
Run the view agent installer and click Next.
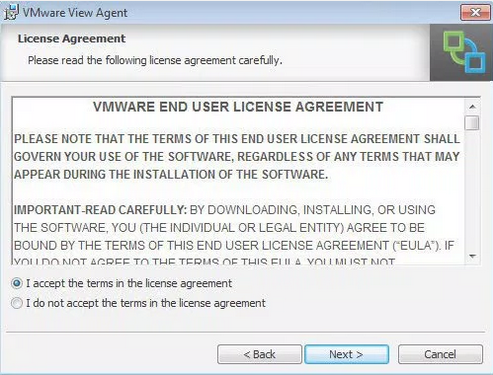
Read and accept the EULA and click Next.
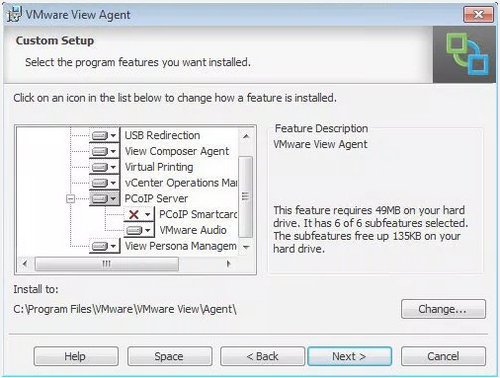
Select modules you want to install and click Next.
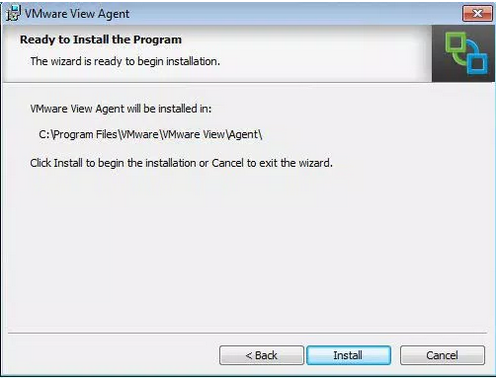
Click Install to start the installation.
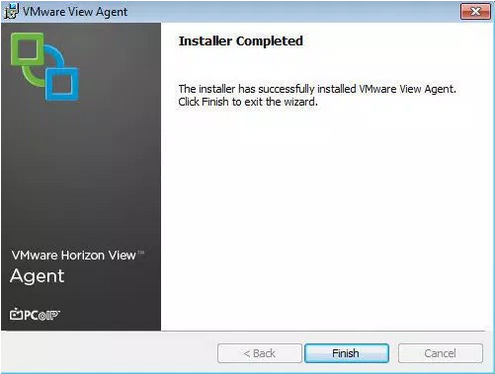
Installation is completed.
Take snapshot of this VM
Before shutdown the VM to take snapshot, please remember to logout this VM from the domain. Then shutdown this VM.
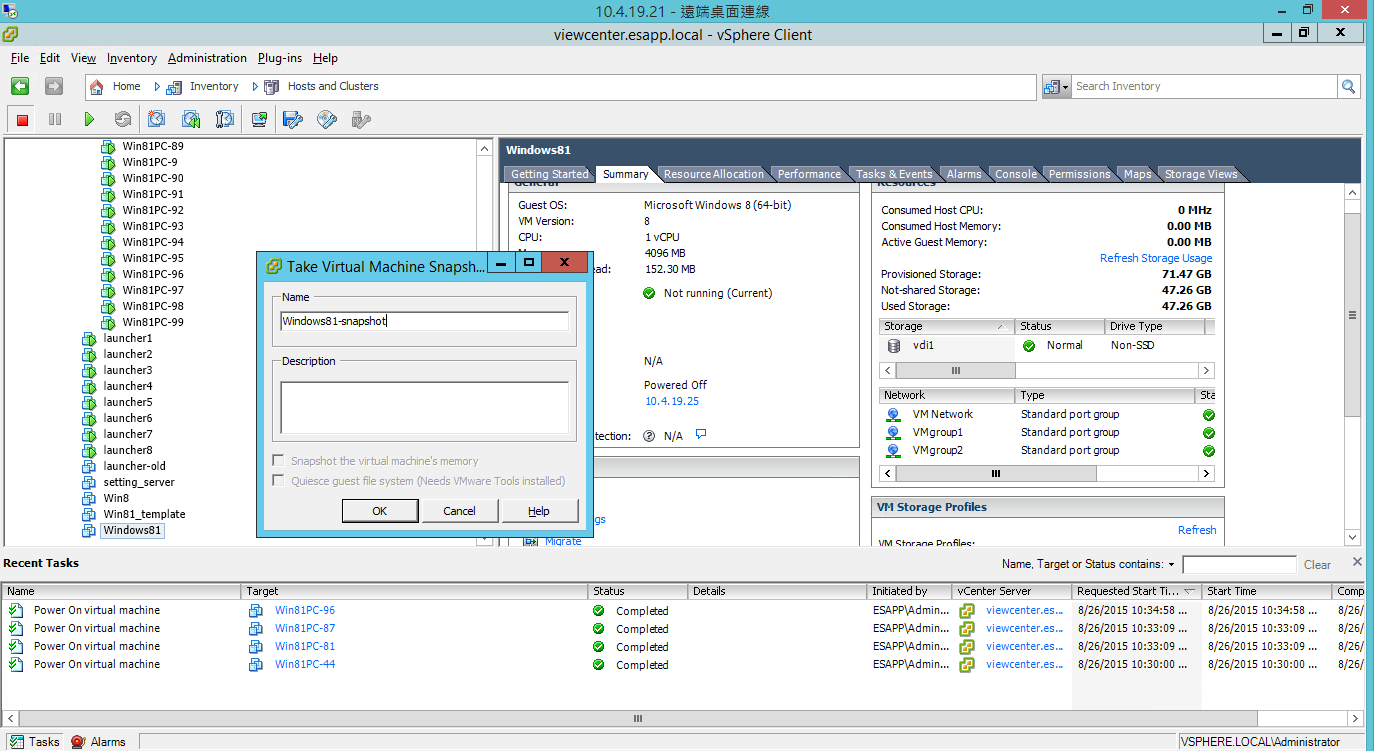
Right-clicking on the VM and select Snapshot → Take snapshot…
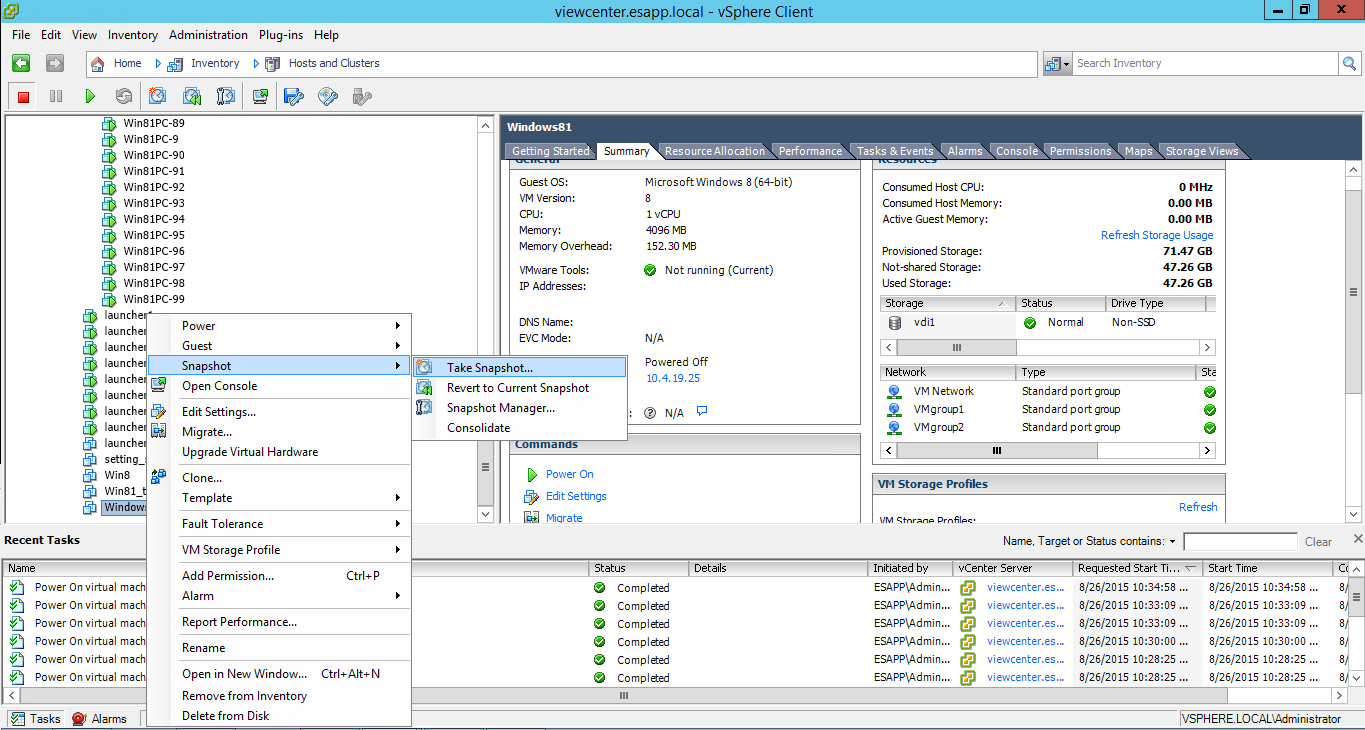
Assign the snapshot name and click OK to complete it.
View Desktop Pool
Configure View Administration
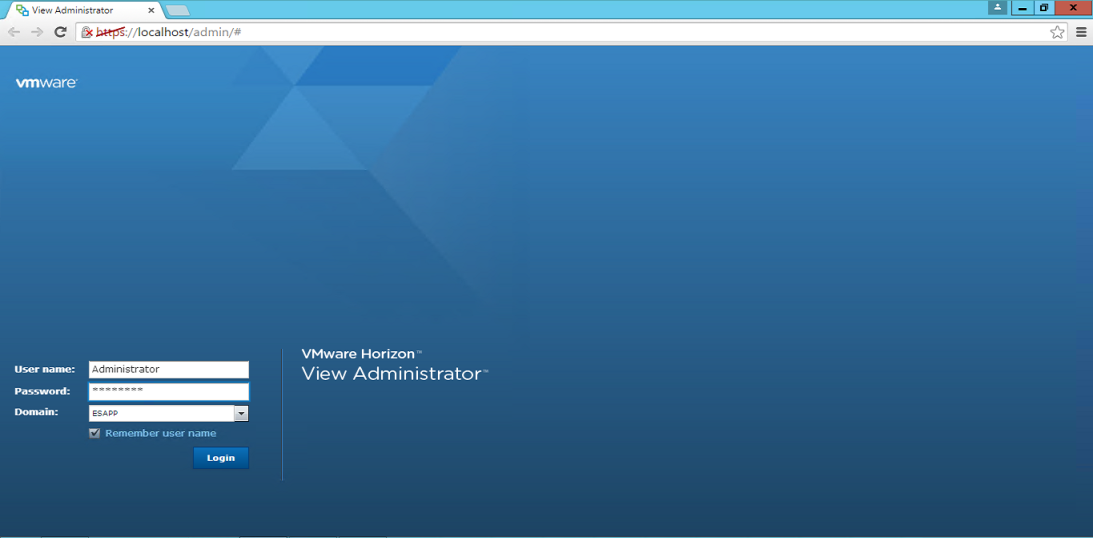
Click on  to connect to View Administrator Console.
Enter user and password to login View Administration page.
Below is the View Administration page
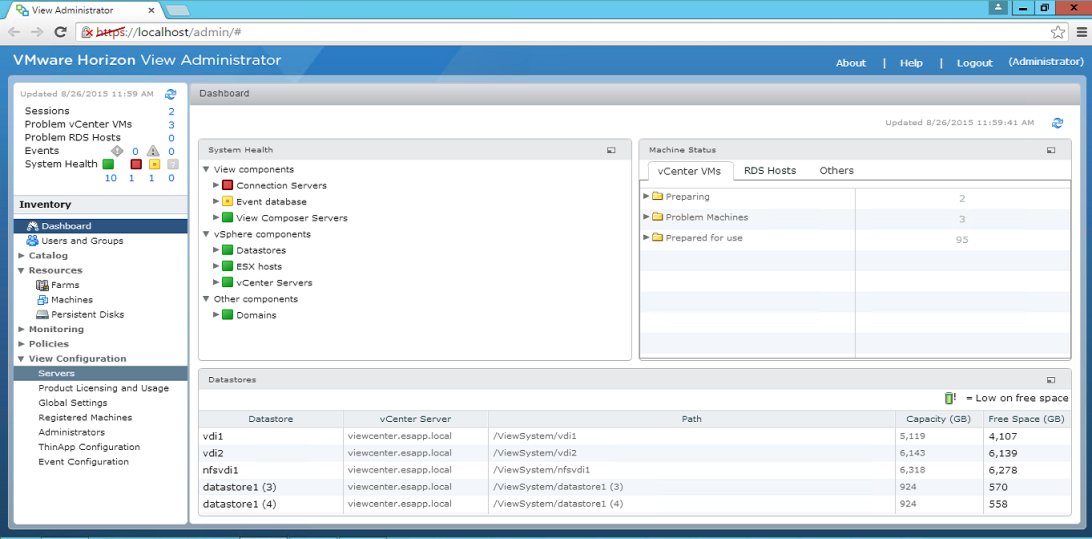
For the first time to configure View environment, you need to add vCenter server into it and so that it can communicate with vCenter server.
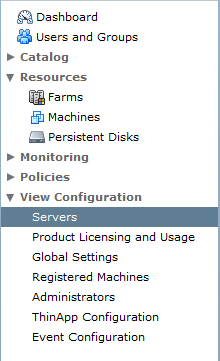
Expand View Configuration and select Servers
Select the vCenter Servers tab and select Add…

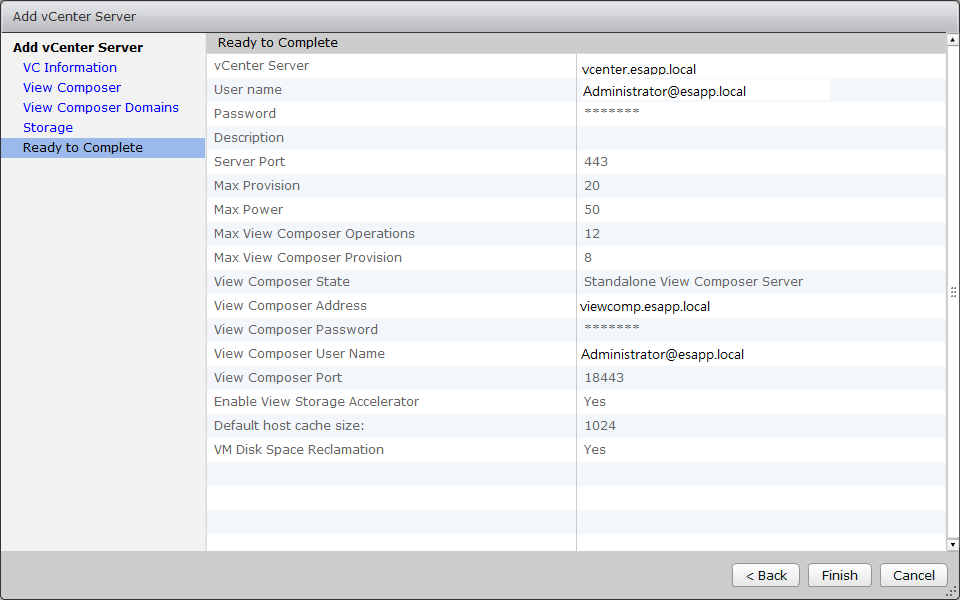
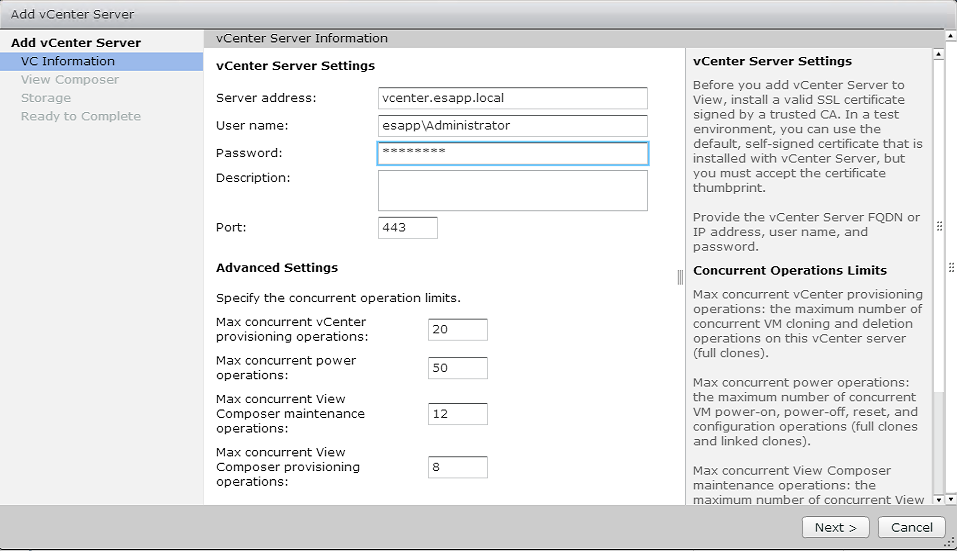
Enter your vCenter server information here and click Next.
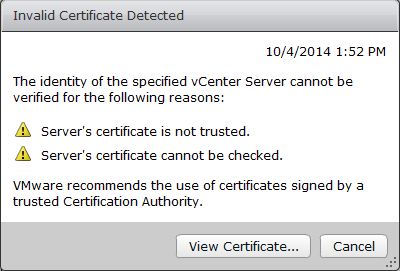
Click on View Certificate… button the view and accept the certificates.
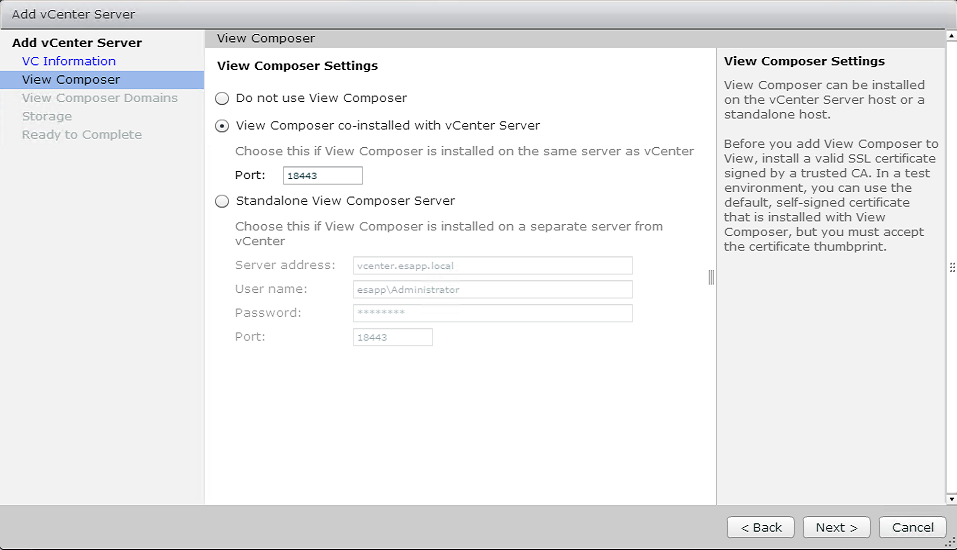
Since we installed view composer on vCenter server, choose View Composer co-installed with vCenter Server here and click Next.
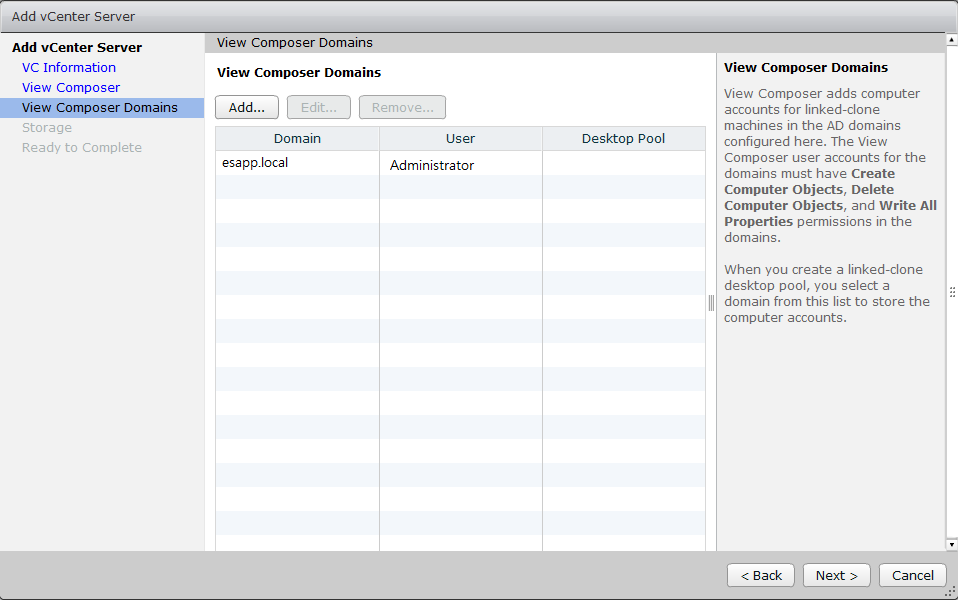
Add Composer Domains.
View the settings and click on Finish button to complete the settings.
Configure View Desktop Pool
Expand Catalog and select Desktop Pools and then click on Add… button.
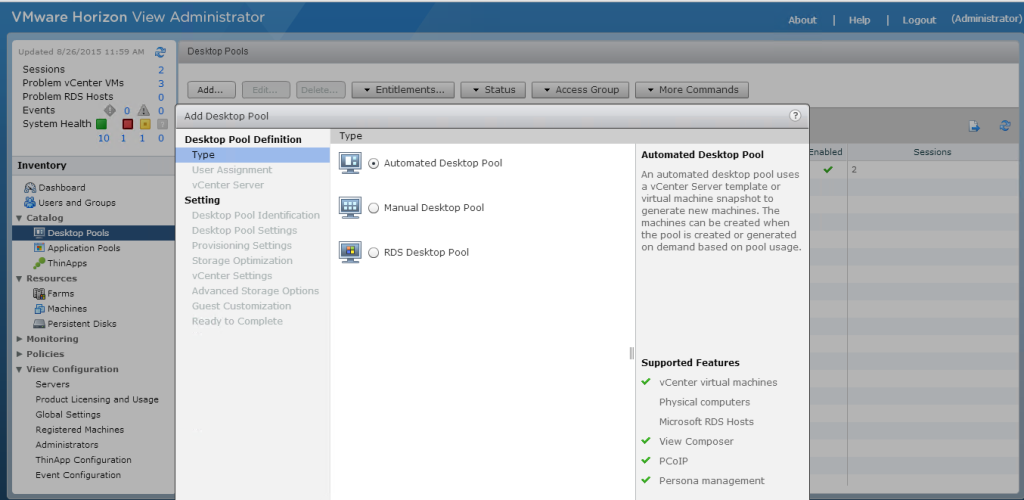
We choose Automated Desktop Pool here and click Next.
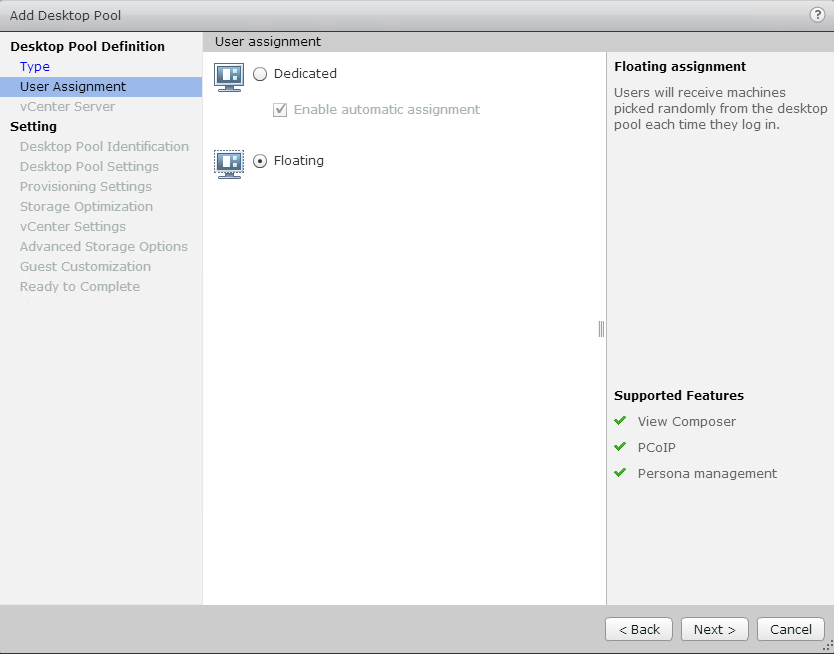
Select Floating option and click Next.
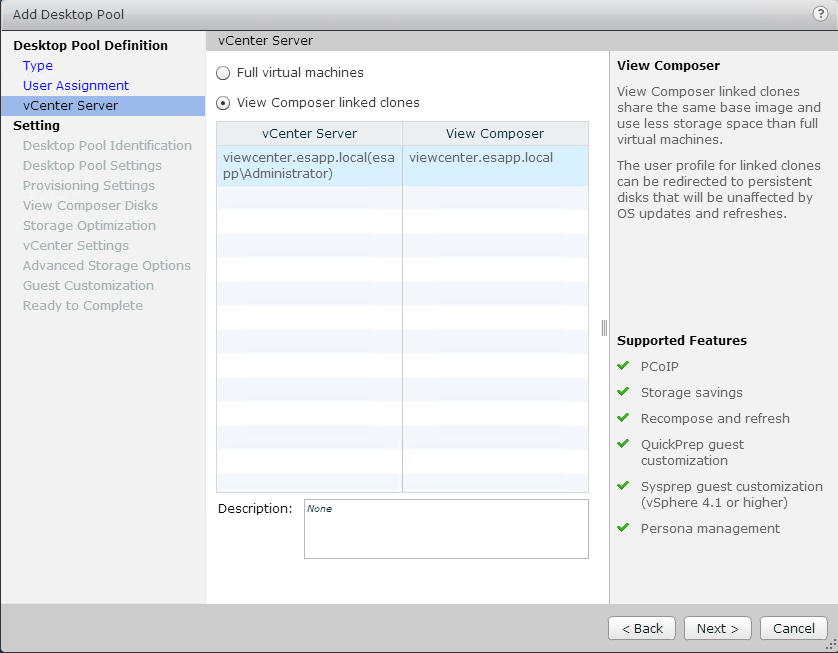
Choose View Composer linked clones and click Next.
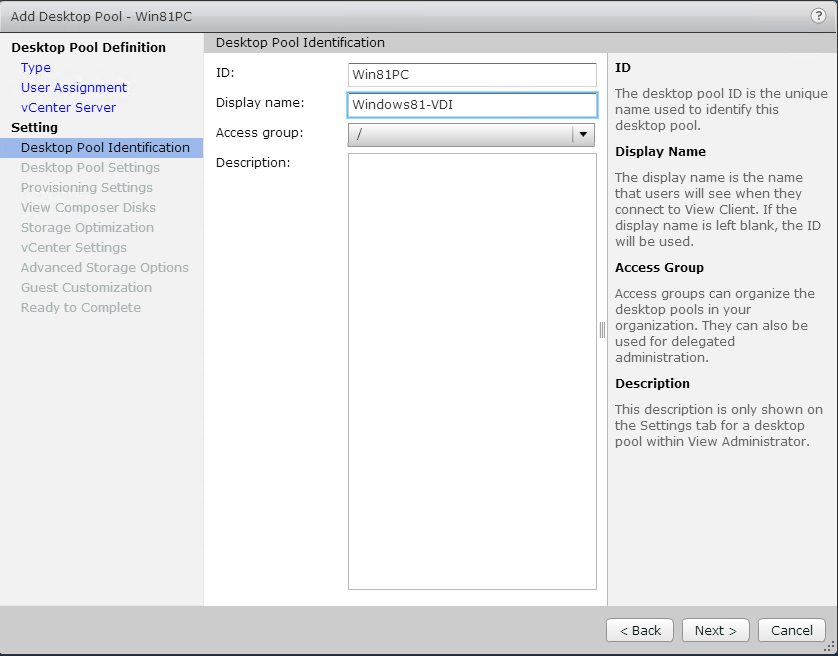
Enter ID and Display Name and click Next.
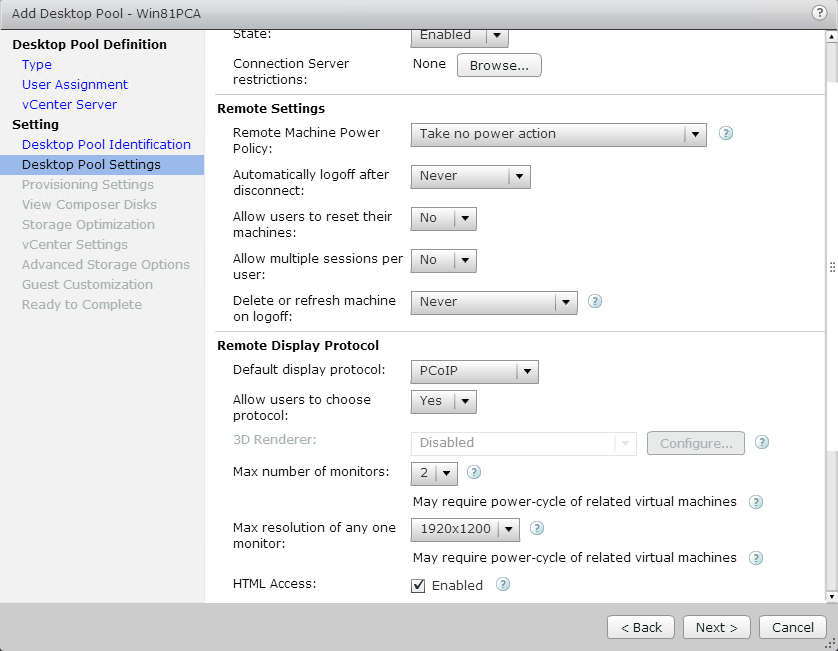
Check HTML Access if you want to access VDI from the web browser and click Next.
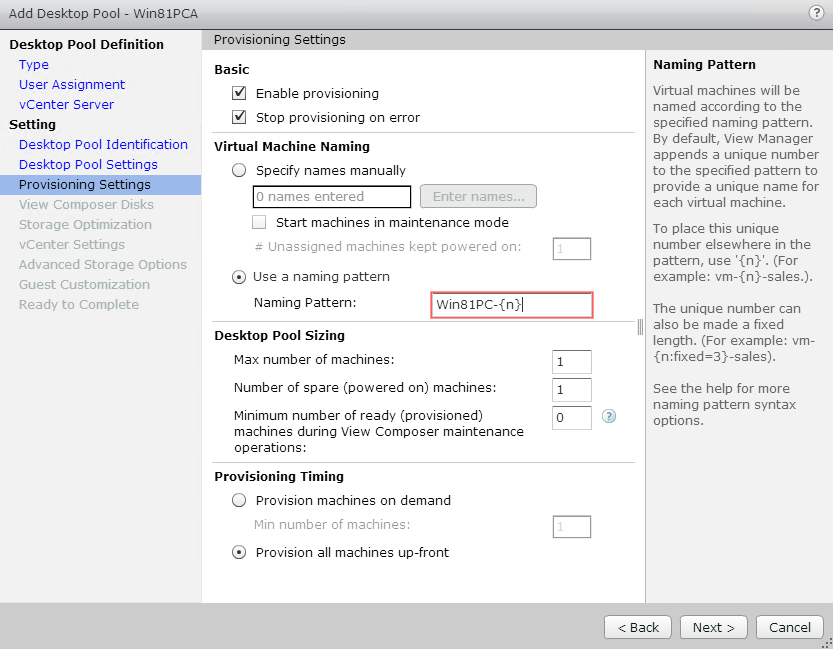
Choose Use a naming pattern and enter Name Pattern and click Next.
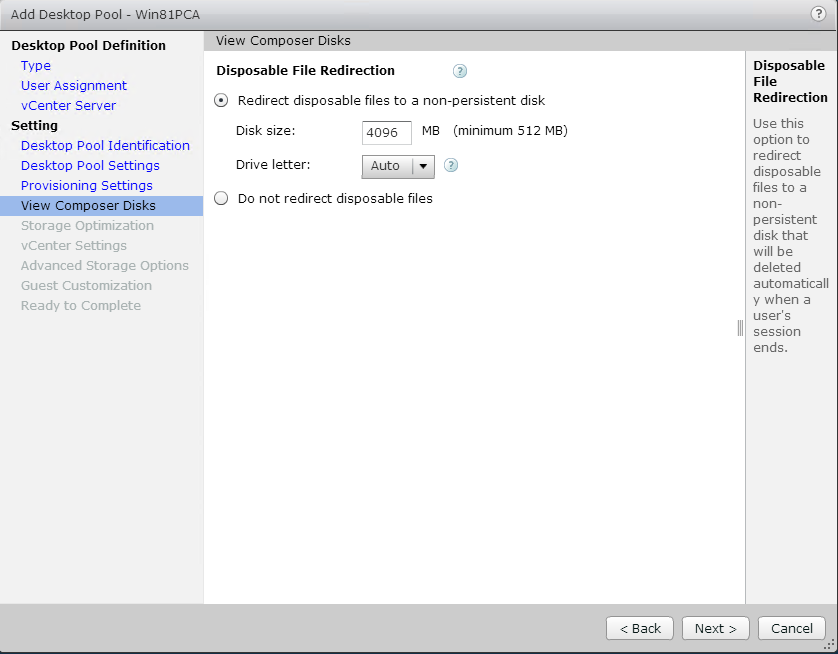
Click Next.
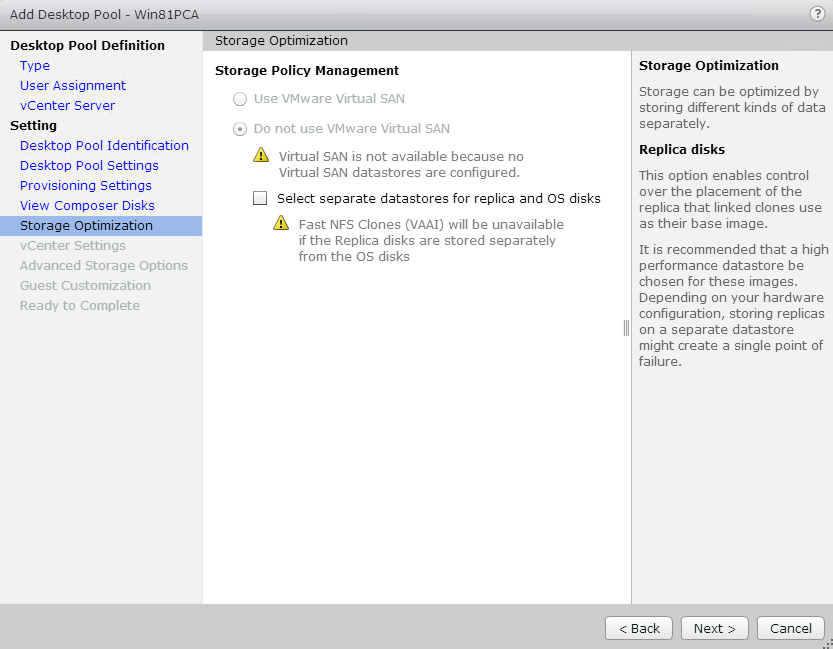
Click Next.
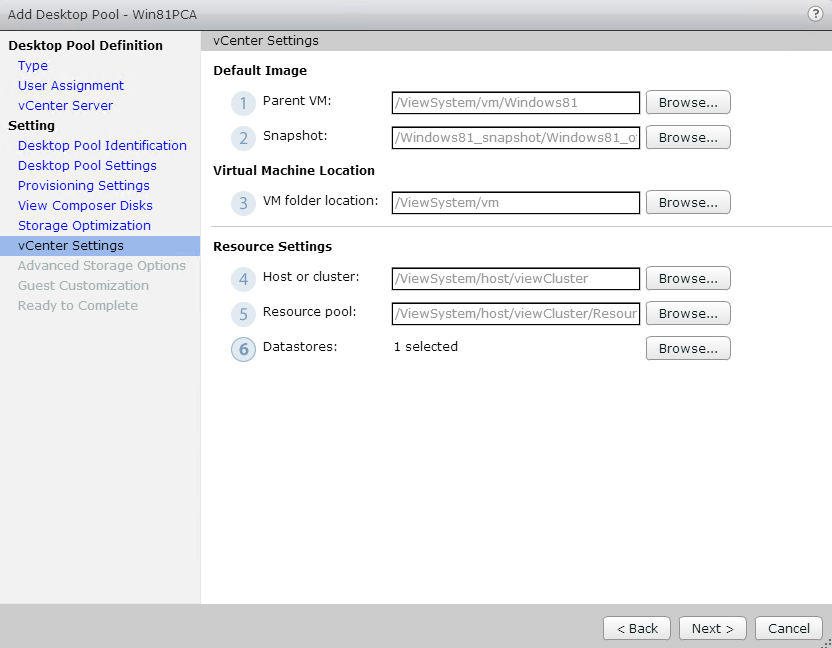
Click Browse… button to select information for each items and click Next.
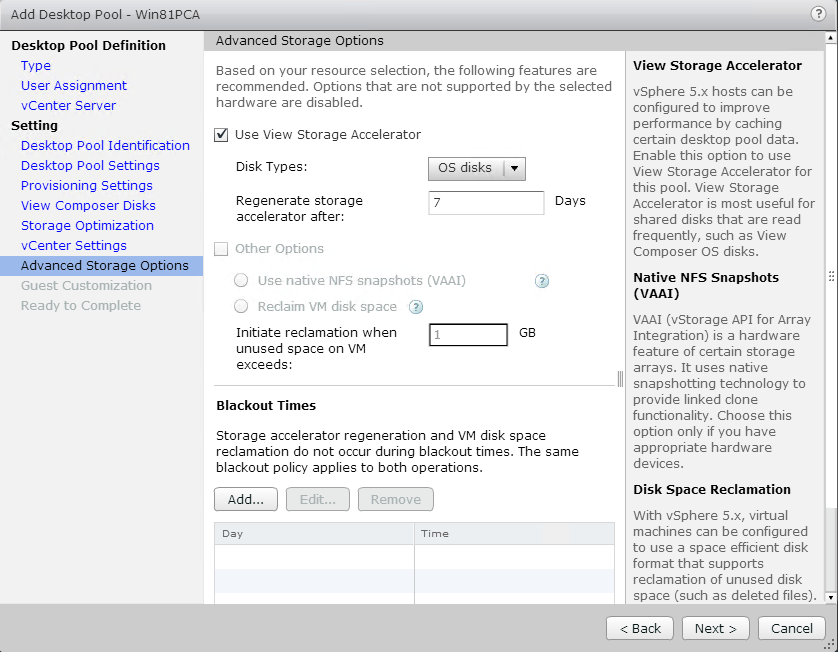
Click Next.
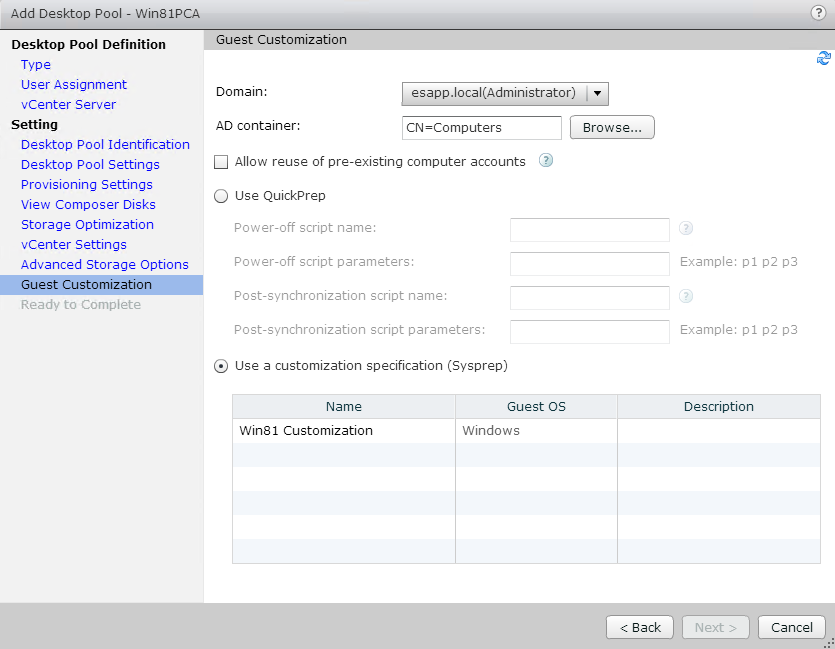
Select the domain and AD container and click Next.
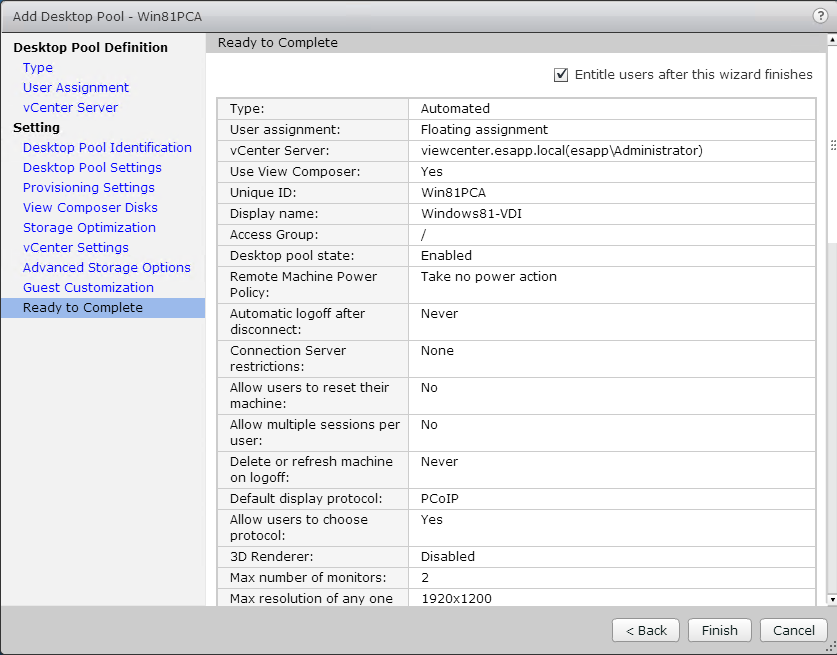
Check whether all settings are correct. If yes, click Finish button to complete it. If no, you can click on Back button to modify it.
The View Desktop Pool is created.
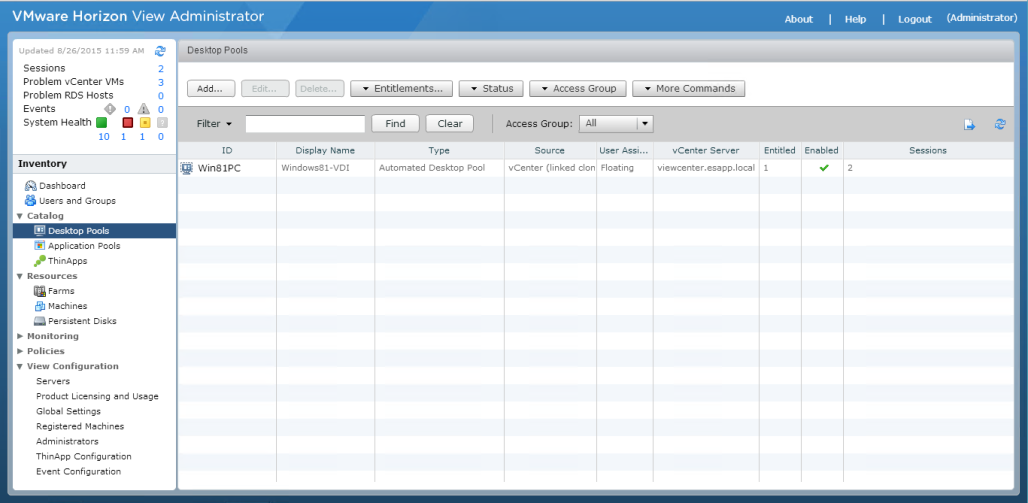
Start provisioning multiple VMs.
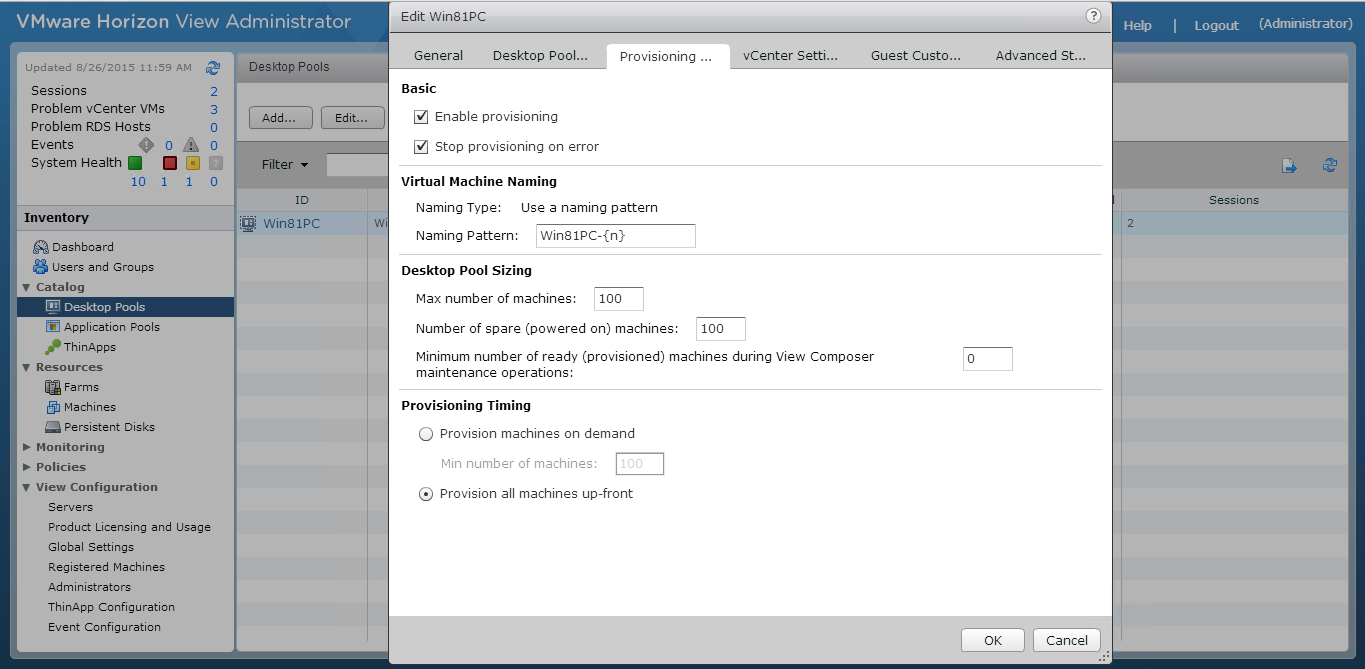
Select Desktop Pool and click on Edit… button. Select Provisioning… tab.
Select Enable provisioning checkbox. Enter the number of the VMs you want to create and click OK.
In Resources à Machines, you can see all VMs created.

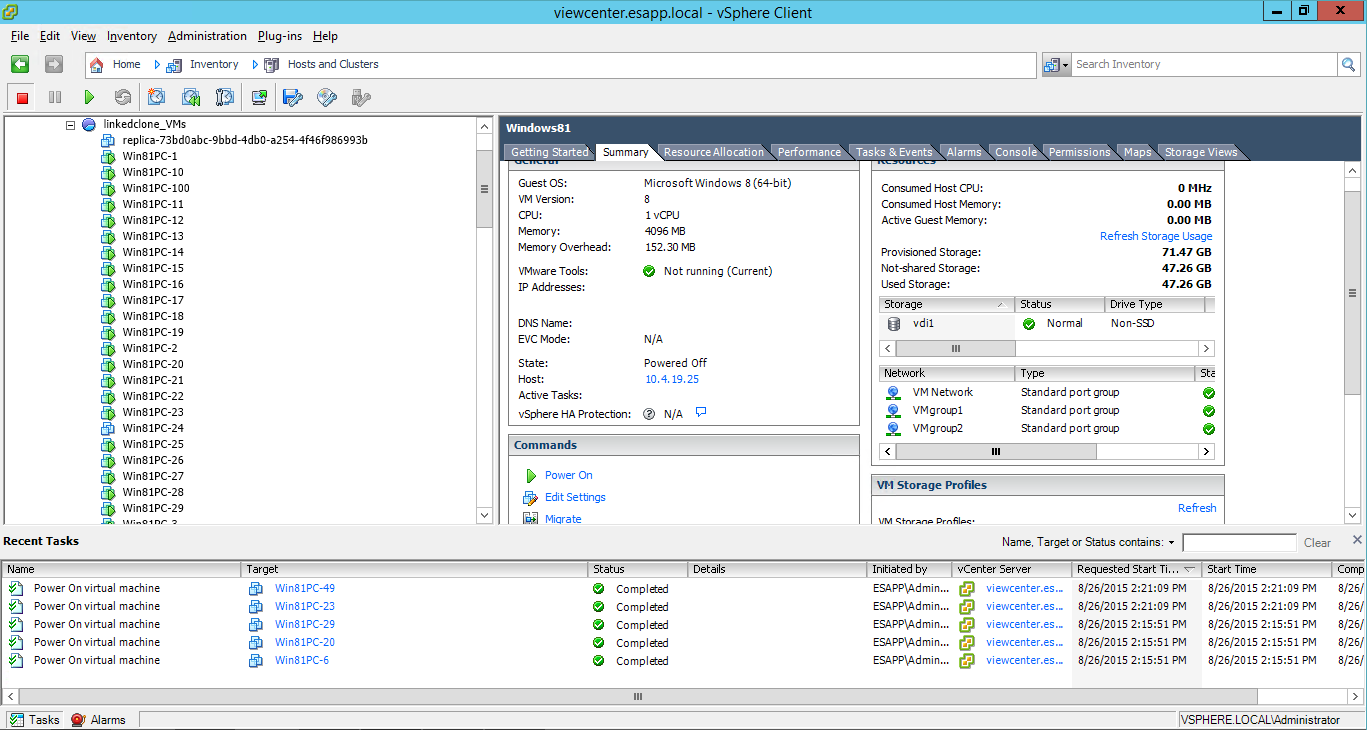
Or you can check these VMs in vCenter server.
