Remote replicate iSCSI LUN and Shared Folder using SnapSync on QNAP Enterprise Storage
Overview
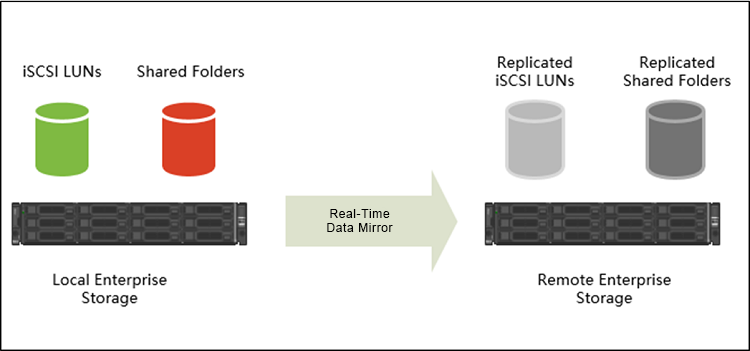
What is (Real-Time)SnapSync ?
SnapSync is a disaster recovery solution that enables you to back up data from the local NAS to another QNAP NAS using block-level replication in real time. Real time means each time data is written to the source NAS, it is also immediately written to the destination NAS, reducing backup time and the risk of data loss.
Important
- The network connection between the two NAS devices must not use port forwarding or NAT virtual servers.
- If the two NAS devices are on different WANs, then they must be connected using a site-to-site VPN tunnel.
Advantages of SnapSync
Using block level to perform differential backup provides quicker recovery time as it only requires a full backup and the last differential backup to restore the entire data repository.
System Configuration
| Local Site ES1640dc v2 Network Settings | ||
|---|---|---|
| Role | IP | Description |
| SCA Management | 192.168.101.13 | Management IP of controller A |
| SCA Ethernet 1 | 10.1.1.13 | 10G Data port 1 in controller A |
| SCA Ethernet 2 | 10.1.2.13 | 10G Data port 2 in controller A |
| SCB Management | 192.168.101.14 | Management IP of controller B |
| SCB Ethernet 1 | 10.1.1.14 | 10G Data port 1 in controller B |
| SCB Ethernet 2 | 10.1.2.14 | 10G Data port 2 in controller B |
| Remote Site ES1640dc Network Settings | ||
|---|---|---|
| Role | IP | Description |
| SCA Management | 192.168.101.11 | Management IP of controller A |
| SCA Ethernet 1 | 10.1.1.11 | 10G Data port 1 in controller A |
| SCA Ethernet 2 | 10.1.2.11 | 10G Data port 2 in controller A |
| SCB Management | 192.168.101.12 | Management IP of controller B |
| SCB Ethernet 1 | 10.1.1.12 | 10G Data port 1 in controller B |
| SCB Ethernet 2 | 10.1.2.12 | 10G Data port 2 in controller B |
| Storage Settings | ||
|---|---|---|
| Setting | Name | Description |
| Shared Folder in Local site SCB | Replica_Shared | Local site shared folder |
| iSCSI LUN in Local site SCB | Replica_LUN | Local site iSCSI LUN |
| Shared Folder in Remote site SCA | Backup_Shared | Remote site shared folder for NAS to NAS replication |
Set up SnapSync Server
Add remote host
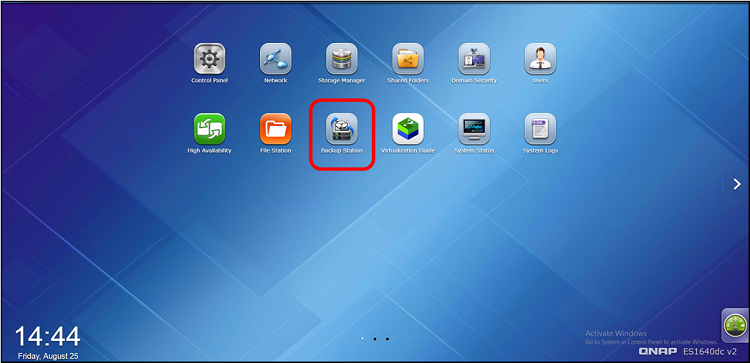
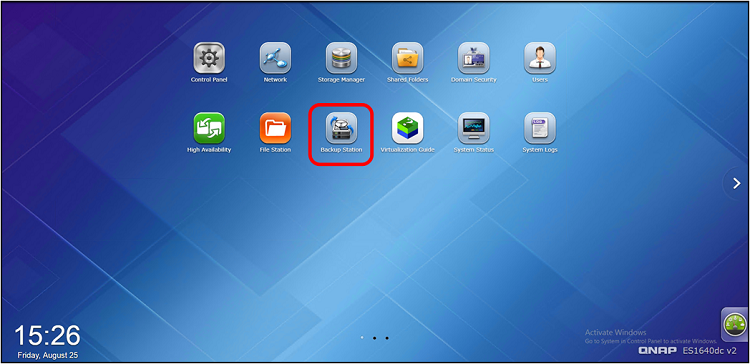
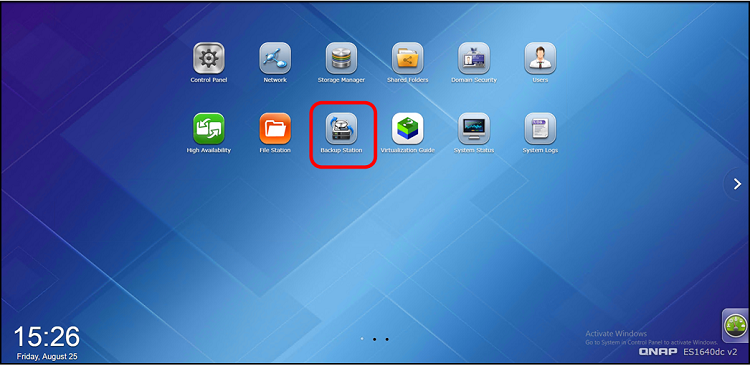
Step 1: Open “Backup Station”.
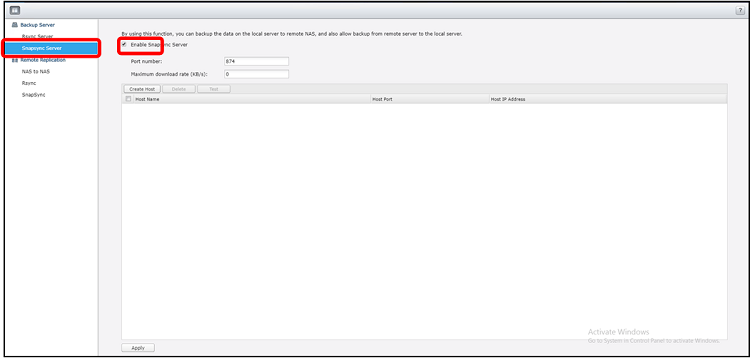
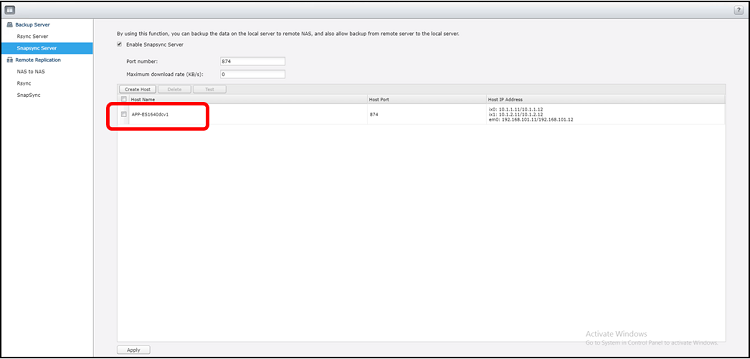
Step 2: Select "Snapsync Server" on the left panel and click "Create Host'.
Step 3: Enter the remote storage’s management IP in Remote IP Address and the admin Password. Click "Apply".
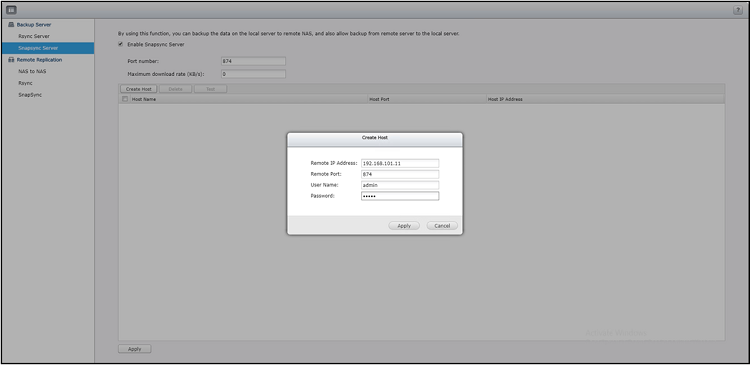
Step 4: The remote server will now be connected.
SnapSync for Shared Folders
Create Shared Folder Replication Job
Step 1: Open “Backup Station”.
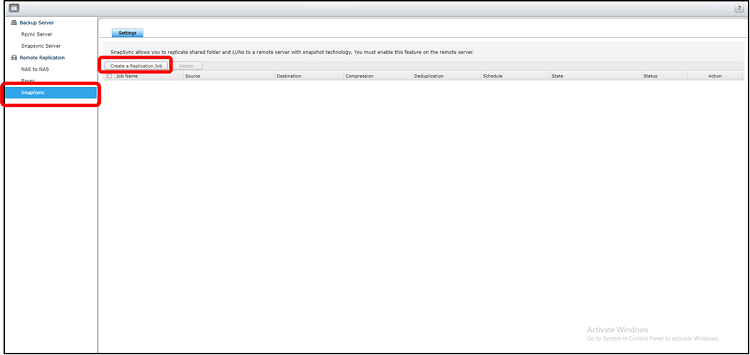
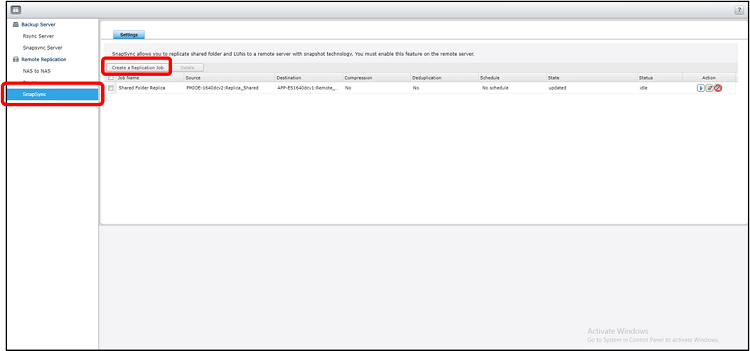
Step 2: Select “SnapSync” on the left panel and click “Create a Replication Job”.
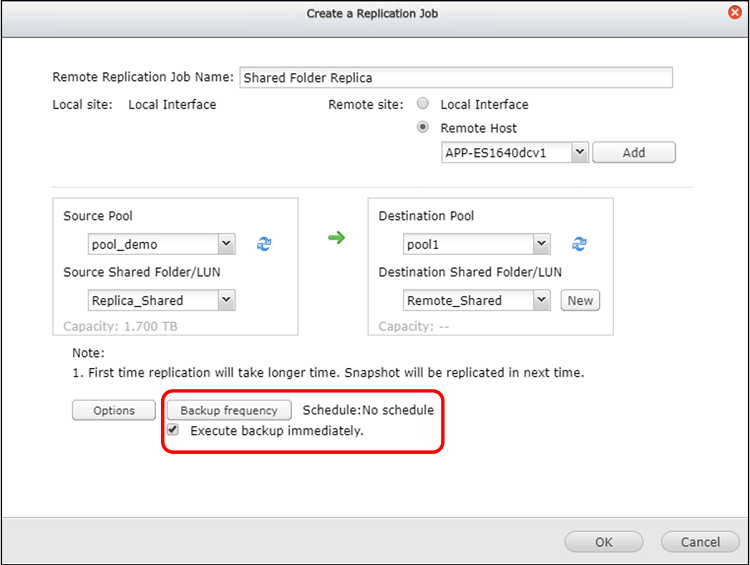
Step 3: Select the Remote Host, Source Pool and Source Shared Folder you created earlier and click “New” to create a Destination Shared Folder.
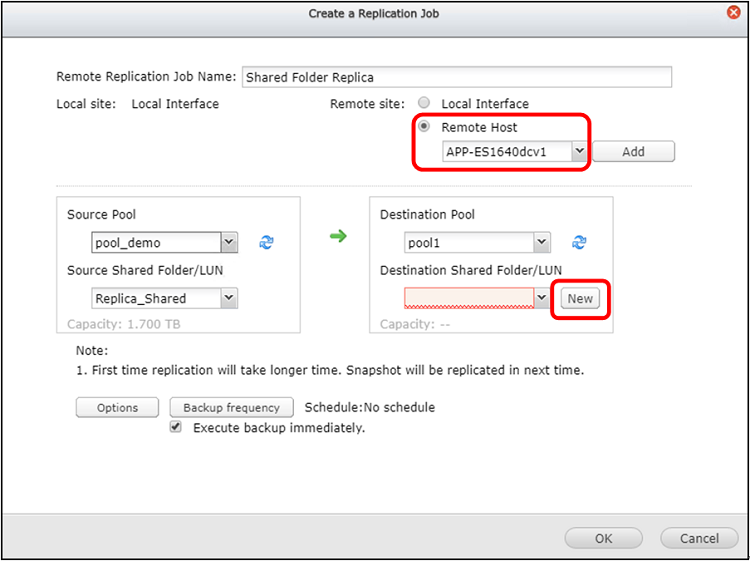
Step 4: Users can schedule their backup by clicking Backup frequency, or the default setting will be Execute backup immediately.
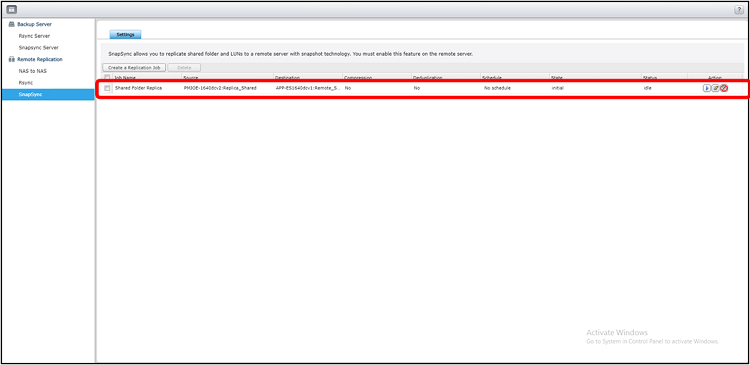
Step 5: The Replication Job will be created.
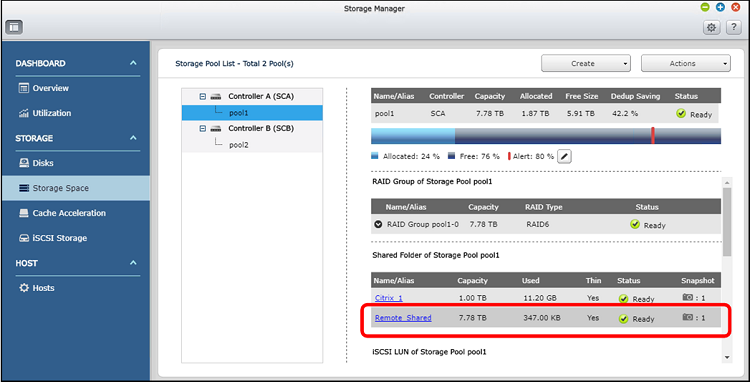
Step 6: The destination shared folder, Remote_Shared will be created on the remote site.
Note:
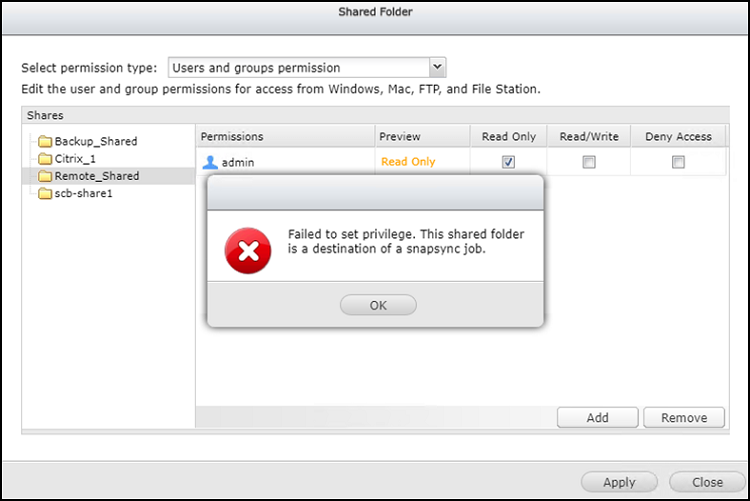
- To prevent accidental changes, destination shared folders are set as Read-Only until the SnapSync connection is removed.
- The destination shared folder’s configuration is separate from the source, so the Storage settings and access privileges must be reconfigured.
Configure Storage Settings and Permissions on Remote Site
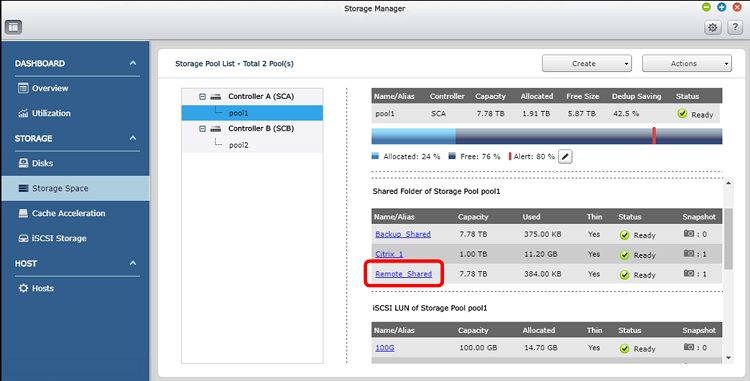
To check the content of the shared folder on the remote site, you need to configure the Storage Settings and Services and Permissions.
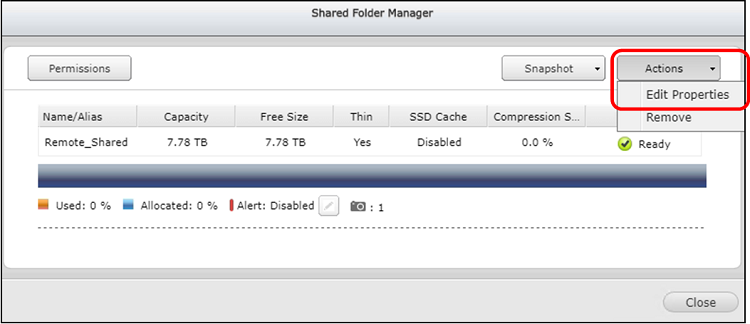
Step 1: Select the shared folder on the remote site.
Step 2: Click “Actions” > “Edit Properties”.
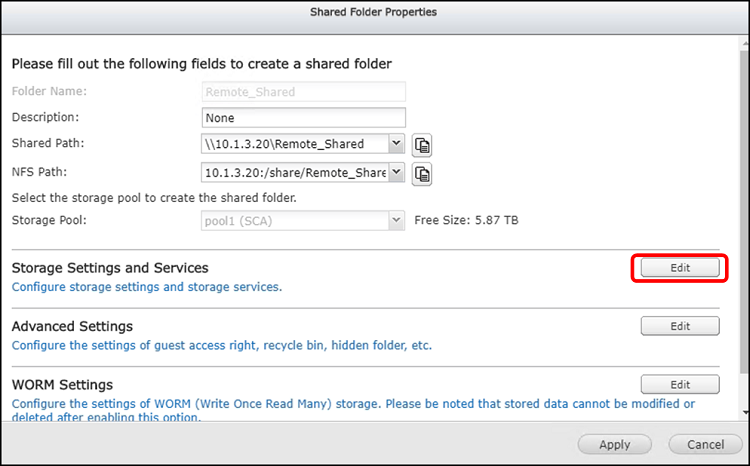
Step 3: Clickt “Edit” in Storage Settings and Services.
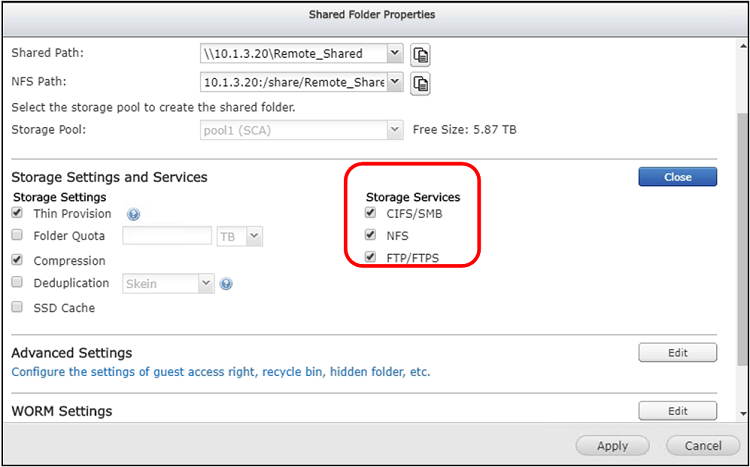
Step 4: Check all Storage Services and click “Apply”.
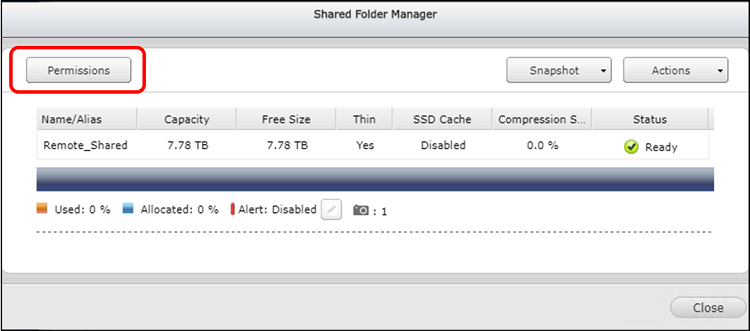
Step 5: Return to the Shared Folder Manager window and click “Permissions”.
Step 6: In the Select permission type drop-down list, select Users and groups permission and click “Add”.

Step 7: Check “RO” and click “Add”.
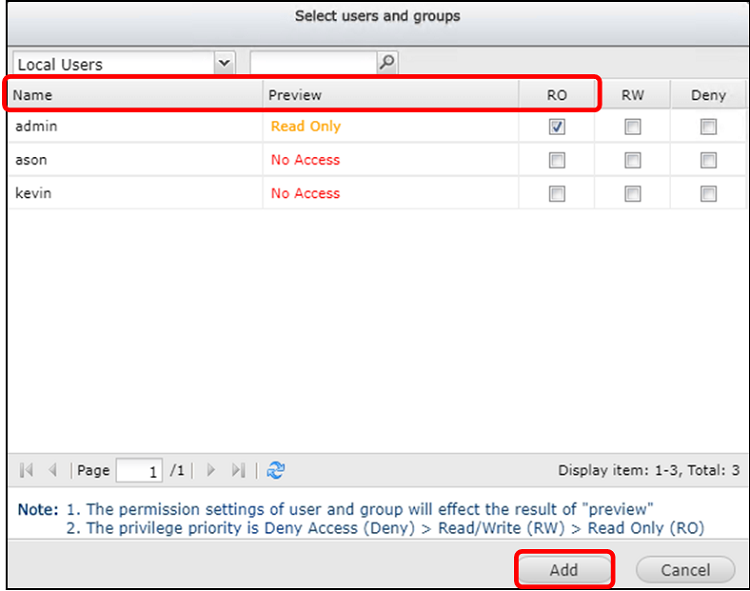
Step 8: As long as the SnapSync is still active, the destination shared folder can only be set in Read Only mode.
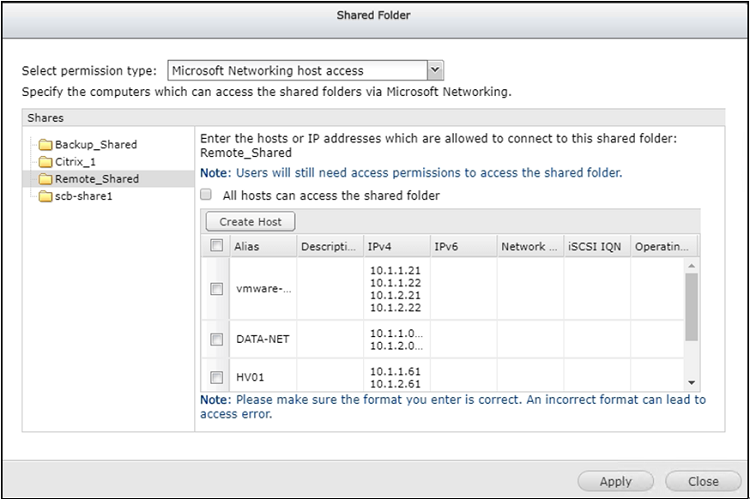
Step 9: Click “Apply” in the Select permission type drop-down list, select Microsoft Networking host access.

Step 10: Select existing hosts, or create a new host to access this shared folder, and click “Apply”.
SnapSync for iSCSI Storage
Create iSCSI Storage Replication Job
Step 1: Open Backup Station.
Step 2: Select “SnapSync” on the left panel and click “Create a Replication Job”.
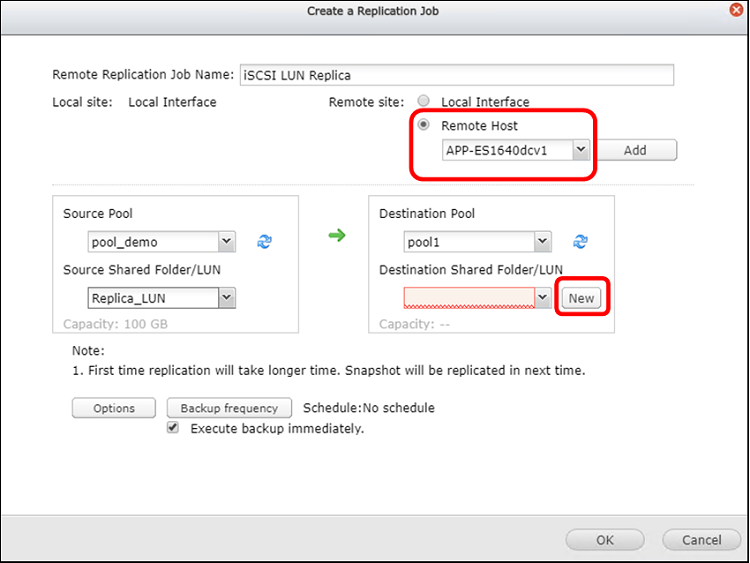
Step 3: Select the paired Remote Host, Source Pool, and Source LUN you created earlier, and click “New” to create a Destination LUN.
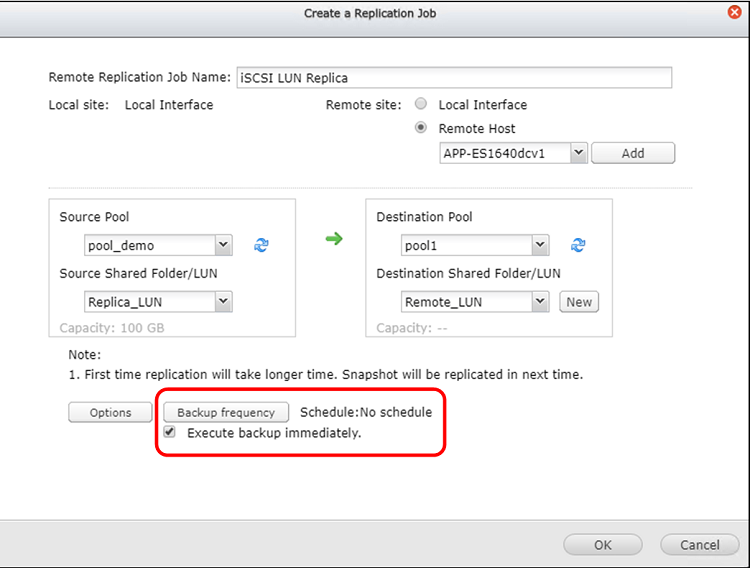
Step 4: Users can schedule their backup by clicking “Backup frequency”, or the default setting will be Execute backup immediately.
Step 5: The Replication Job will be created.
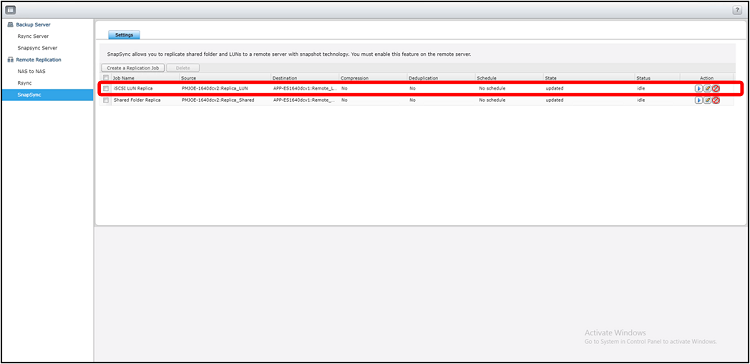
Step 6: The destination LUN will be created on the remote storage.

Note:
To prevent accidental changes, destination LUNs are set as Read-Only mode and cannot be discovered by iSCSI initiators until the SnapSync connection is removed.


