How to secure and protect my data on myQNAPcloud Storage?
This tutorial demonstrates how to secure and protect your data on myQNAPcloud Storage using advanced security features such as Personal Vault, Lock/Unlock, and WORM (Write Once, Read Many). These features not only enhance data security but also provide better privacy and data integrity.
Personal Vault
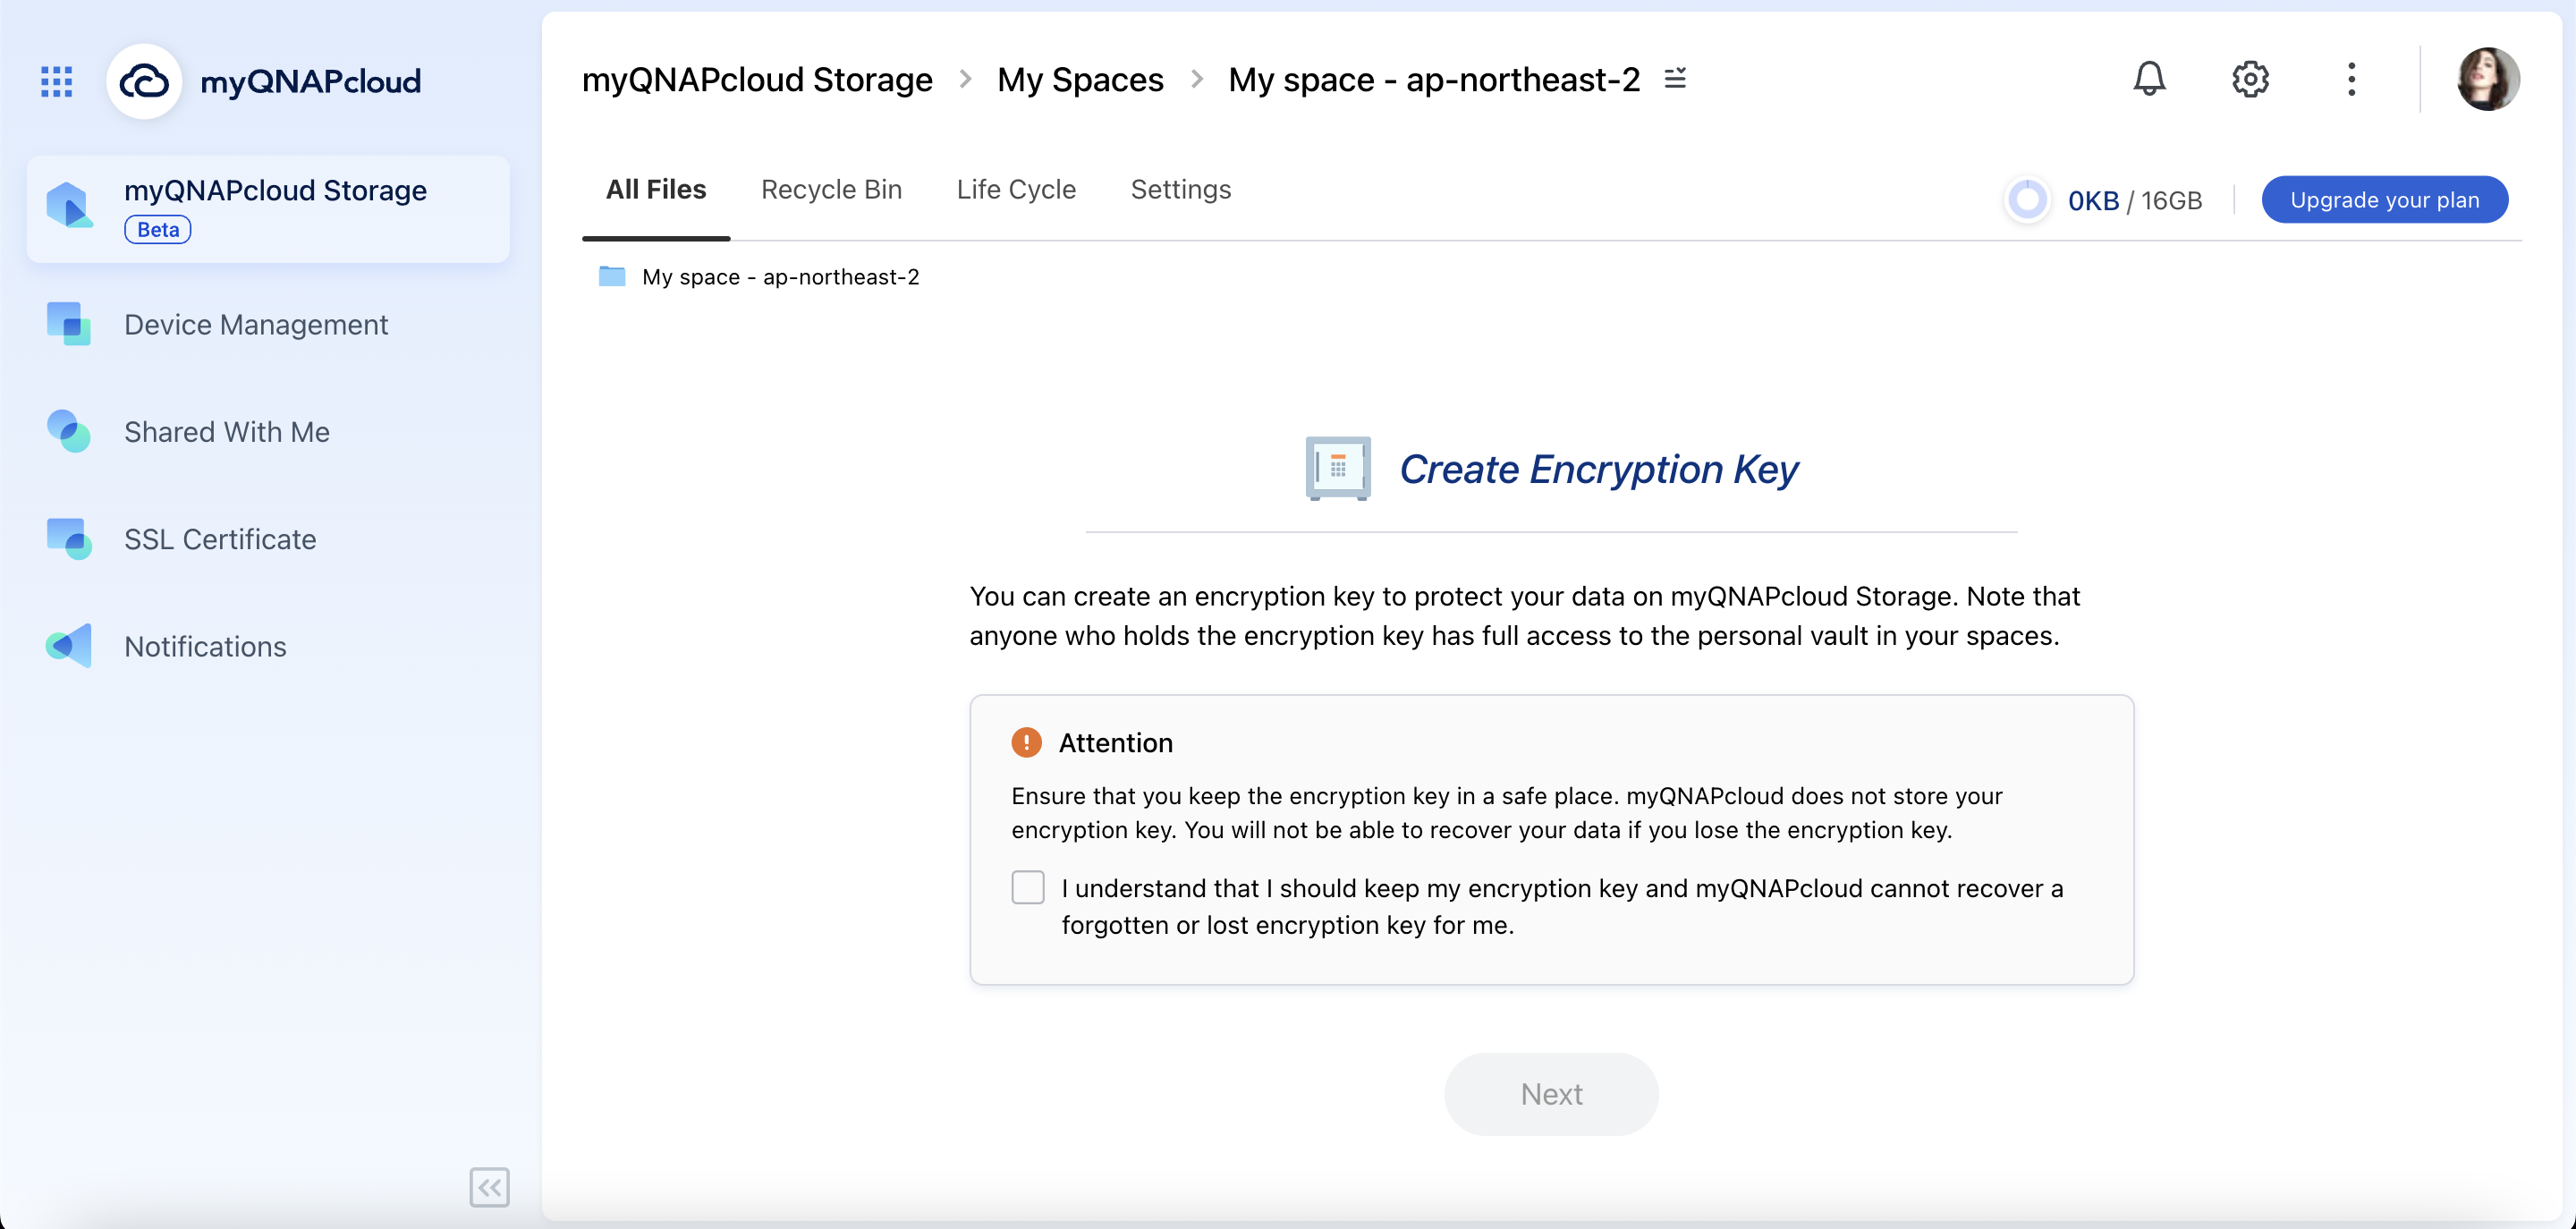
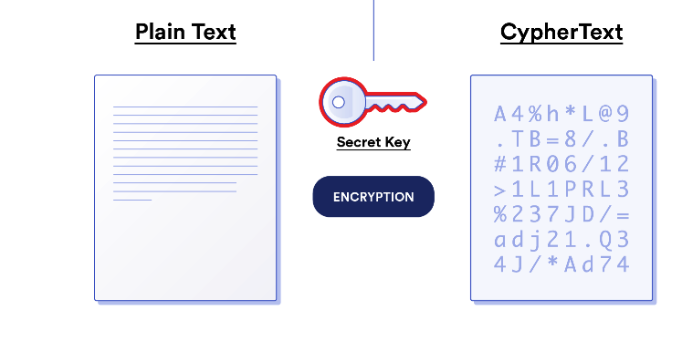
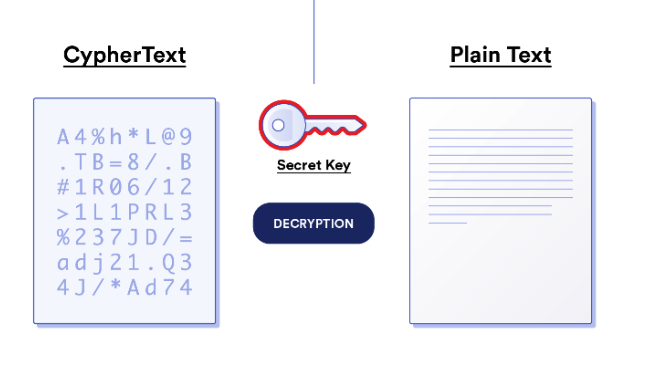
Personal Vault offers robust protection for your sensitive files through zero-knowledge encryption. This end-to-end encryption keeps your files private and secure during both storage and data transfer, preventing unauthorized access at every stage. Your files are encrypted with an encryption key before they are uploaded to your space. Since only you have the encryption key, your files are protected from unauthorized modifications, thus ensuring the integrity of your data. Even in the event of a data breach, no one cannot access your encrypted files. Your data remains completely private.
Setting Up Your Encryption Key
Before accessing the Personal Vault, you need to set up your encryption key. This key is essential for encrypting and decrypting your files.
- Navigate to Your Personal Vault
- Go to the myQNAPcloud website.
- Sign in with your QNAP ID.
- Go to myQNAPcloud Storage.
- Select a space.
- Go to Storage and then select Personal Vault.
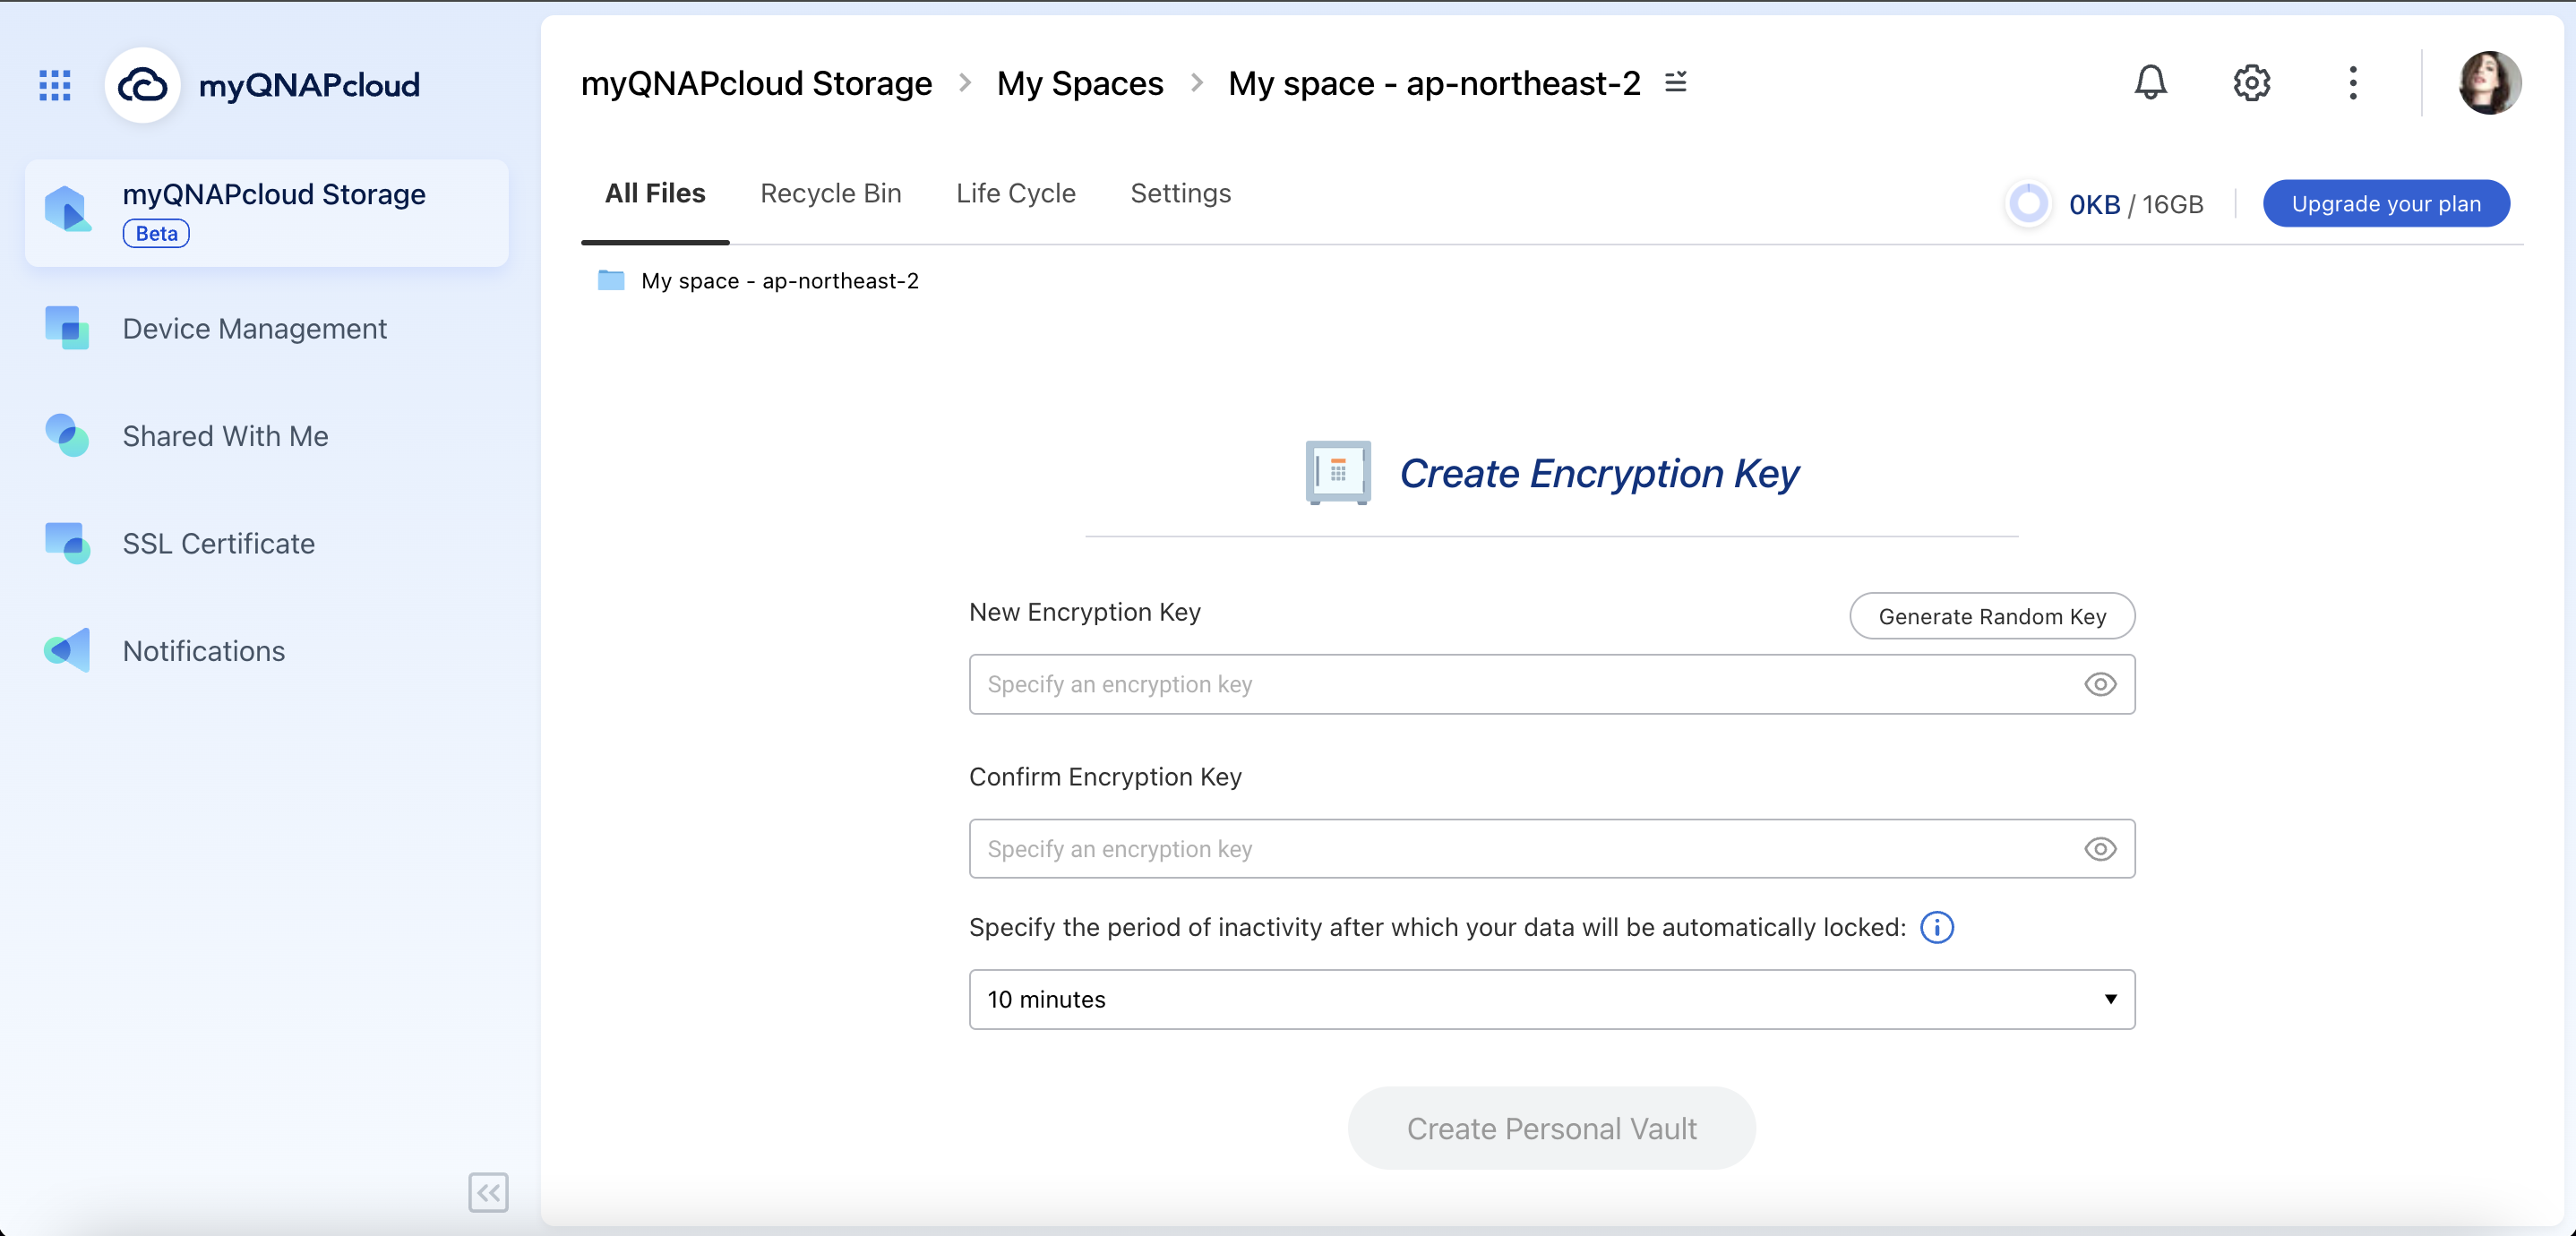
- Create Your Encryption Key
- Enter a strong encryption key of your choice.
- Confirm your encryption key.
Using Your Personal Vault
Accessing Personal Vault
- On myQNAPcloud Storage, go to Storage and select Personal Vault.
- Enter your Encryption Key to access the vault.

Encrypting Files
Click Upload and select files to encrypt before uploading.
Files are automatically encrypted with your Encryption Key.
Decrypting Files
To access your files, download them from the Personal Vault. Your files will be automatically decrypted using your Encryption Key.
Lock/Unlock
myQNAPcloud Storage allows you to lock files to prevent accidental modification or deletion. This feature gives you peace of mind, knowing that your important files are secure.
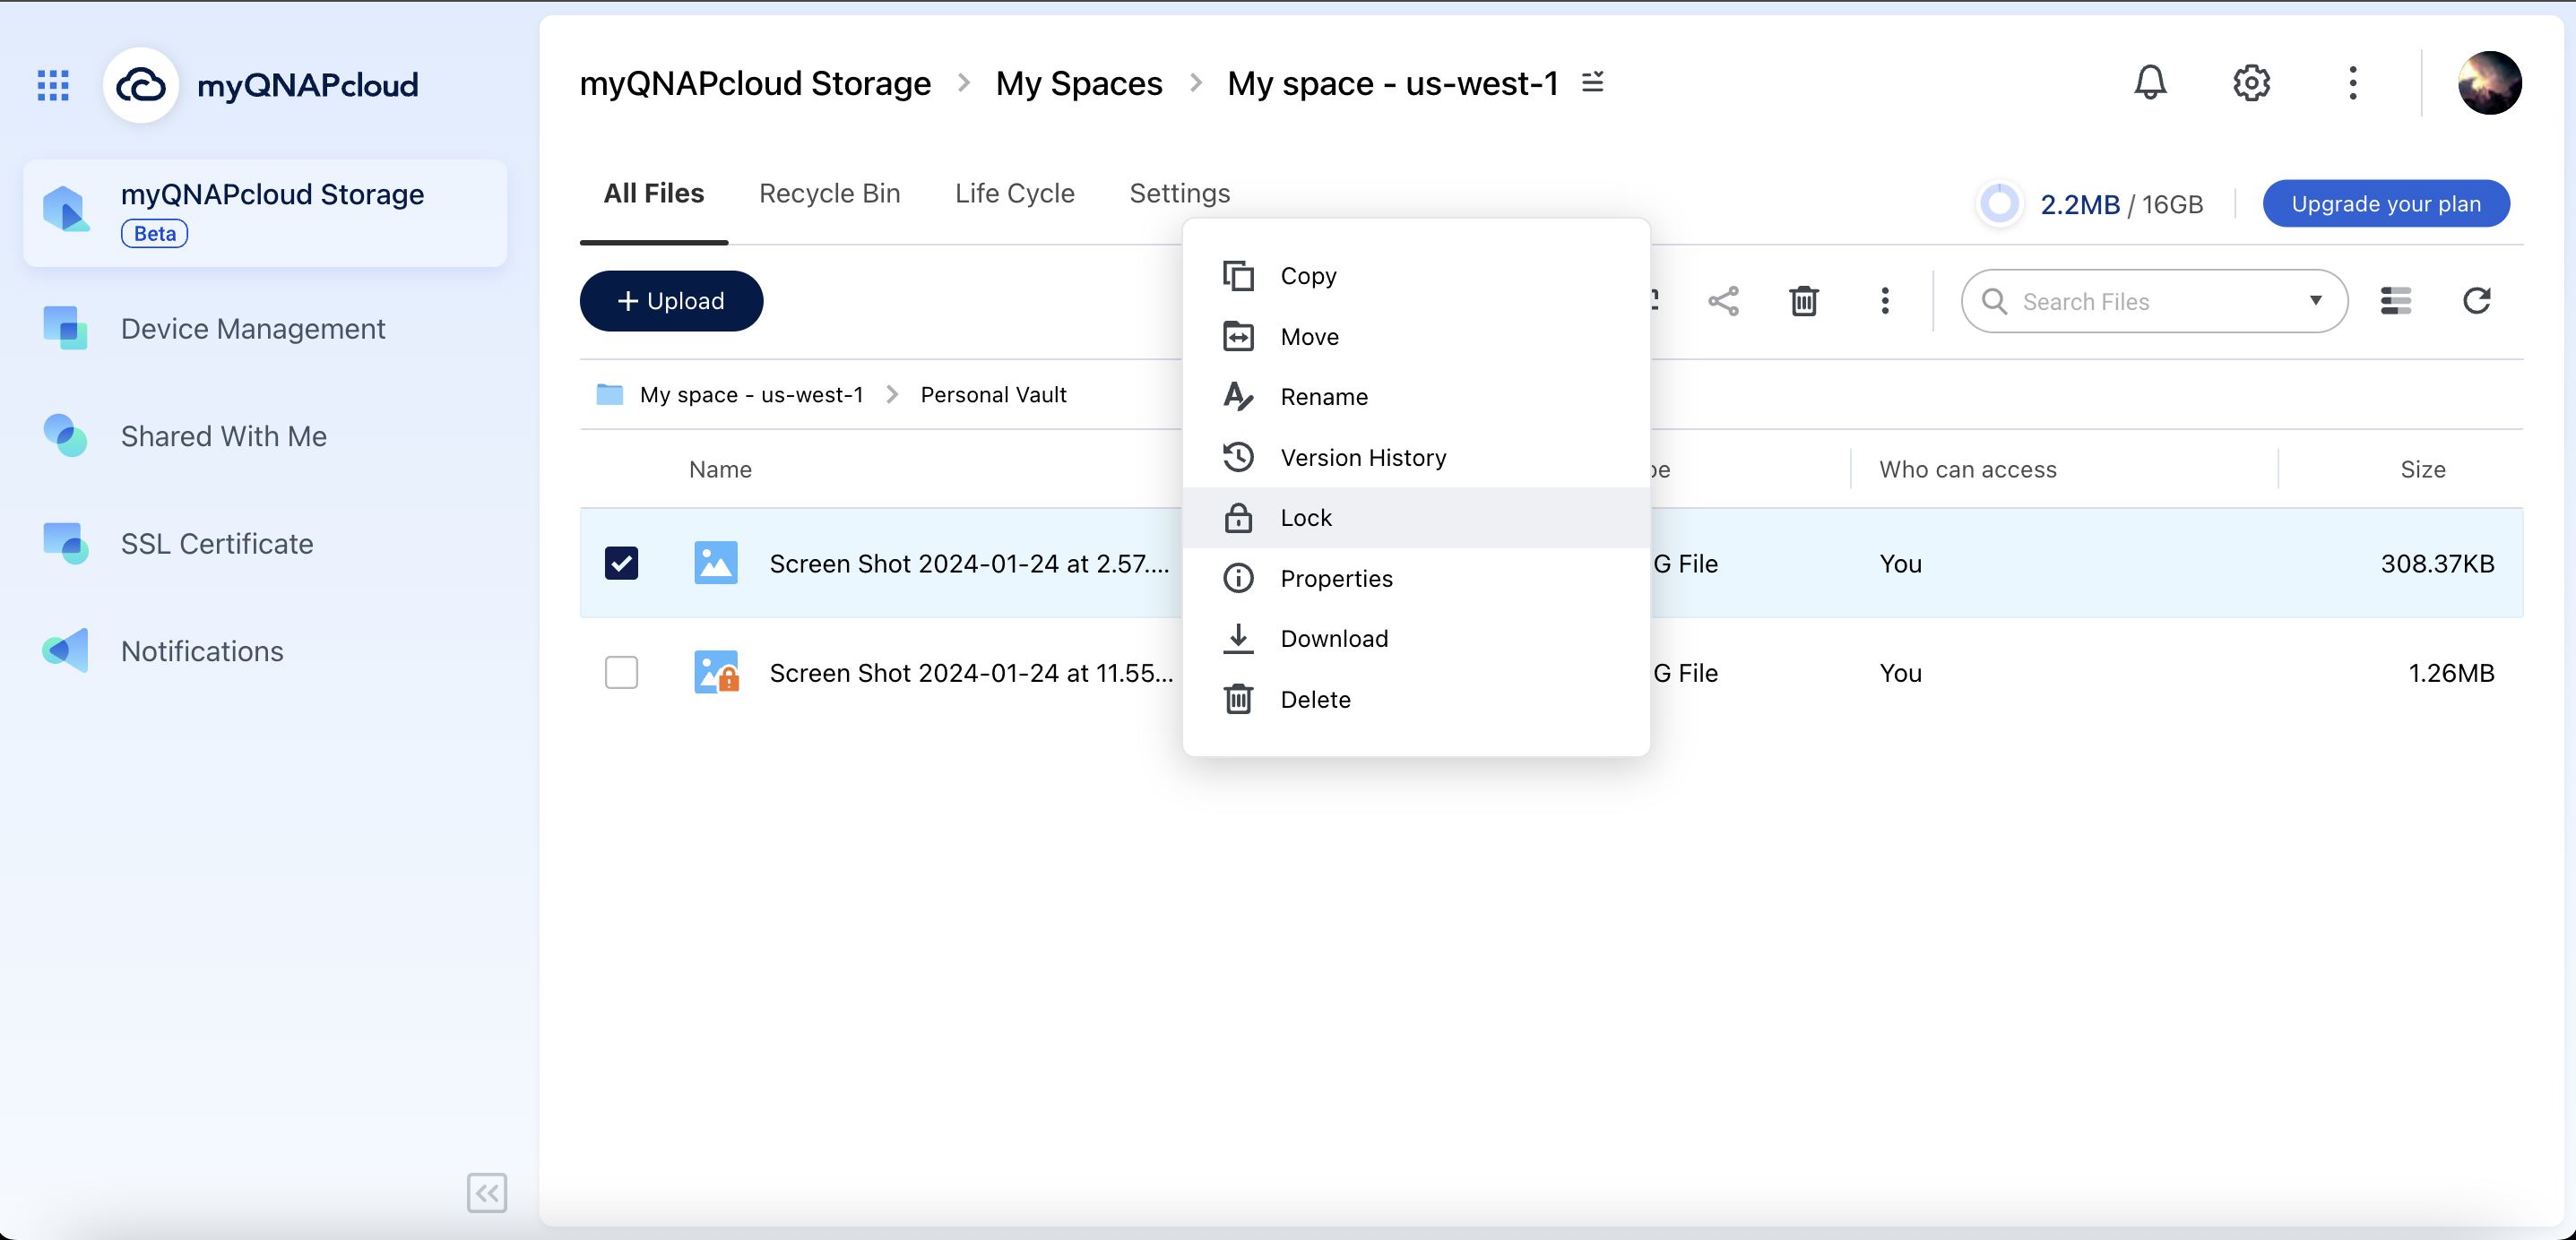
Locking Files
- Go to your space on myQNAPcloud Storage.
- Select the file(s) that you want to protect.
- Right-click the file(s) and then select Lock.
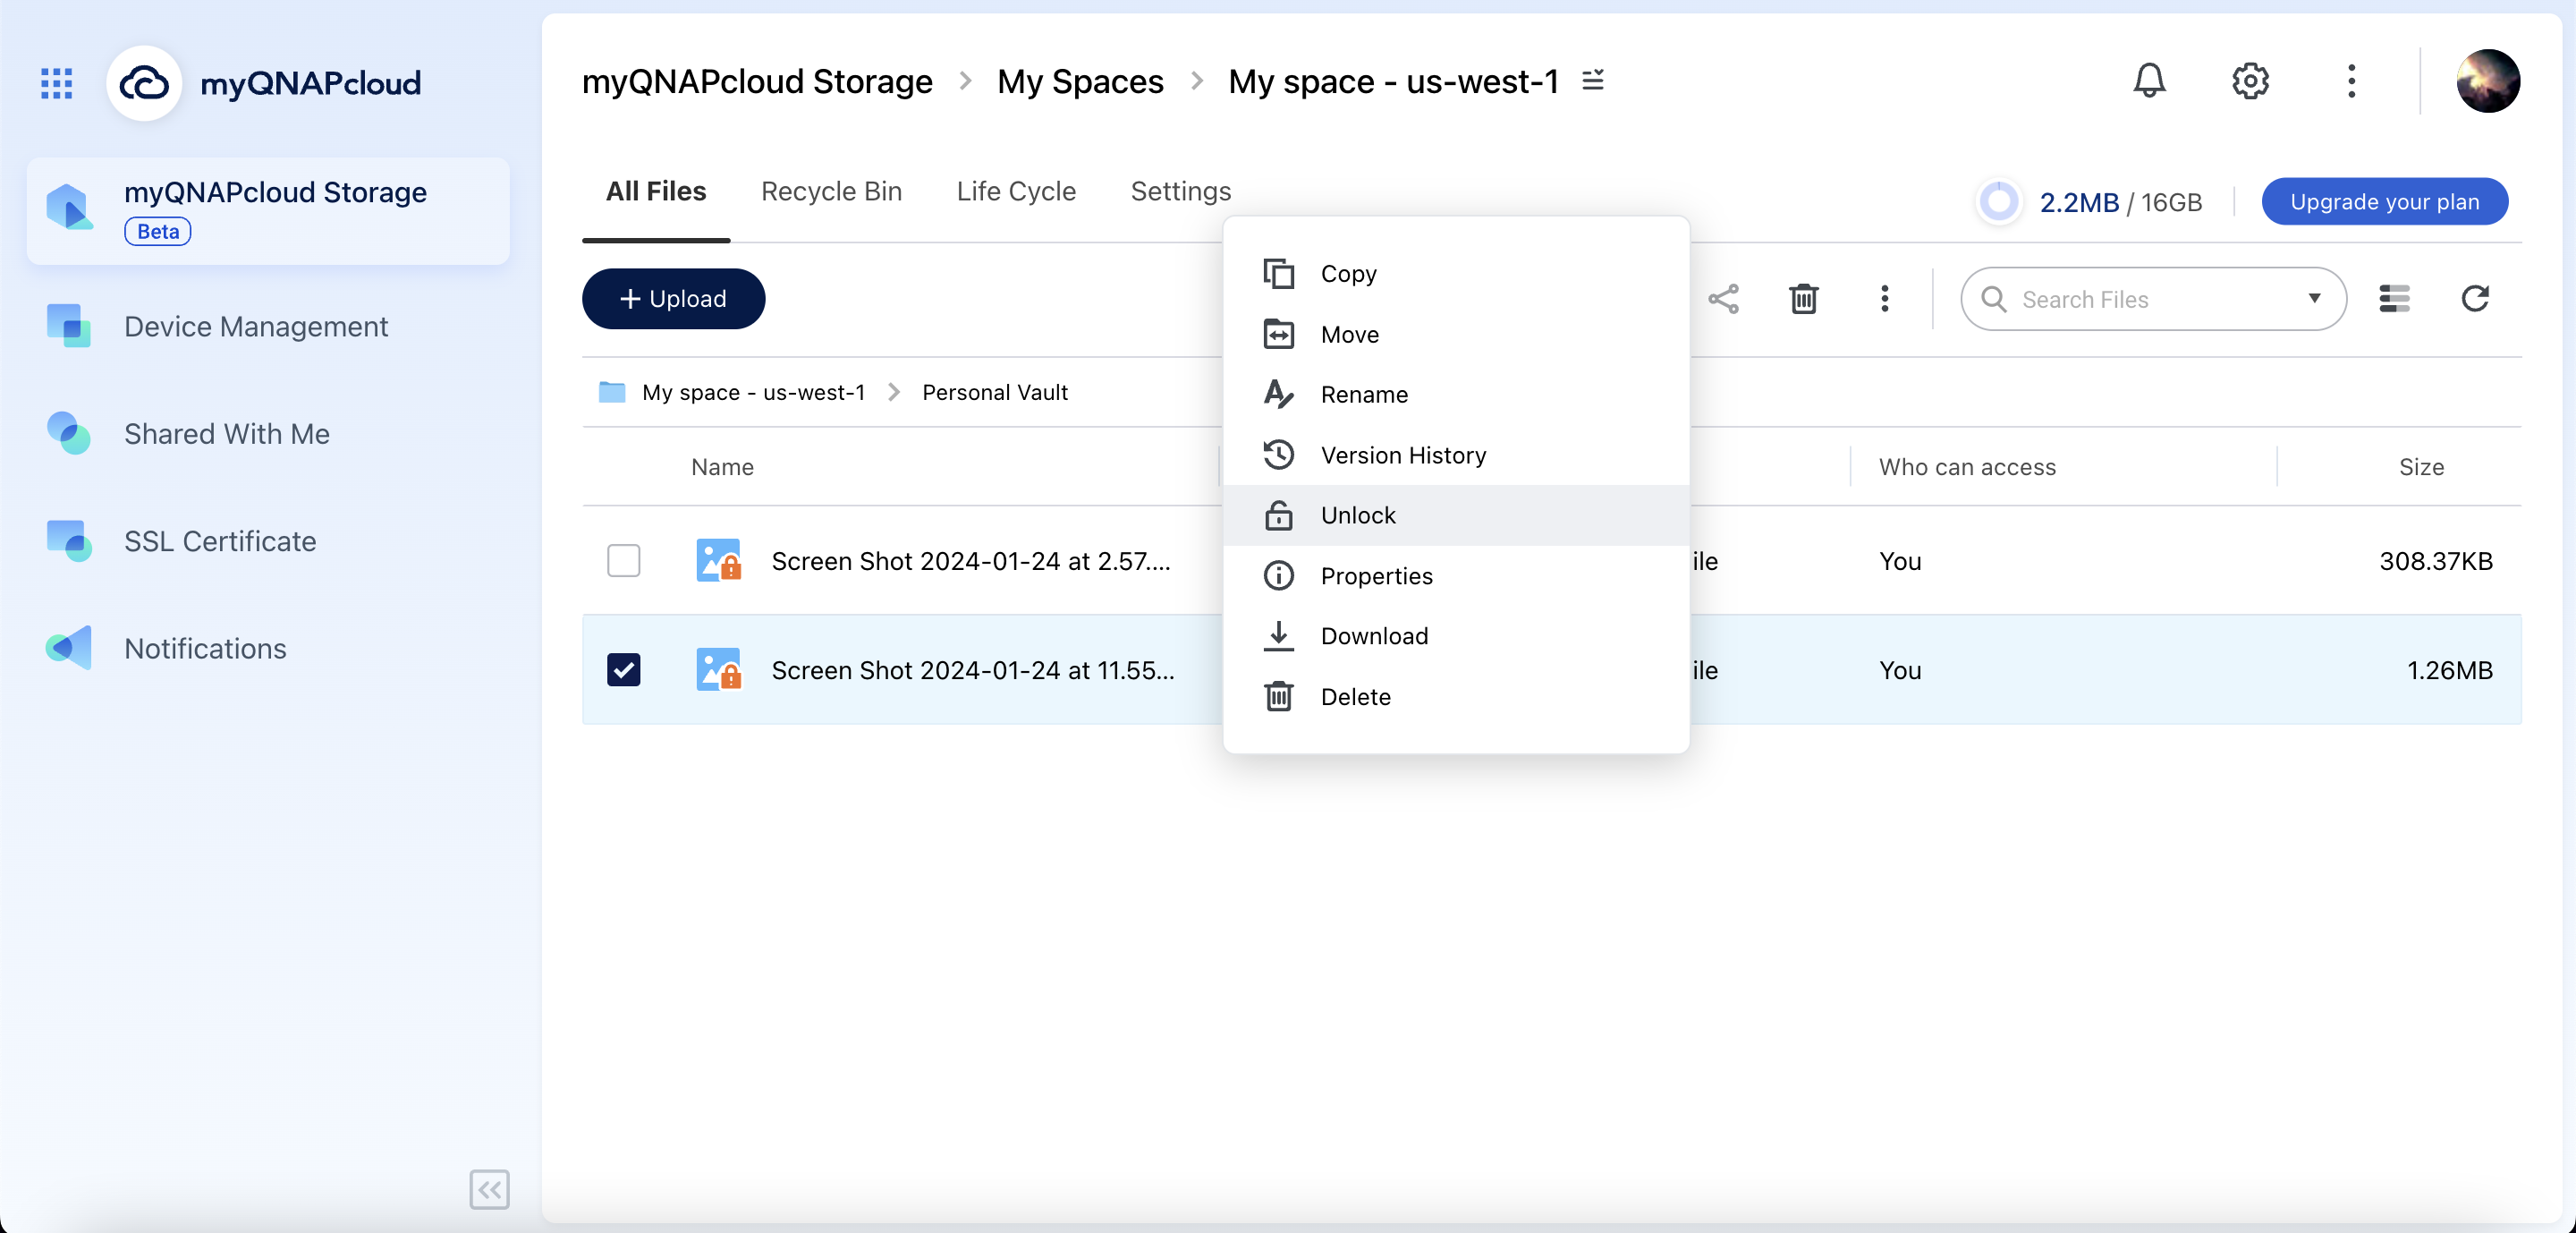
Unlocking Files
- Go to your space on myQNAPcloud Storage.
- Select the locked file(s) that you want to unlock.
- Right-click the file(s) and then select Unlock.
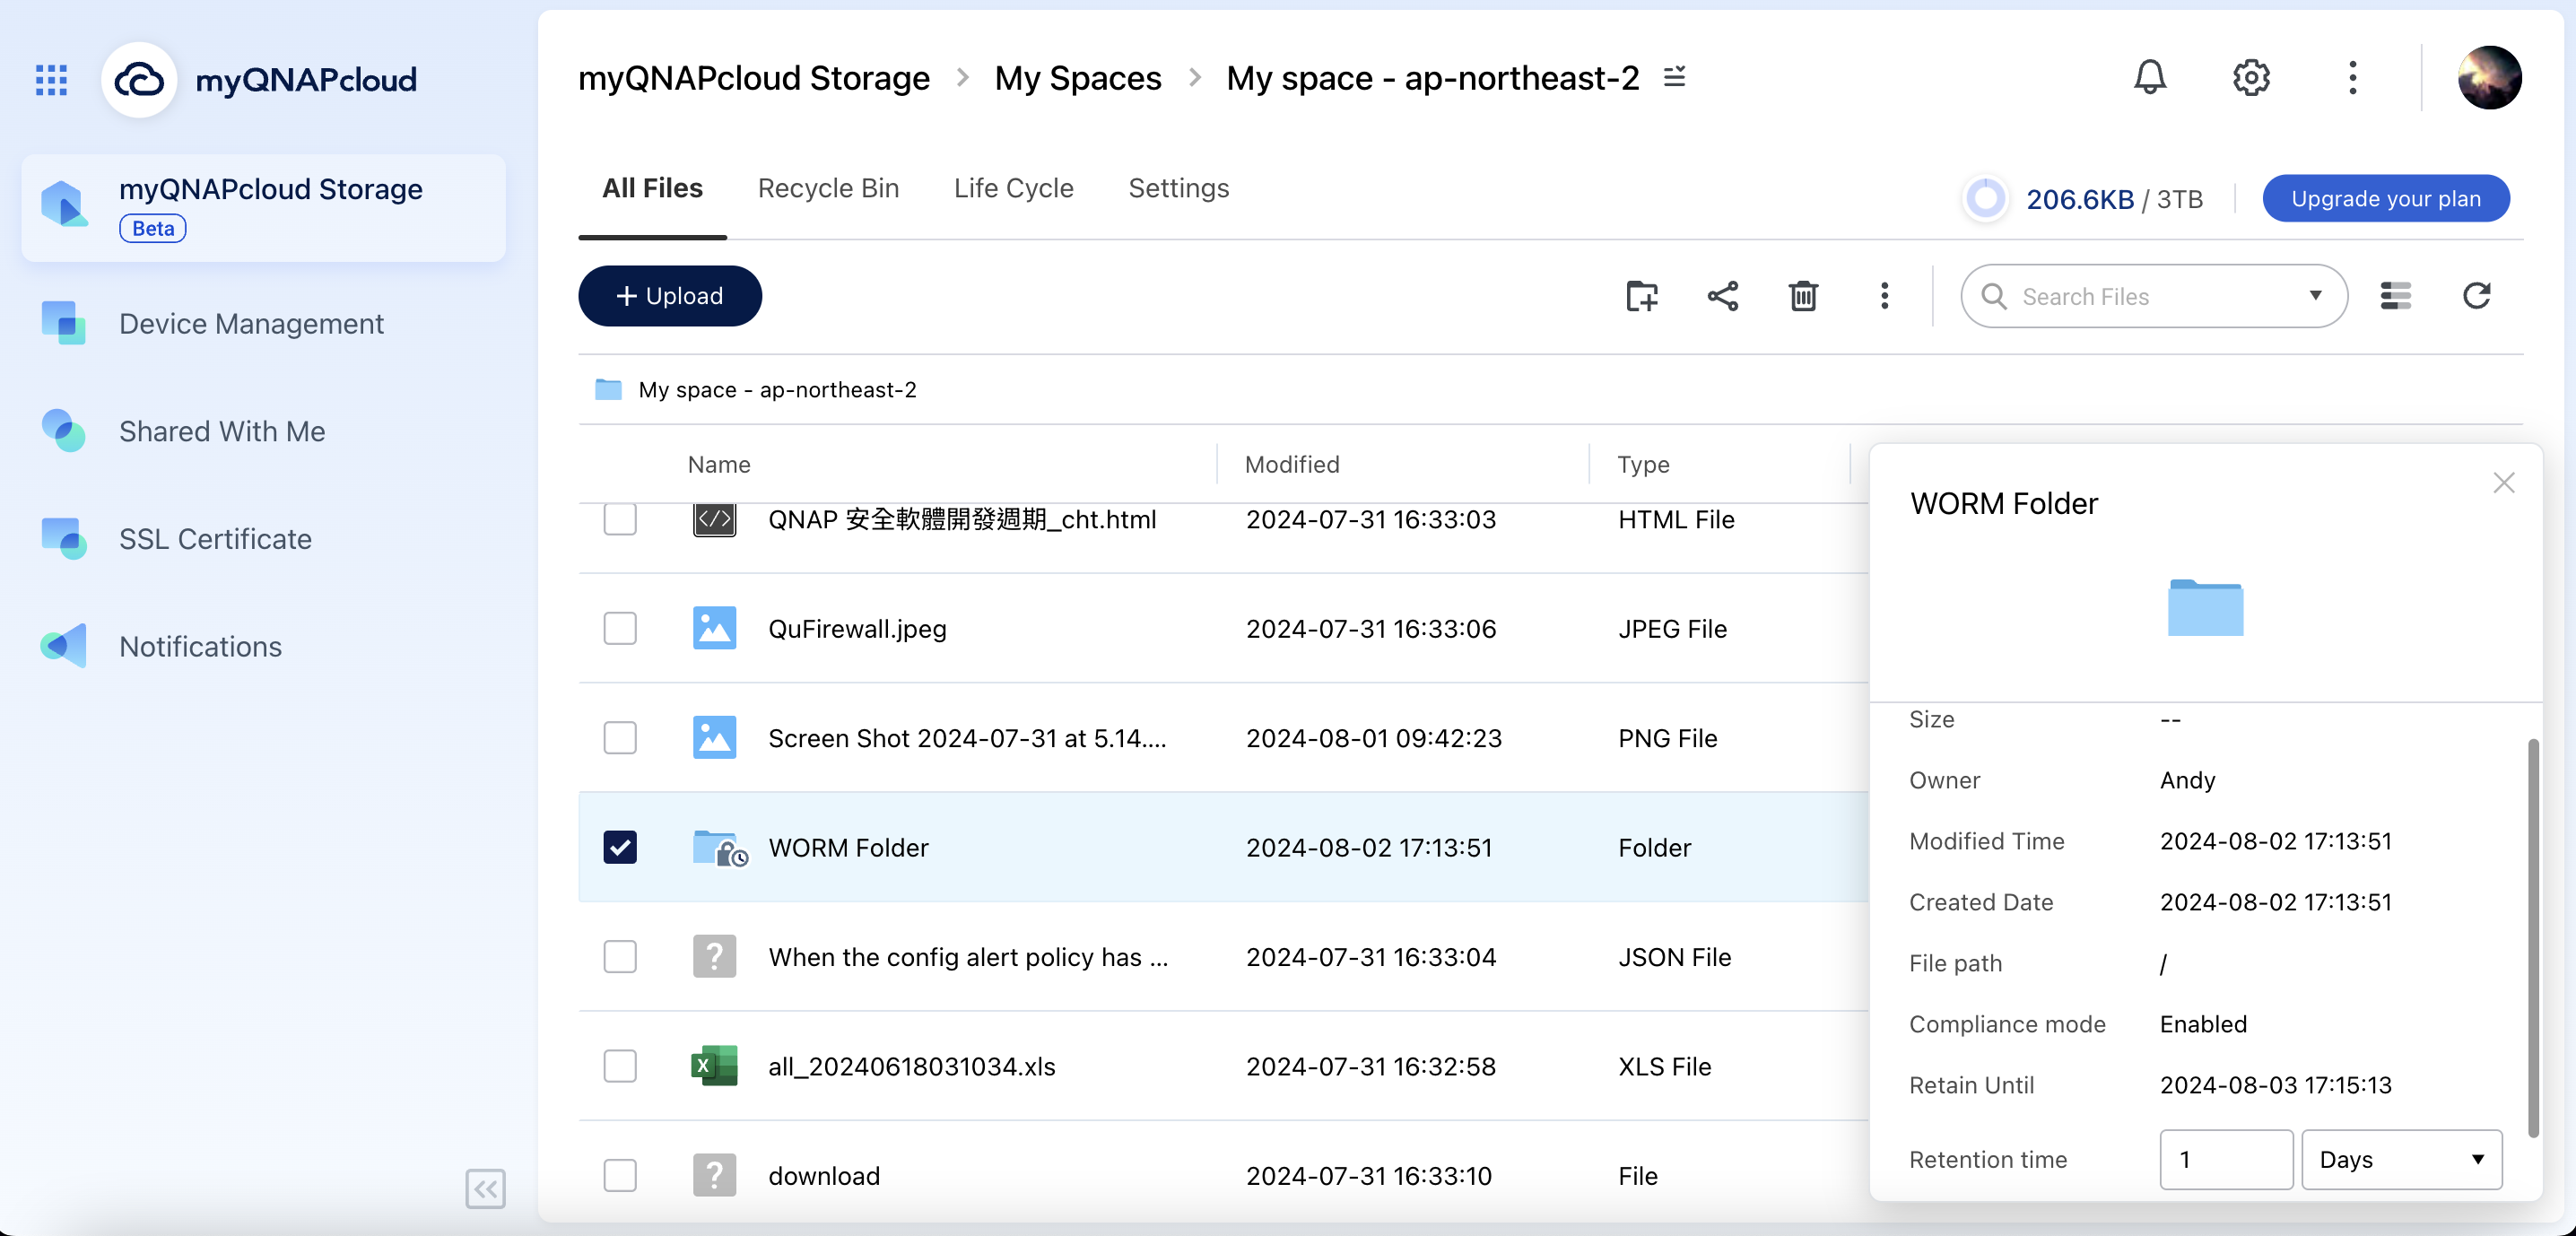
WORM (Write Once Read Many)
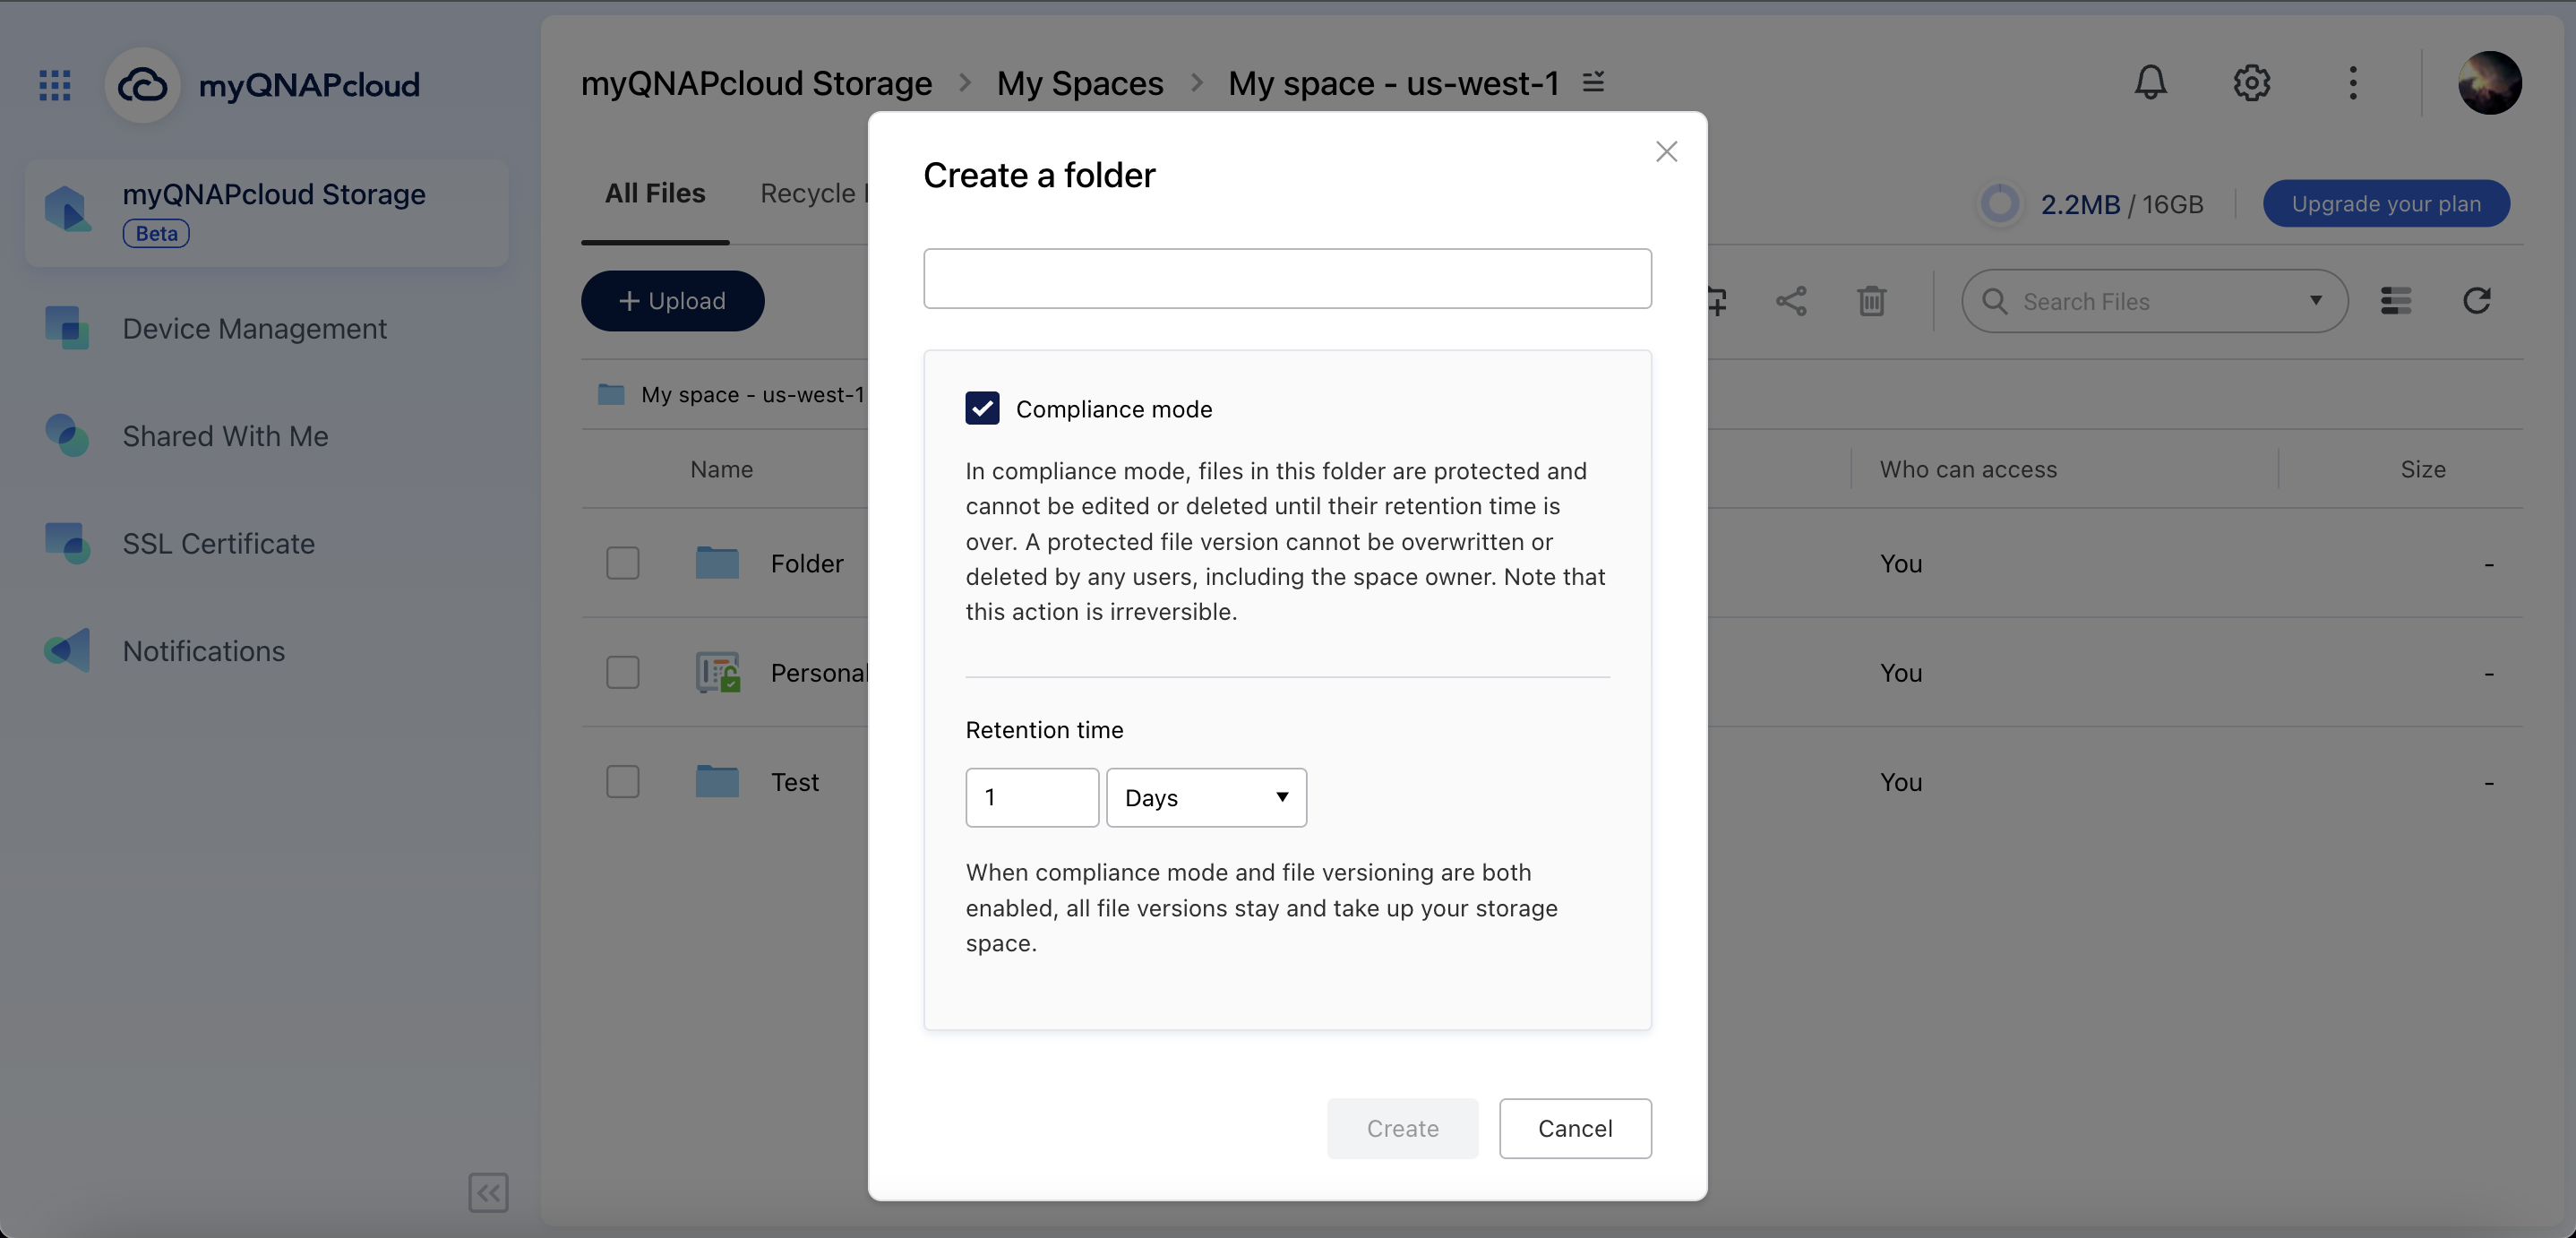
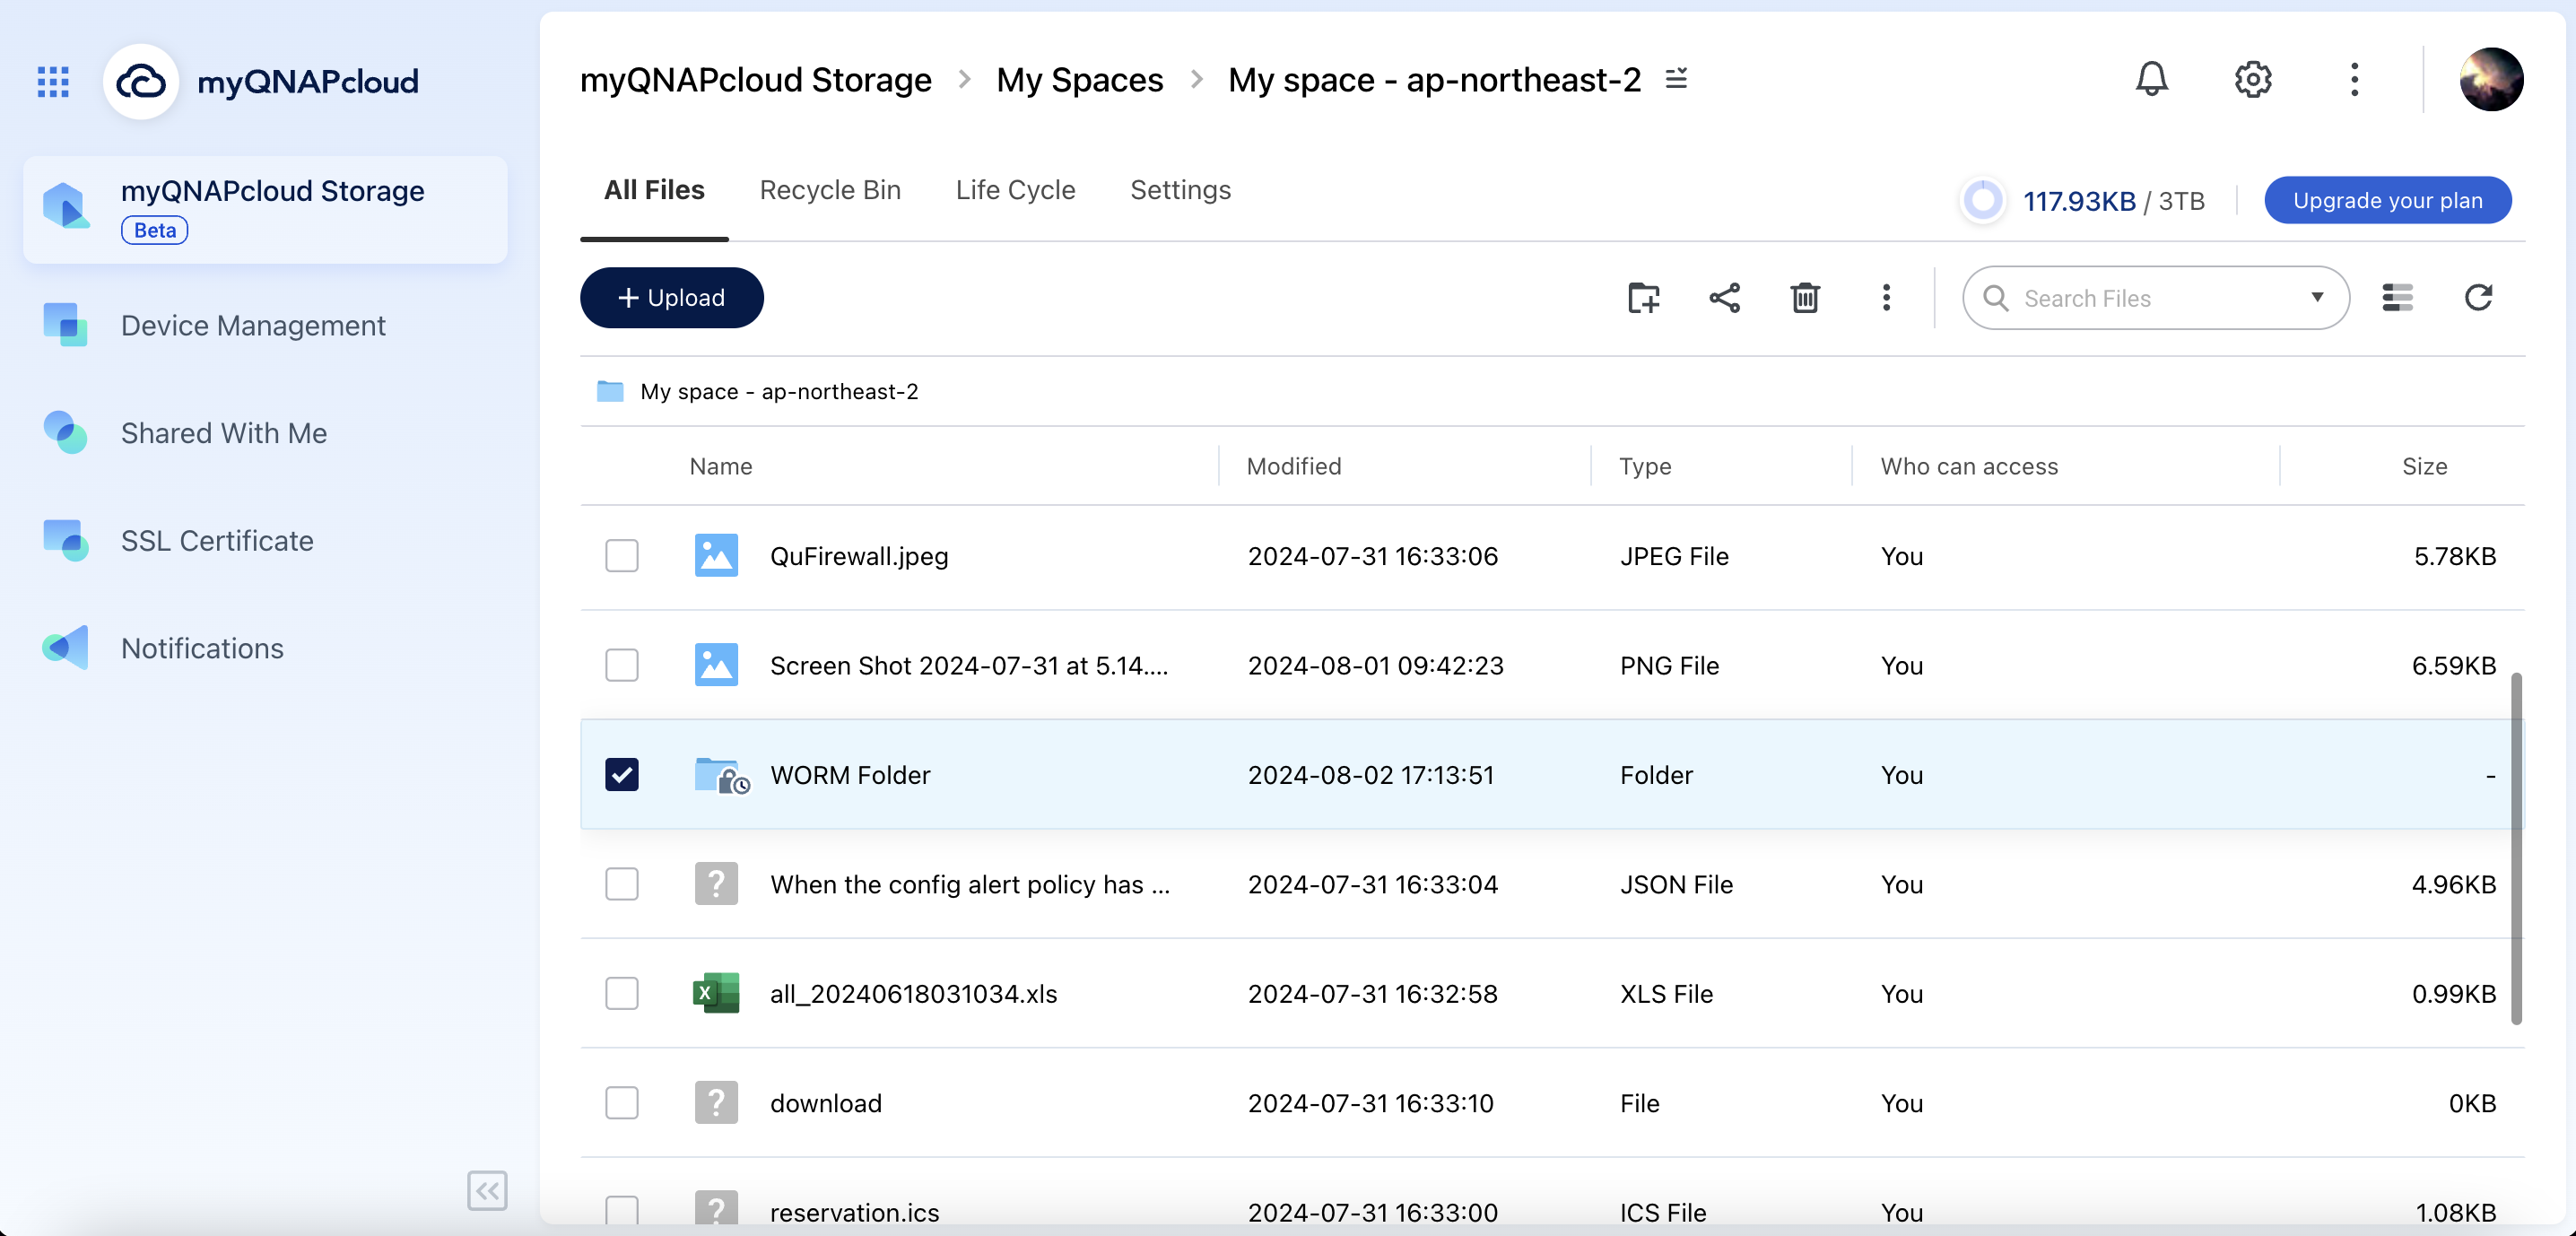
WORM ensures data integrity by allowing files to be written once and read many times. You can specify a retention time for a WORM folder. All the files in this WORM folder cannot be edited or deleted until the retention time is over. WORM prevents modification or deletion after the initial writing, and thus it can be useful when you need to establish strict data retention policies. WORM applies to all subfolders in the WORM folder. You do not need to manually lock individual files.
Creating a WORM Folder
- Navigate to the root directory.
- Create a new folder and select Compliance mode.
- Specify a Retention time (up to 30 years).
- Click Create.
Adding files to a WORM Folder
- Go to a WORM folder.
- Upload files into this folder.NoteAny new uploaded files will be protected within the retention period.

Changing the Retention Time
- Go to a WORM folder and select Properties from the menu.
- Modify the retention time according to your needs. NoteThe new retention time will only apply to new files that you upload after making this change. The previous retention time still applies to the existing files.
Further Reading
For more information about myQNAPcloud Storage, refer to our FAQ section or contact our technical support.


