How to export and import files in QuMagie
最后修订日期:
2024-07-16
Applicable Products
QuMagie 2.4.0 and later
Overview
QuMagie supports importing and exporting data. The following types of data can be imported into QuMagie or exported from QuMagie:
- Files and metadata: Photos and videos including QuMagie metadata (albums, tags, etc.)
- Metadata: QuMagie metadata (albums, tags, etc.)
- People data: People data (face tags, names, etc.)
Exporting/importing your QuMagie data allows you to back up your media data or transfer your media data to another NAS. This tutorial explains how to import and export data in QuMagie.
Exporting data from QuMagie
To export data from QuMagie, follow these steps:
- Open QuMagie.
- Go to Settings > Export / Import (tab).
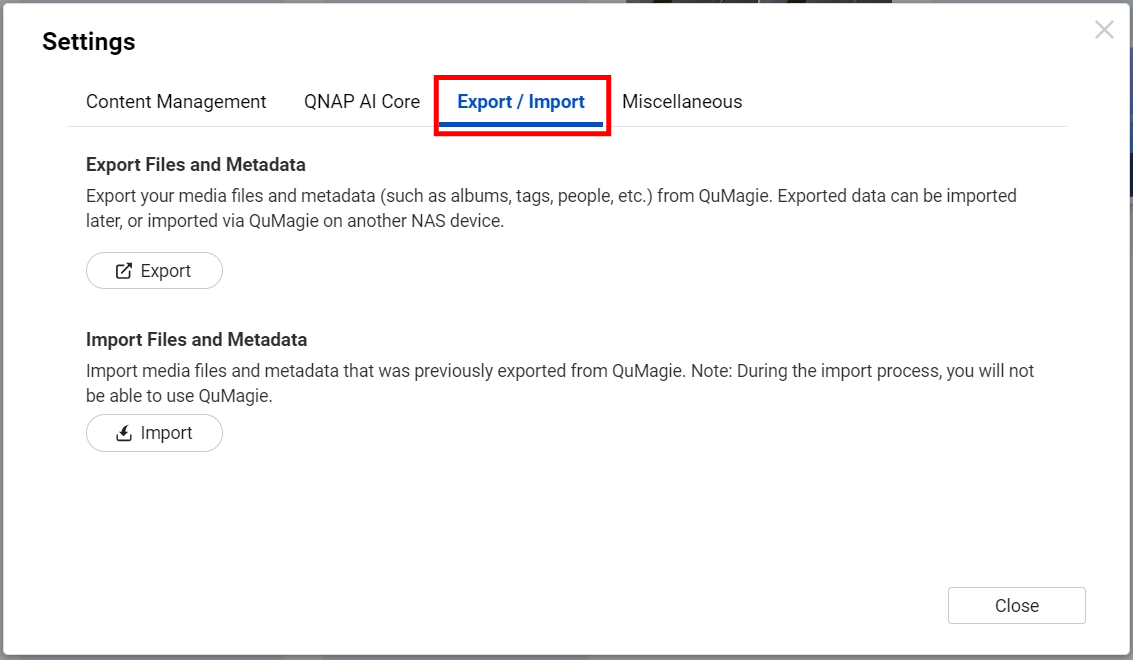
- Click Export.
 The Export Media Files and Metadata window appears.
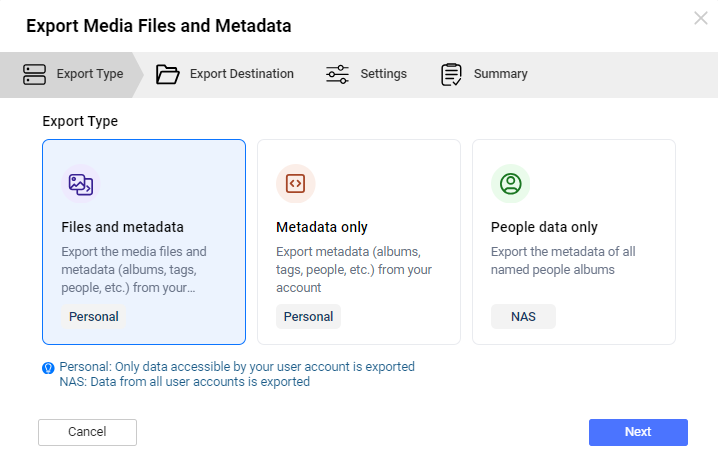
 - Select the type of data to export:
- Files and metadata: Export all photo and video files from your QuMagie content source folders, and QuMagie metadata. Only files and metadata that your NAS account has permission to access is exported. For details on QuMagie metadata, see the table below.
- Metadata only: Export QuMagie metadata. Only metadata that your NAS account has permission to access is exported. No files are exported. For details on QuMagie metadata, see the table below.
- People data only: Export people metadata from all people albums in QuMagie. People metadata from all NAS user accounts is exported. No files are exported. Only NAS administrators can export people data. The people data exported includes data from all NAS user accounts.
QuMagie Metadata:Metadata category Data File title, date taken, description, tags, location coordinates, rating, color label, Album album name, permission, share settings Other people album, thing category, favorite setting
- Click Next.
The Export Destination tab appears. - For Export Destination, select a NAS folder. QuMagie will export data to this folder.
- For Export filename, specify a file name. QuMagie will use this name as a suffix when naming the exported files.
- Click Next.
The Settings tab appears. - For Max File Size, set a maximum file size. QuMagie may export the data in multiple files and this number sets the maximum size a single file can be.TipDo not rename or delete exported files, and keep exported files within a single directory. Every file exported from QuMagie is required when importing the data into QuMagie.
- Optional: Enable Encryption. A password will be required to import the data.WarningKeep your password safe somewhere. You will not be able to import encryped data if the password is lost.
- Click Next.
The Summary tab appears. - Review your export settings.
- Click Export.
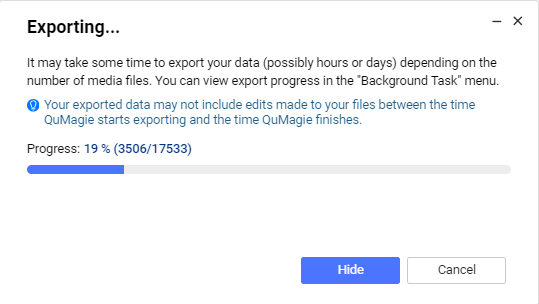
QuMagie creates a background task to export the selected data type to the specified NAS destination folder. The export task may take some time. You can check the progress of the export task in the Background Task window.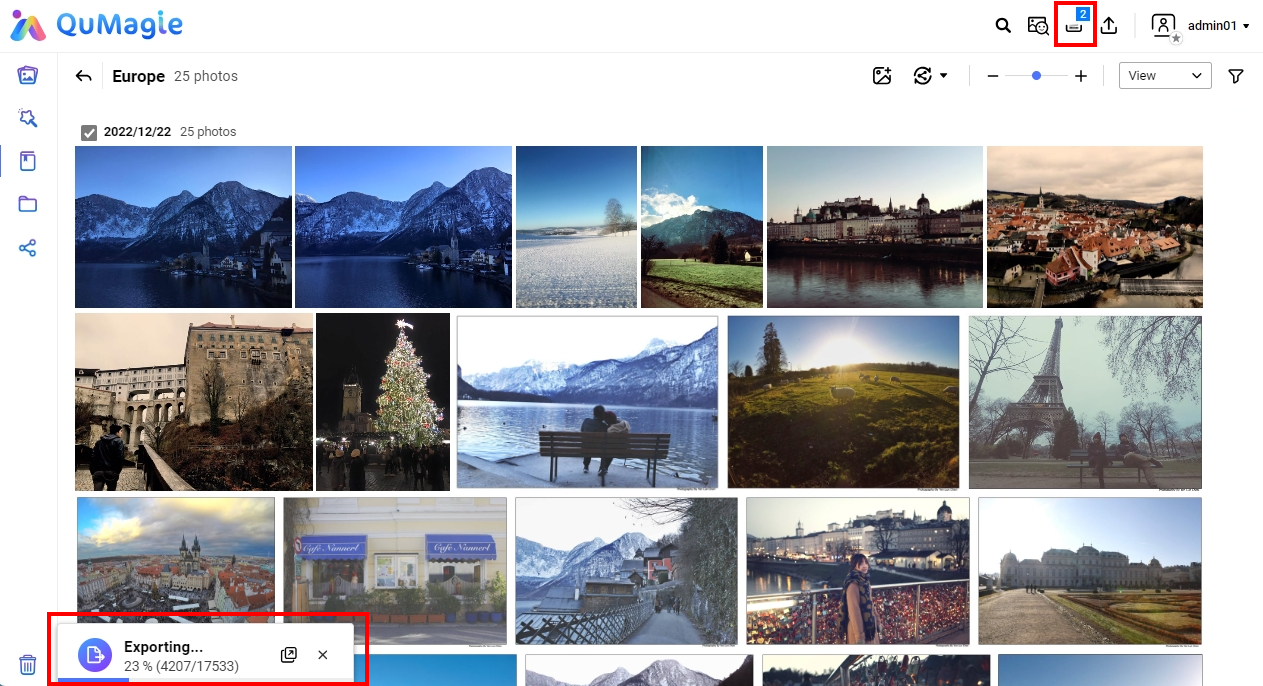
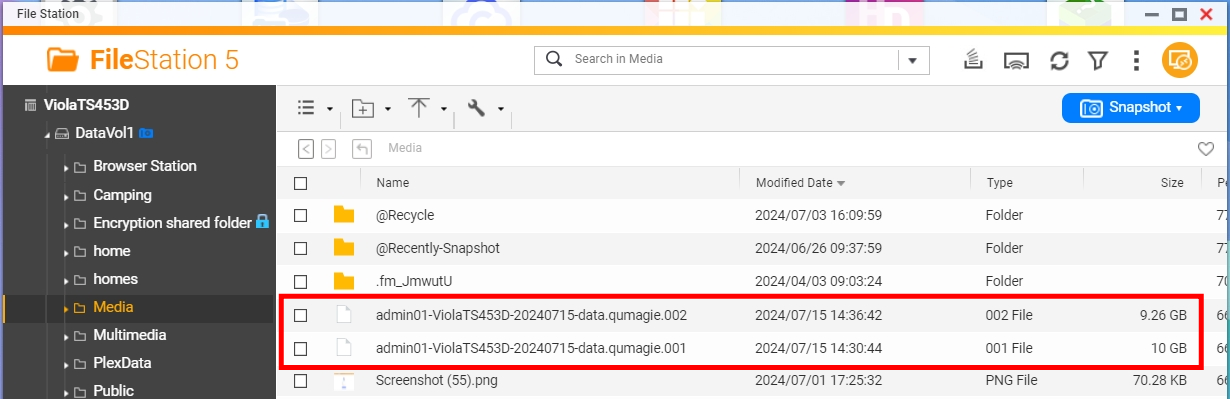
- Check your exported files via File Station. Your export will consist of one or more zip files.
Importing data into QuMagie
- Open QuMagie.
- Go to Settings > Export / Import (tab).
- Click Import.
The Import Files and Metadata window appears. - For Import File, select an import file.TipIf the exported data was saved in multiple files, you must select the file ending in ".001".
- Optional: If the import file is encrypted, the Enter Password window appears. Enter the encryption password for the import file and click OK.
- Click Next.
The Import Method tab appears. - Select an Import Method:
- Specify import path: (Only available when importing Files and metadata) Select an import destination folder. All imported files and subfolders will be imported into this folder.
- Use original paths: Import files to the original file paths of the files. The original file path is the path of the file when the file was exported. For example, if the original file path was "Multimedia/photos/vacation" when the file was exported from the original NAS, then the file will be imported to "Multimedia/photos/vacation" on the target NAS.WarningIf the target NAS does not have a folder matching the original file path on the original NAS when importing, then the file is not imported. Therefore, when using this import method, ensure that the destination NAS has folders matching the original file paths on the original NAS before importing.
- Click Next.
The Settings tab appears. - Specify the Duplicate File Policy setting:
- Skip duplicate file: If a file with the same name exists in the import path folder, the file is not imported.
- Rename duplicate file: If a file with the same name exists in the import path folder, the imported file is
automatically renamed to avoid a file name conflict.
- Overwrite original file: If a file with the same name exists in the import path folder, the file is imported and overwrites the original file.
- Specify the Album Import Policy setting:
- Keep current albums and import: Import albums from the import file.
- Delete current albums, then import: Delete all existing albums of the current NAS user (only albums are deleted, no files are deleted), then import albums from the import file.
- Do not import albums: Do not import any albums from the import file.
- Specify the Import Error Handling setting:
- Skip the failed file: If an error occurs while importing a file, do not import the file.
- Stop import process: If an error occurs while importing a file, do not import the file and abort the import process.
- Click Next.
The Summary tab appears. - Review import settings and click Import.
A confirmation window appears informing you that you will not be able to use QuMagie while the import is performed. - Click Yes.
QuMagie imports the data according to specified import settings. You will not be able to use QuMagie while the data is being imported.


