How do I connect from my Mac/windows to the LUN on the NAS?
最后修订日期:
2025-01-22
Applicable Products:
You could follow the below steps to connect to the LUN on the NAS from your Mac or Windows PC:
Related Articles:
How to create and use the iSCSI target service on a QNAP NAS
- All NAS series
You could follow the below steps to connect to the LUN on the NAS from your Mac or Windows PC:
- Connecting to an iSCSI target using Microsoft iSCSI initiator in Windows
- Connecting to an iSCSI target using globalSAN iSCSI initiator in Mac OS
Connecting to an iSCSI target using Microsoft iSCSI initiator in Windows
Microsoft iSCSI Initiator is built into all versions of Windows, starting from Windows Vista and Windows Server 2008. You can download and install it on Windows 2003, Windows XP and Windows 2000.
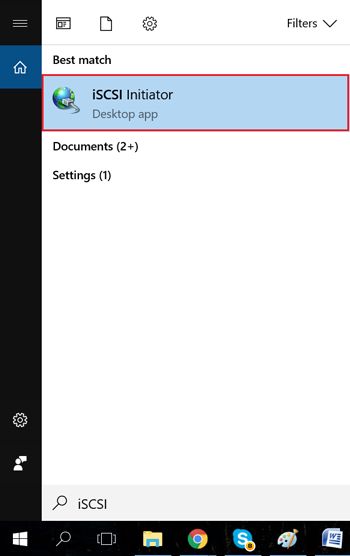
- In Windows, locate and run iSCSI Initiator.
Depending on your Windows version, you can search for it in the Windows program search or find it at Control Panel” > Administrative Tools.
- Optional: Click Yes if Windows prompts you to start the iSCSI service.
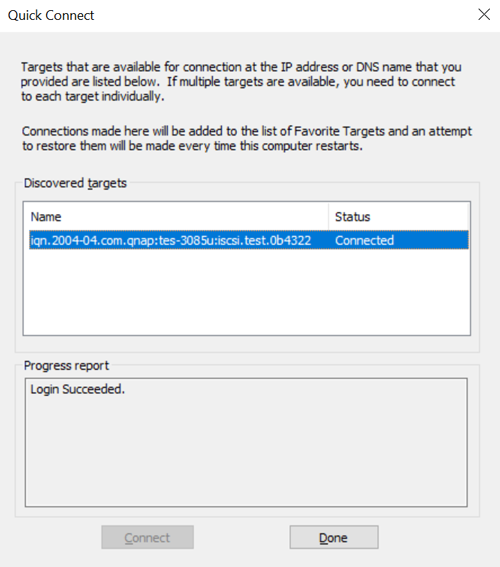
- Enter the NAS IP address under Targets > Target, and then click Quick Connect.
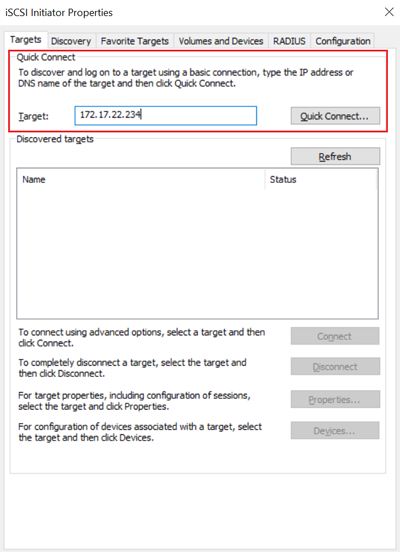
iSCSI Initiator searches for available iSCSI targets and adds them to the Discovered Targets list.
- Optional: Add CHAP authentication credentials to the target.
If you configured CHAP authentication on the NAS, then the target will have the status Inactive. You must specify the CHAP username and password to connect.- Select a target in the Discovered Targets List.
- Click Connect.
- Click Advanced.
- Select Enable CHAP log on.
- Under Name, specify the CHAP username.
- Under Target Secret, specify the CHAP password.
- Click OK and then OK.
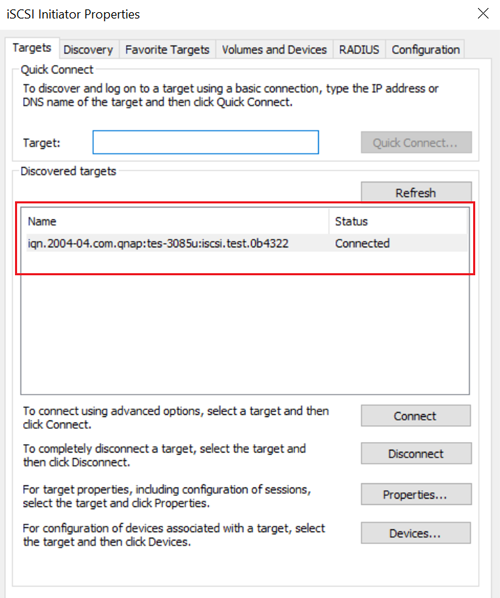
The target now has the status Connected. - Format the connected LUN as a disk in Windows.
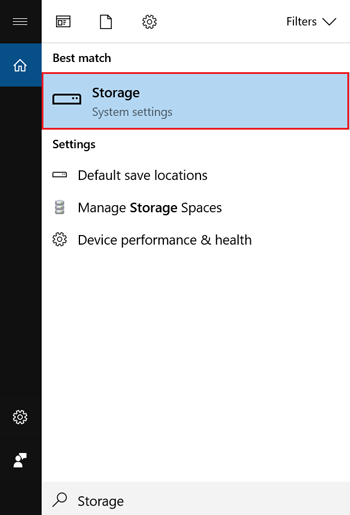
For this guide, we will be using Windows 10. For older Windows versions you must use Disk Management.- Search for and run Storage.
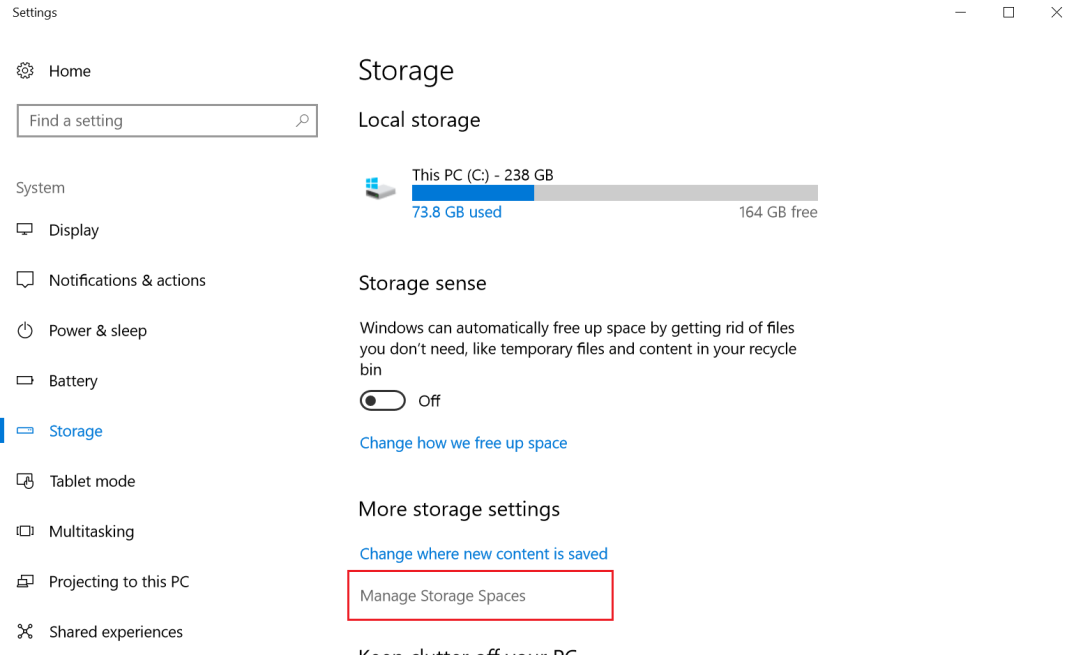
- Click Manage Storage Spaces.
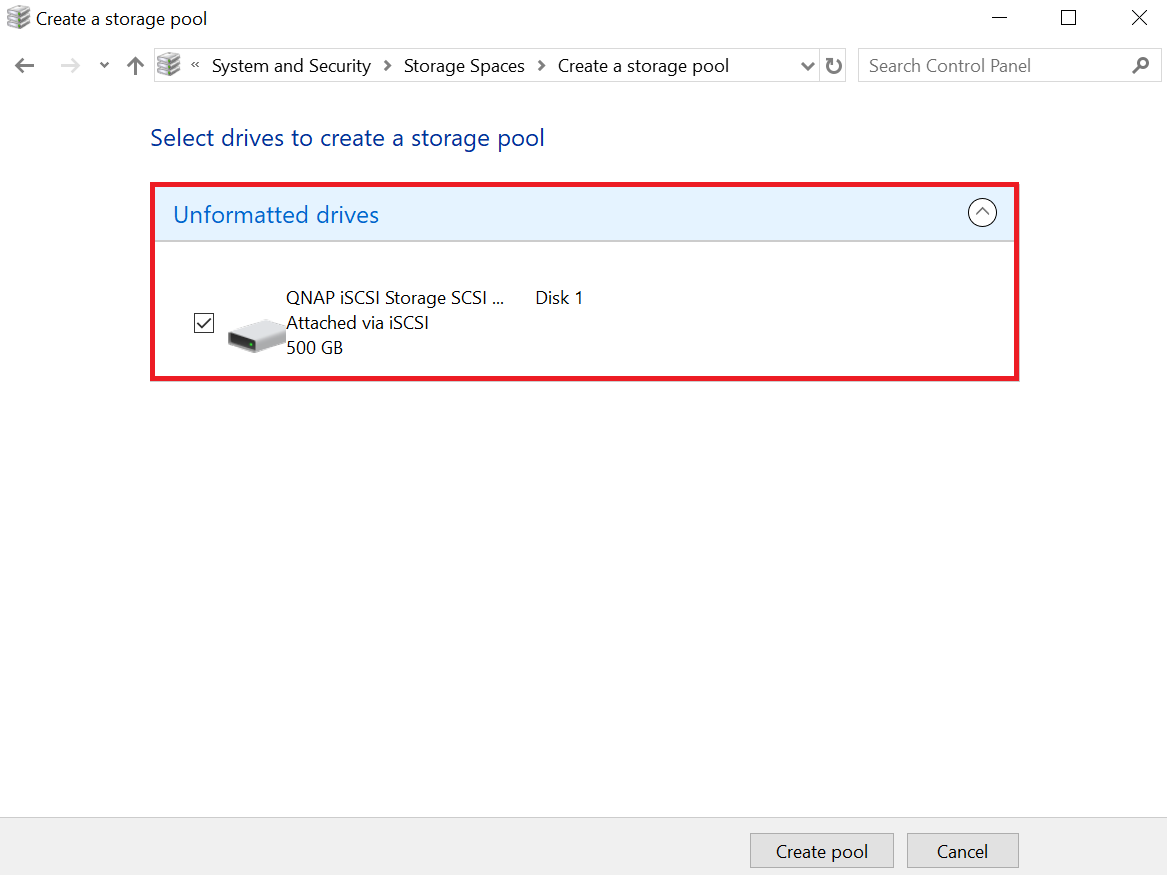
- Click Create a new pool and storage space.
- Select one or more iSCSI LUNs, and then click Create Pool.
- Specify the pool formatting options, and then click Create Storage Space.
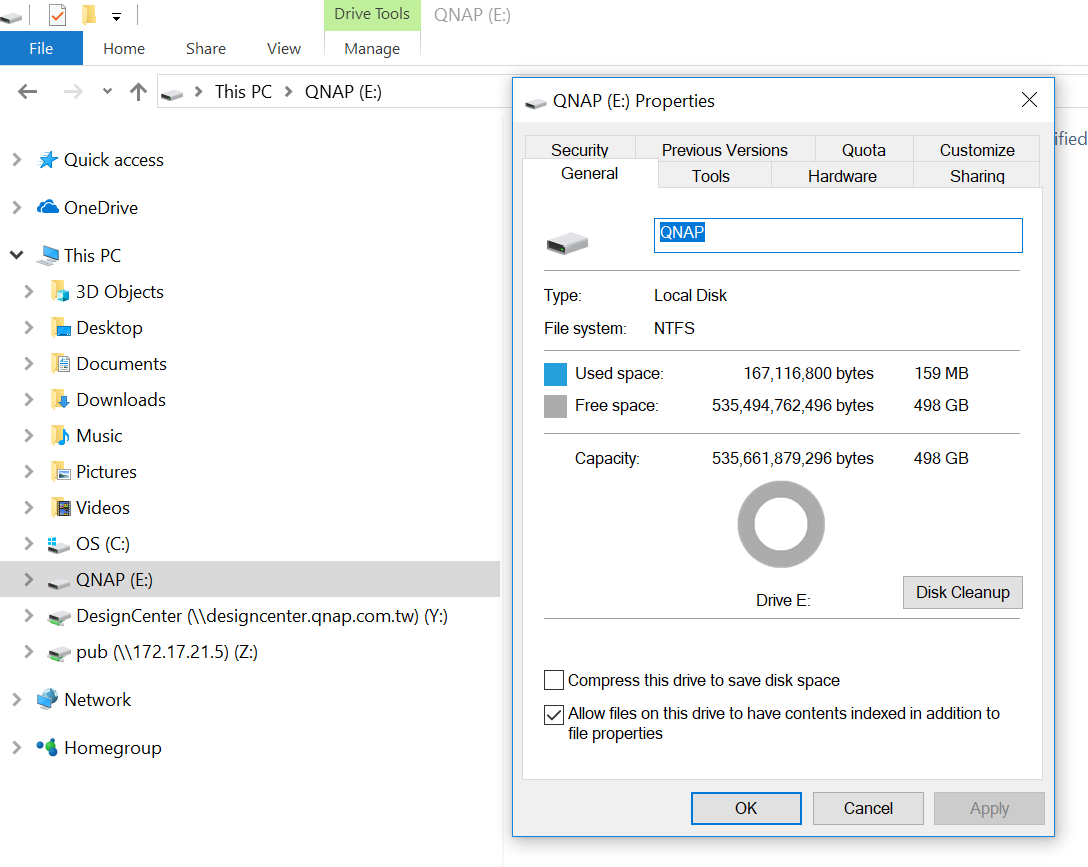
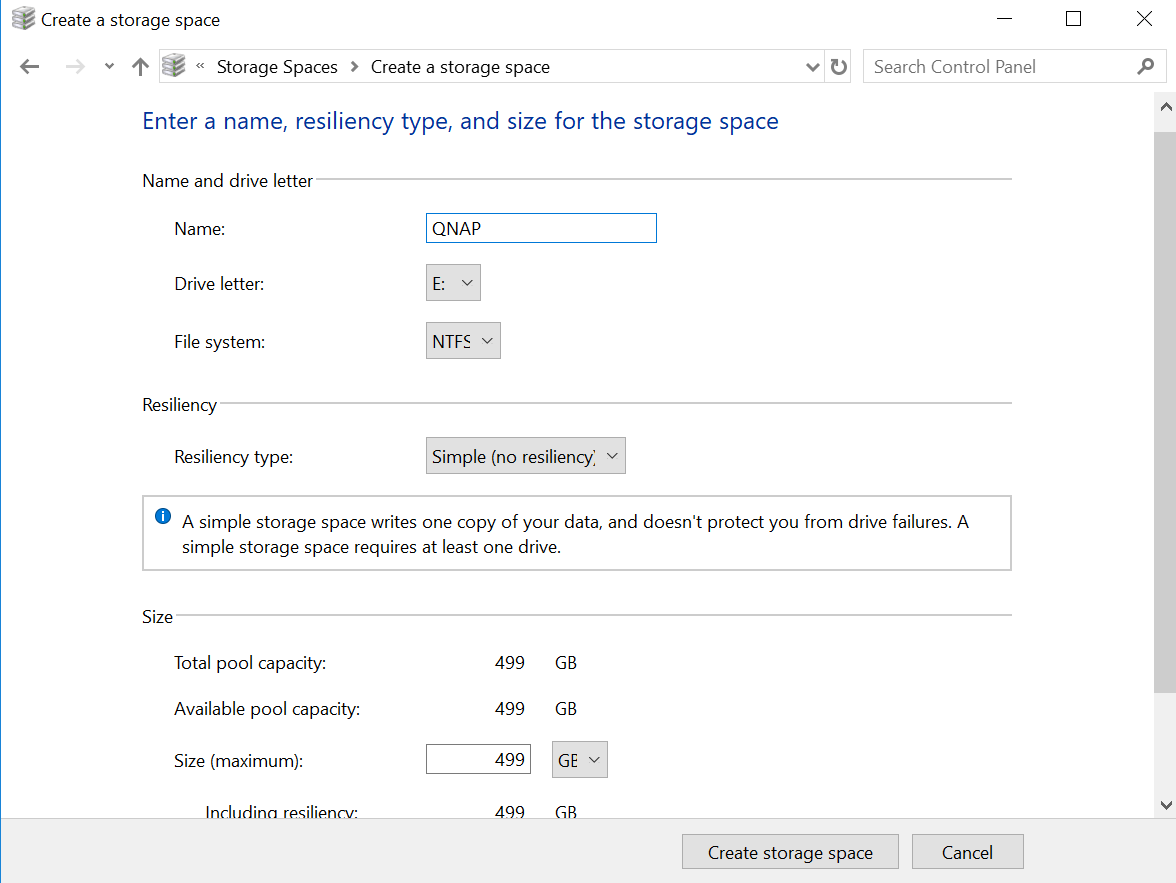 The iSCSI LUN space appears as a drive in Windows.
- Search for and run Storage.
Connecting to an iSCSI target using globalSAN iSCSI initiator in Mac OS
Mac OS does not include an iSCSI initiator client by default. You will need to install third-party iSCSI initiator software to connect the iSCSI target on your QNAP NAS. For this tutorial we will use GlobalSAN iSCSI Initiator.
- In Mac OS, download and install globalSAN iSCSI Initiator for OS X.
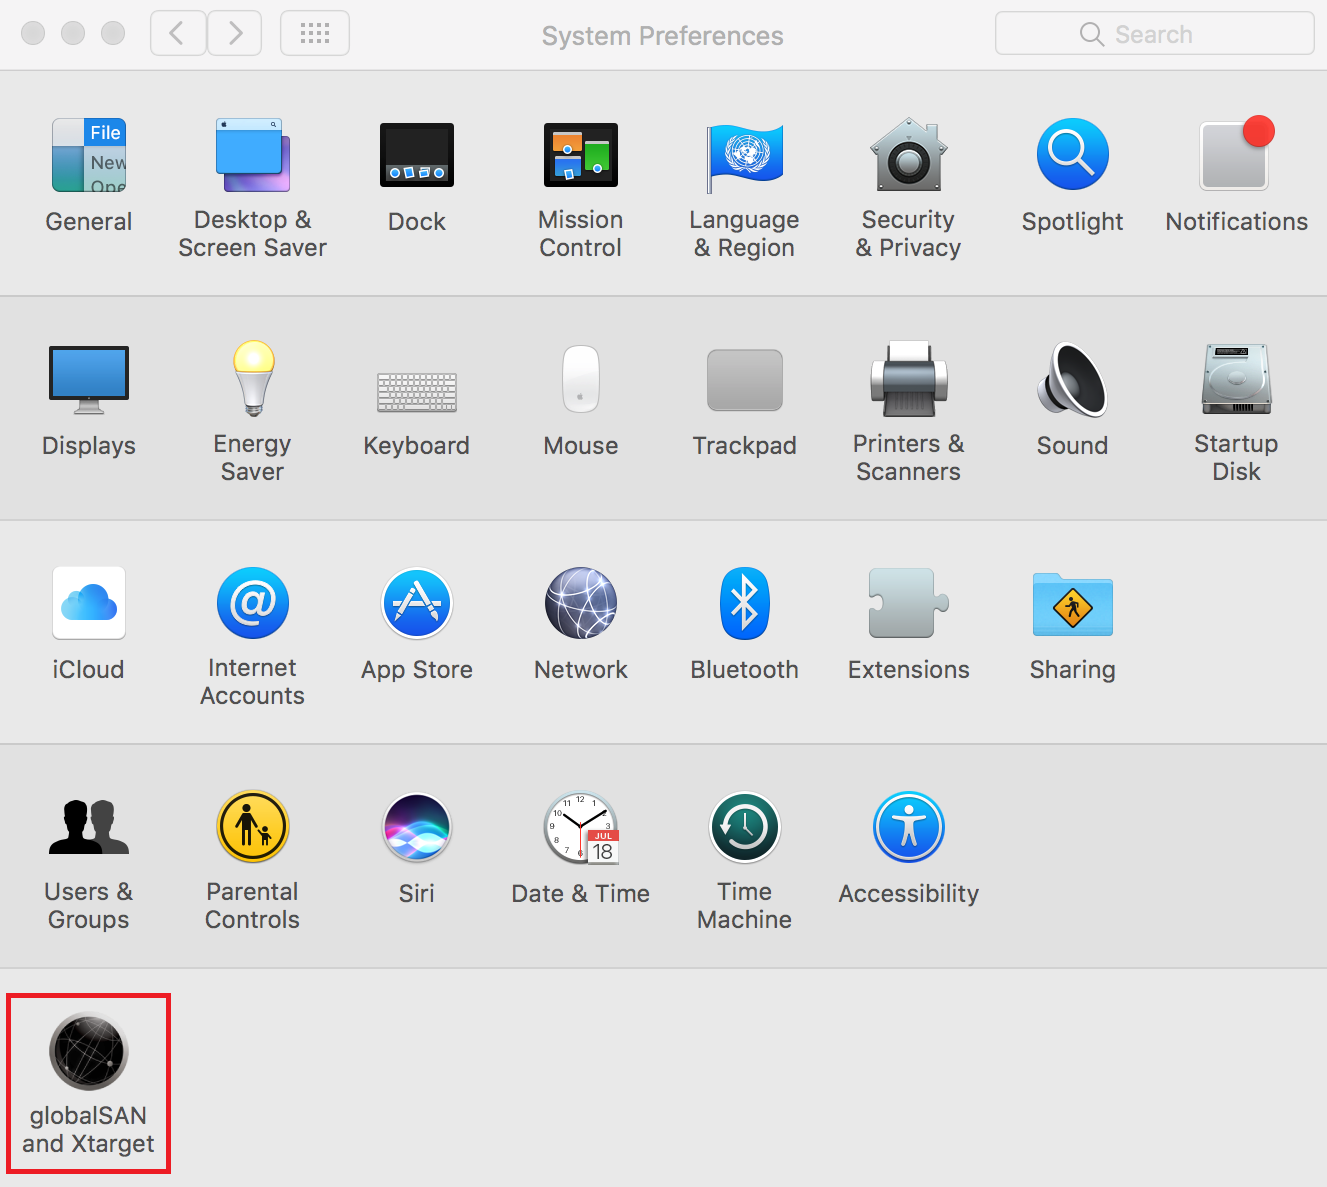
This software requires Mac OS X 10.4 or later. For details, see http://www.studionetworksolutions.com/globalsan-iscsi-initiator. - Go to System Preferences.
- Double-click on globalSAN iSCSI initiator.
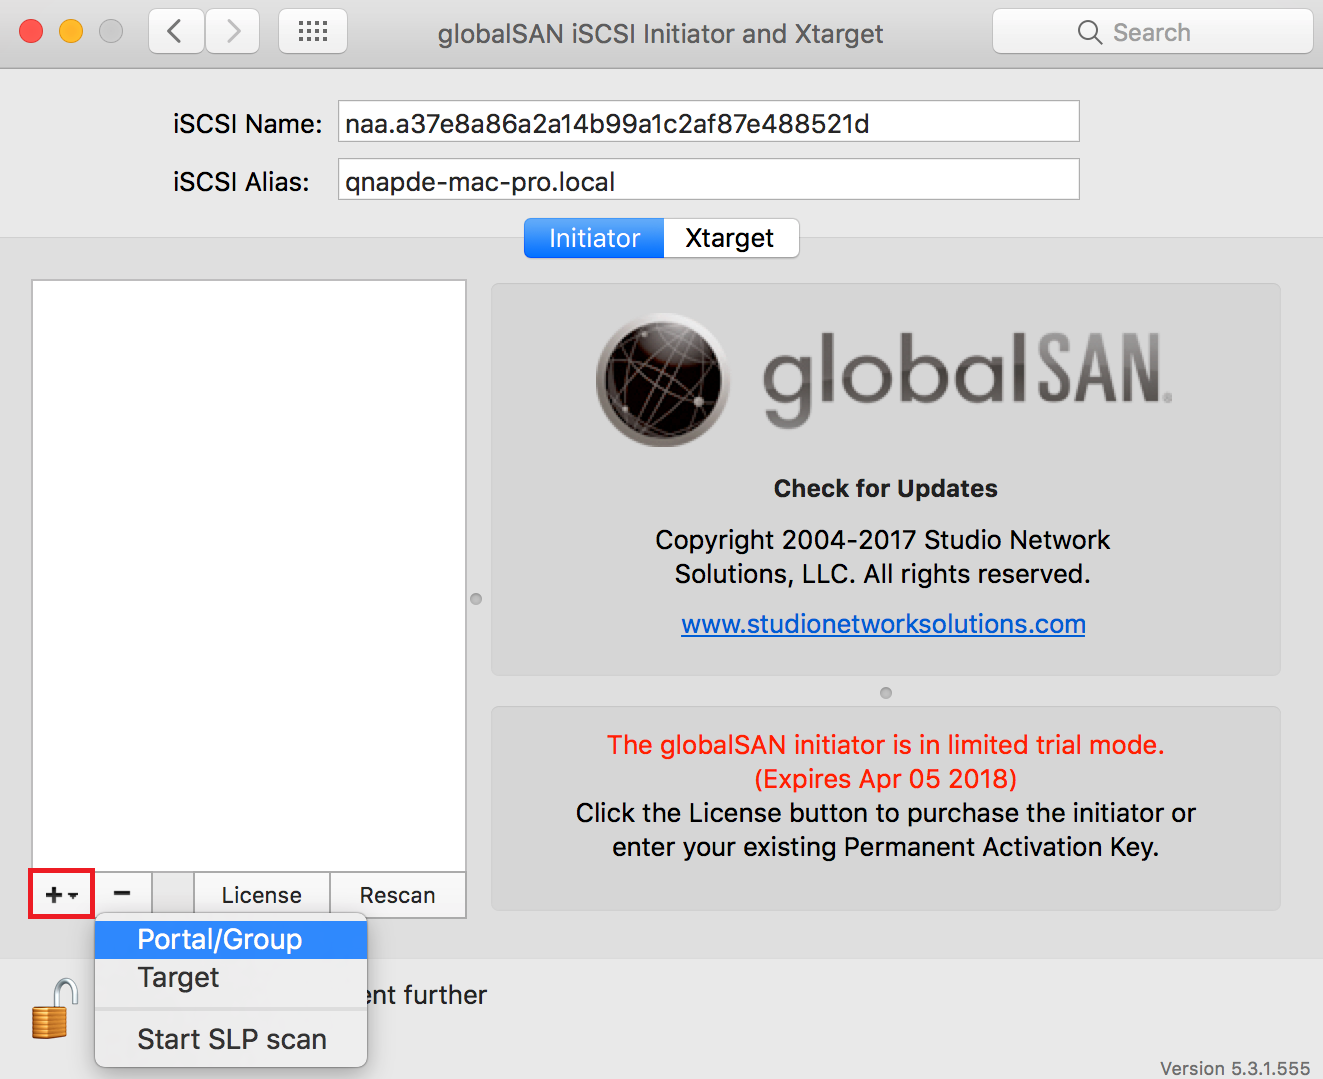
- Click +, and then select Portal/Group.
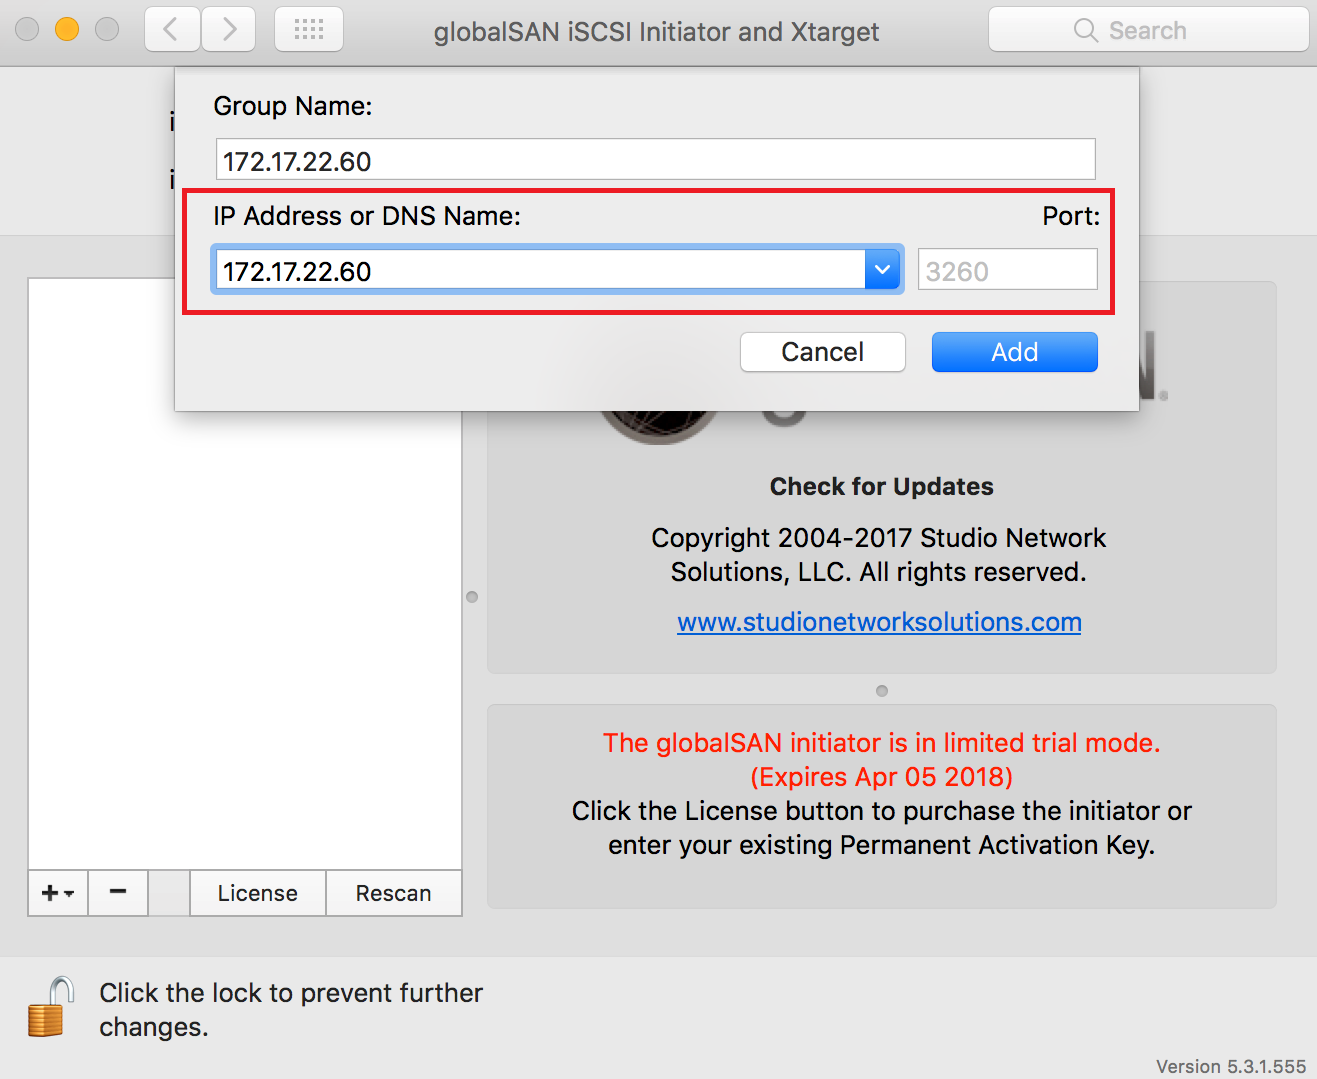
- Specify a name.
- Specify the NAS DNS name or IP address, and then click Add.
- Select a target in the left list.
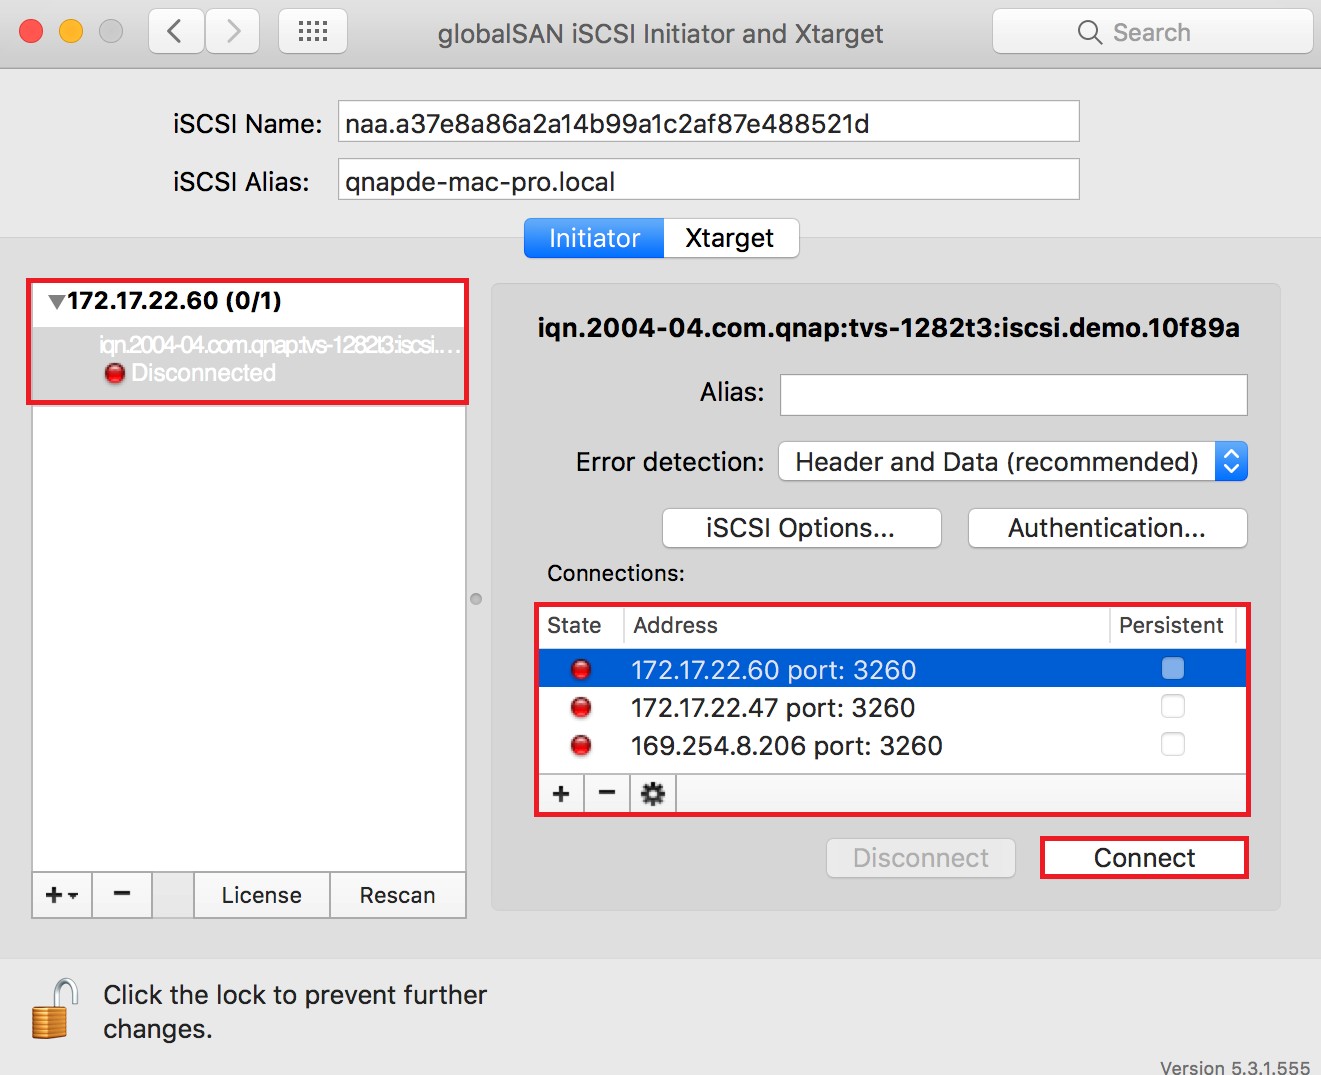
- Select the IP address to use to connect to the iSCSI target.
- Click Connect.
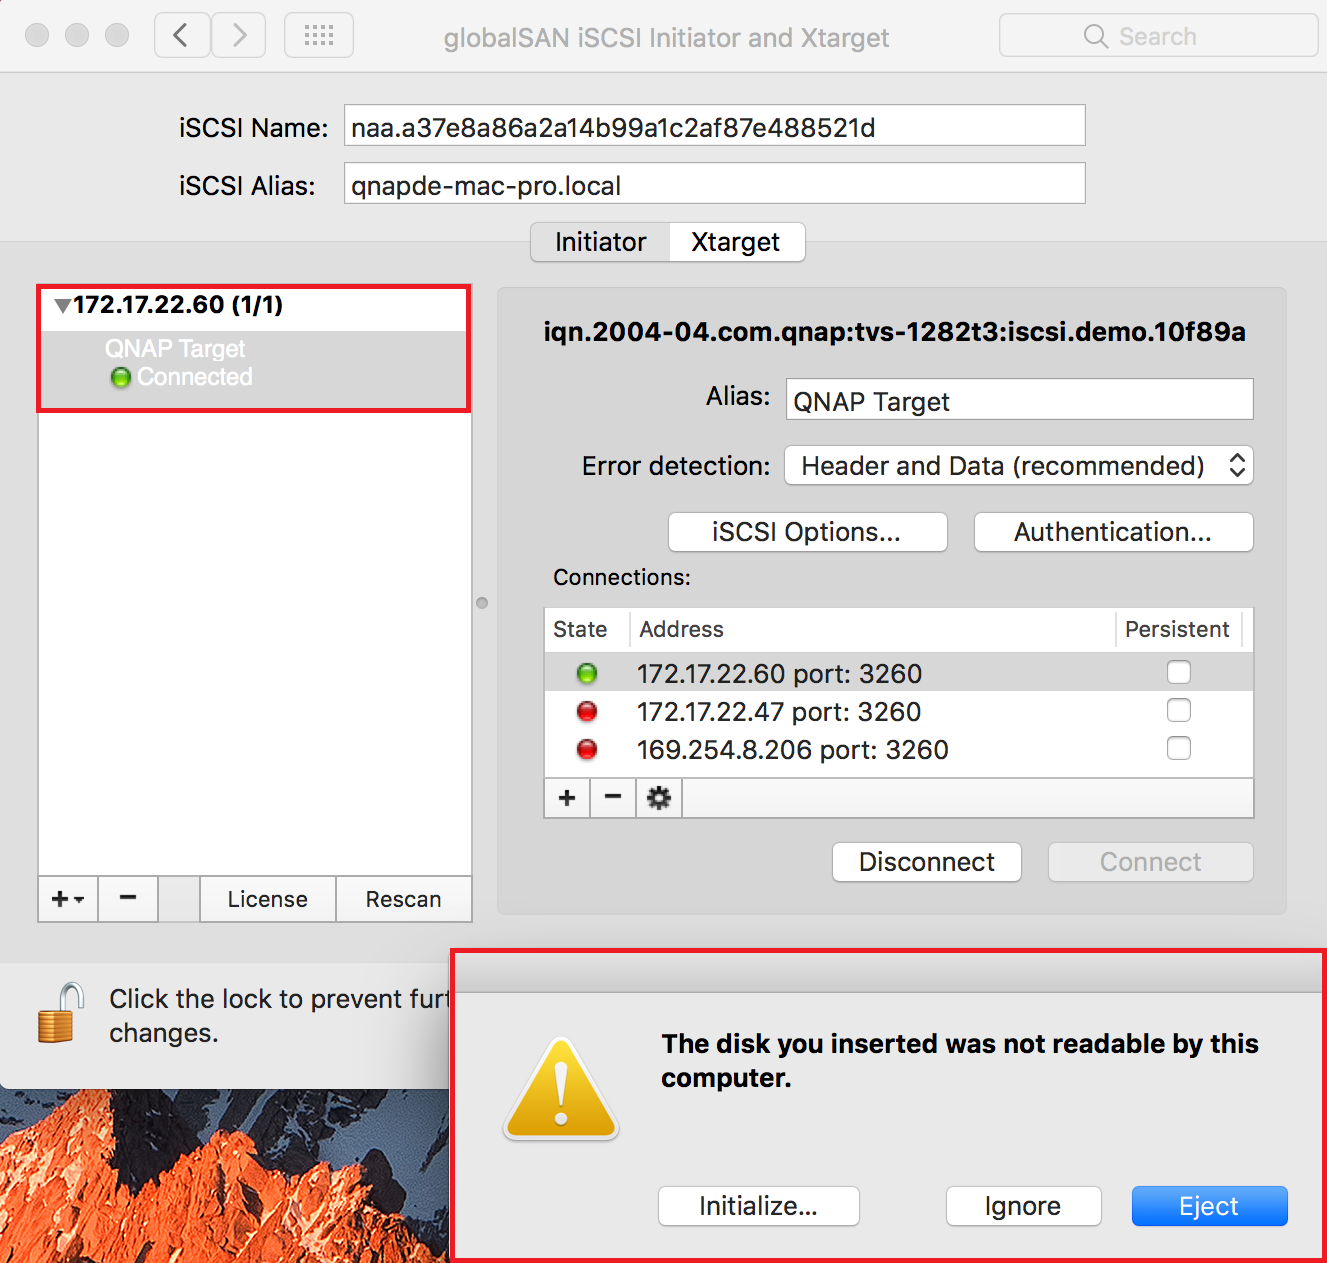
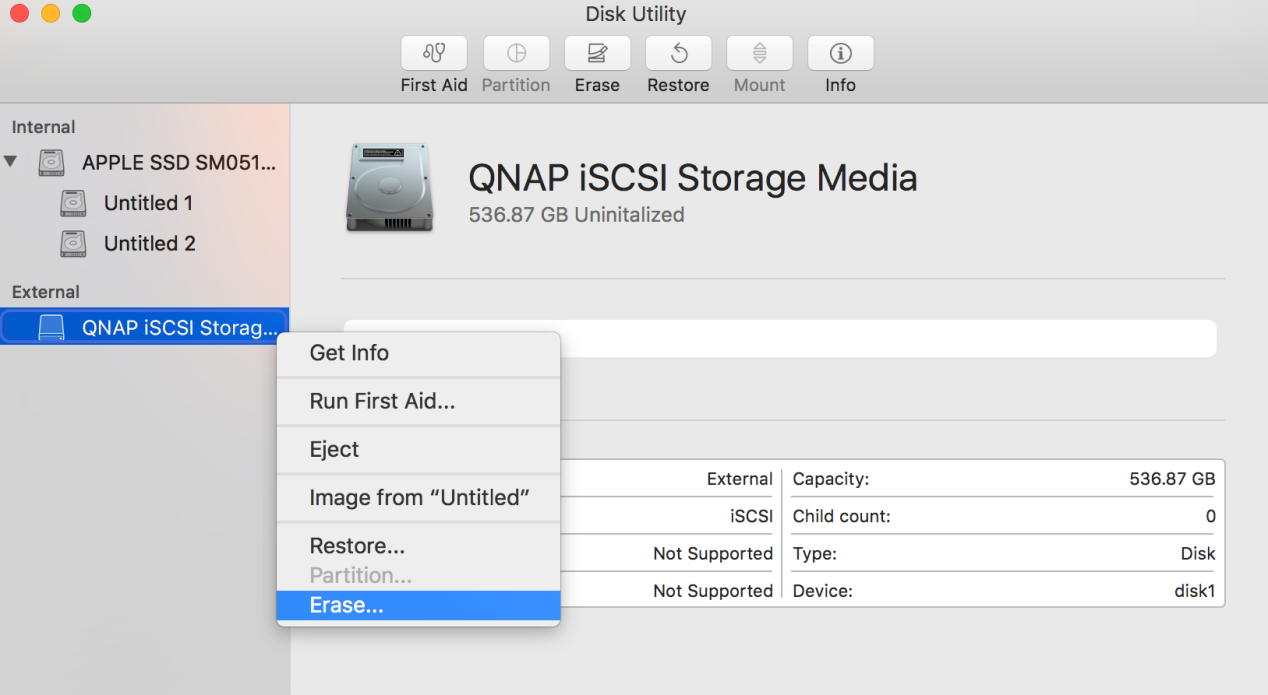
- Optional: Click Initialize.
If this is the first time you have connected to the target then Mac OS will prompt you to format the disk.
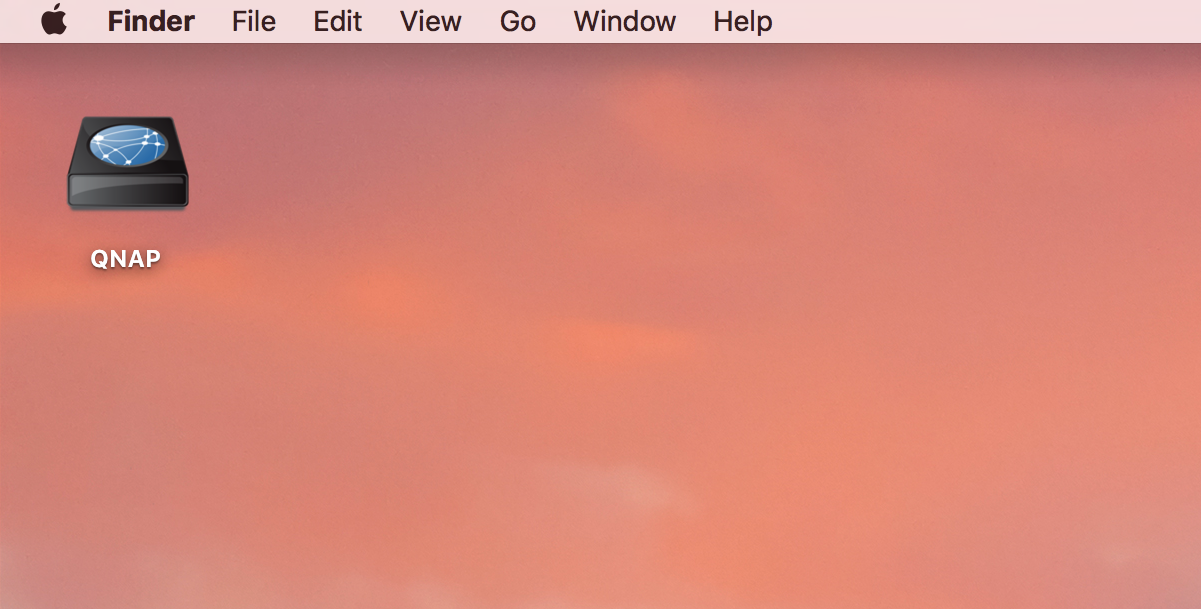
The target’s status changes to Connected. The new drive is ready to use and appears on the Mac OS desktop.
Related Articles:
How to create and use the iSCSI target service on a QNAP NAS


